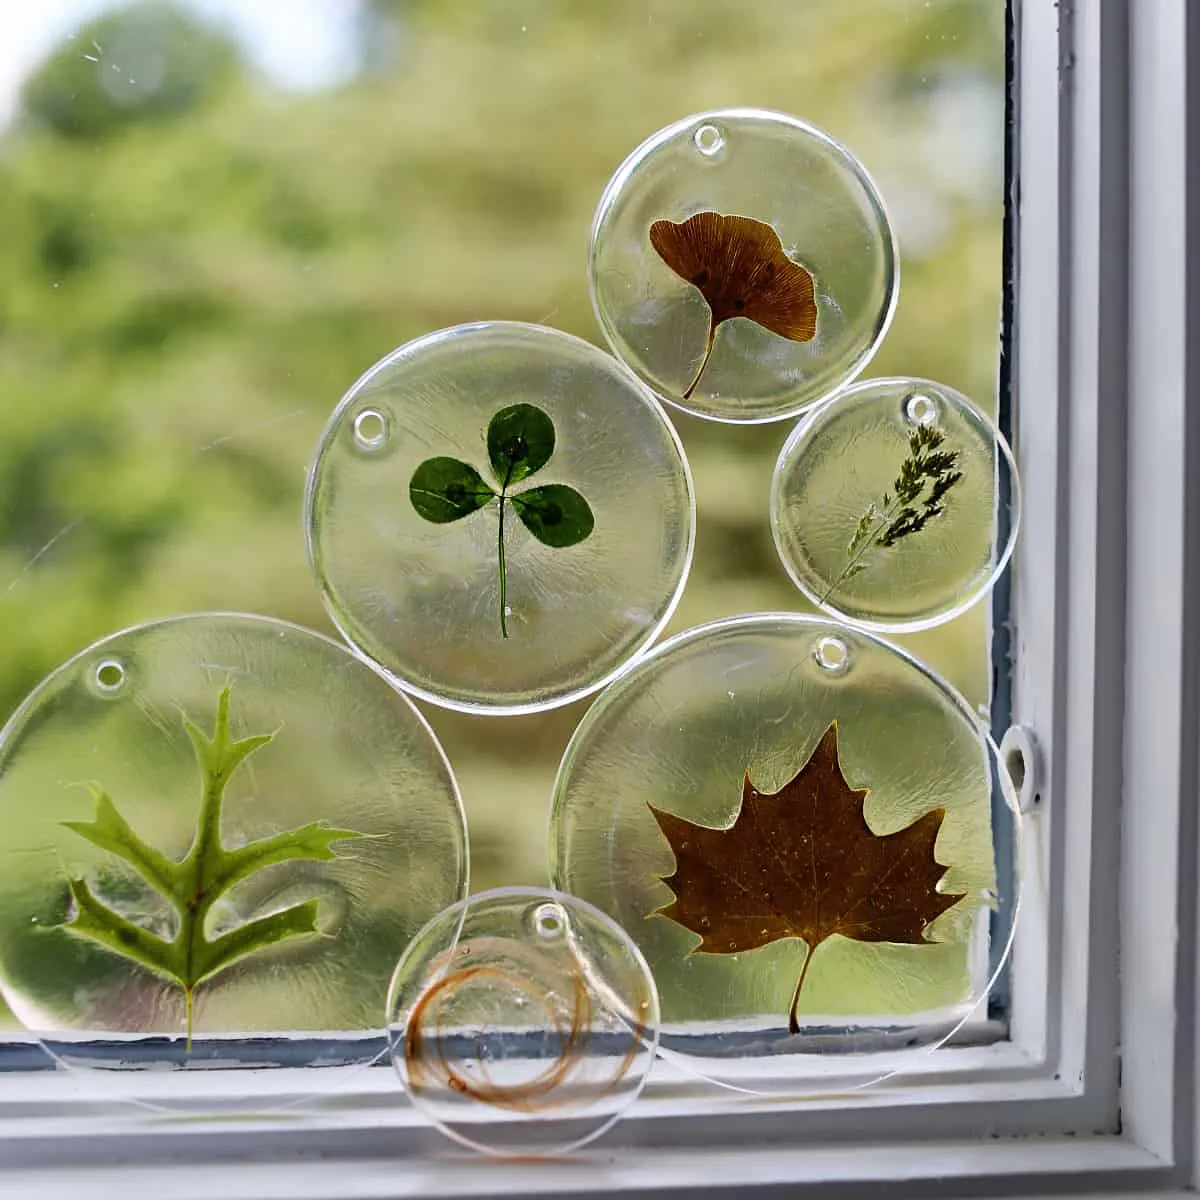
Hey there! If you’re curious about epoxy resin, you’re in for a treat. This guide is perfect for anyone looking to dip their toes into resin art or other crafty projects.
Epoxy resin is like this hard, plastic stuff that gets solid when you mix it with a hardener. It’s used for all sorts of things, from cute crafts to big home projects. But today, we’re focusing on the fun stuff – resin art!
Resin art involves mixing epoxy with colors or embedding objects to create beautiful pieces like tables or jewelry. We’ve shared LOTS of resin projects here over the years, so I thought it’s high time for a beginner’s guide.
Table of Contents
- Supplies
- Best Epoxy Resin Products for Crafting
- How to Use Epoxy Resin
- Epoxy Resin Projects
- Different Types of Resin
- Tips for Success

Supplies
- Epoxy Resin crystal clear kit
- Disposable measuring cup
- Silicone molds – I used these ornament molds for instance
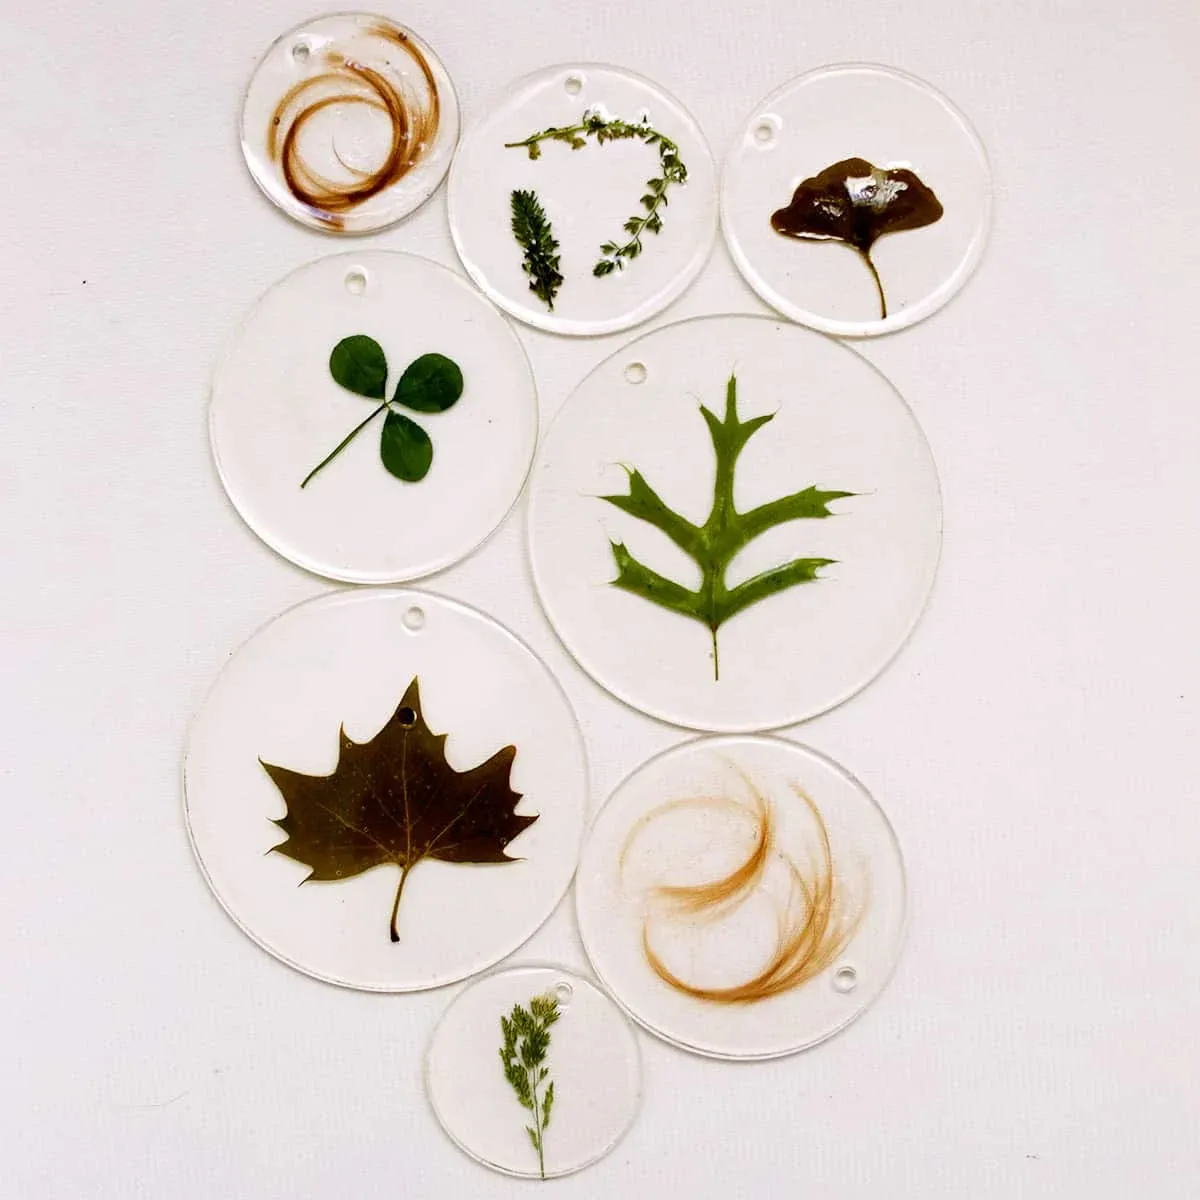
- Fun elements: pressed flowers, glitter, coins, small photos, etc.
- Disposable gloves
I even used some hair from my son’s first haircut for a keepsake Christmas ornament!
Best Epoxy Resin Products for Crafting
- Jewelry/Small Project Kit: Perfect for small projects and comes with everything you need except molds.
- Larger Project Kit: Ideal if you’re planning multiple small items or bigger projects like desks.
- Coaster molds: Some sets come with extra molds like a coaster storage box.
- Jewelry molds: Look for ones with holes for jump rings or other jewelry finishes.
- Kitchen torch: Perfect for getting bubbles out of larger pieces and can double for kitchen use like making crème brûlée.
How to Use Epoxy Resin
- Prep your work area and clean your molds.
- Mix the resin and hardener as directed (usually a 1:1 ratio).
- Add your elements and pour the mixture into molds.
- Use toothpicks to arrange items or pop bubbles.
- Let it cure – typically 10-24 hours, check your product instructions.
- Once cured, pop them out and decorate (maybe add ribbons to ornaments).
Epoxy Resin Projects
- DIY Epoxy Resin Coffee Table
- Glitter Coasters
- Faux Terrazzo Countertops
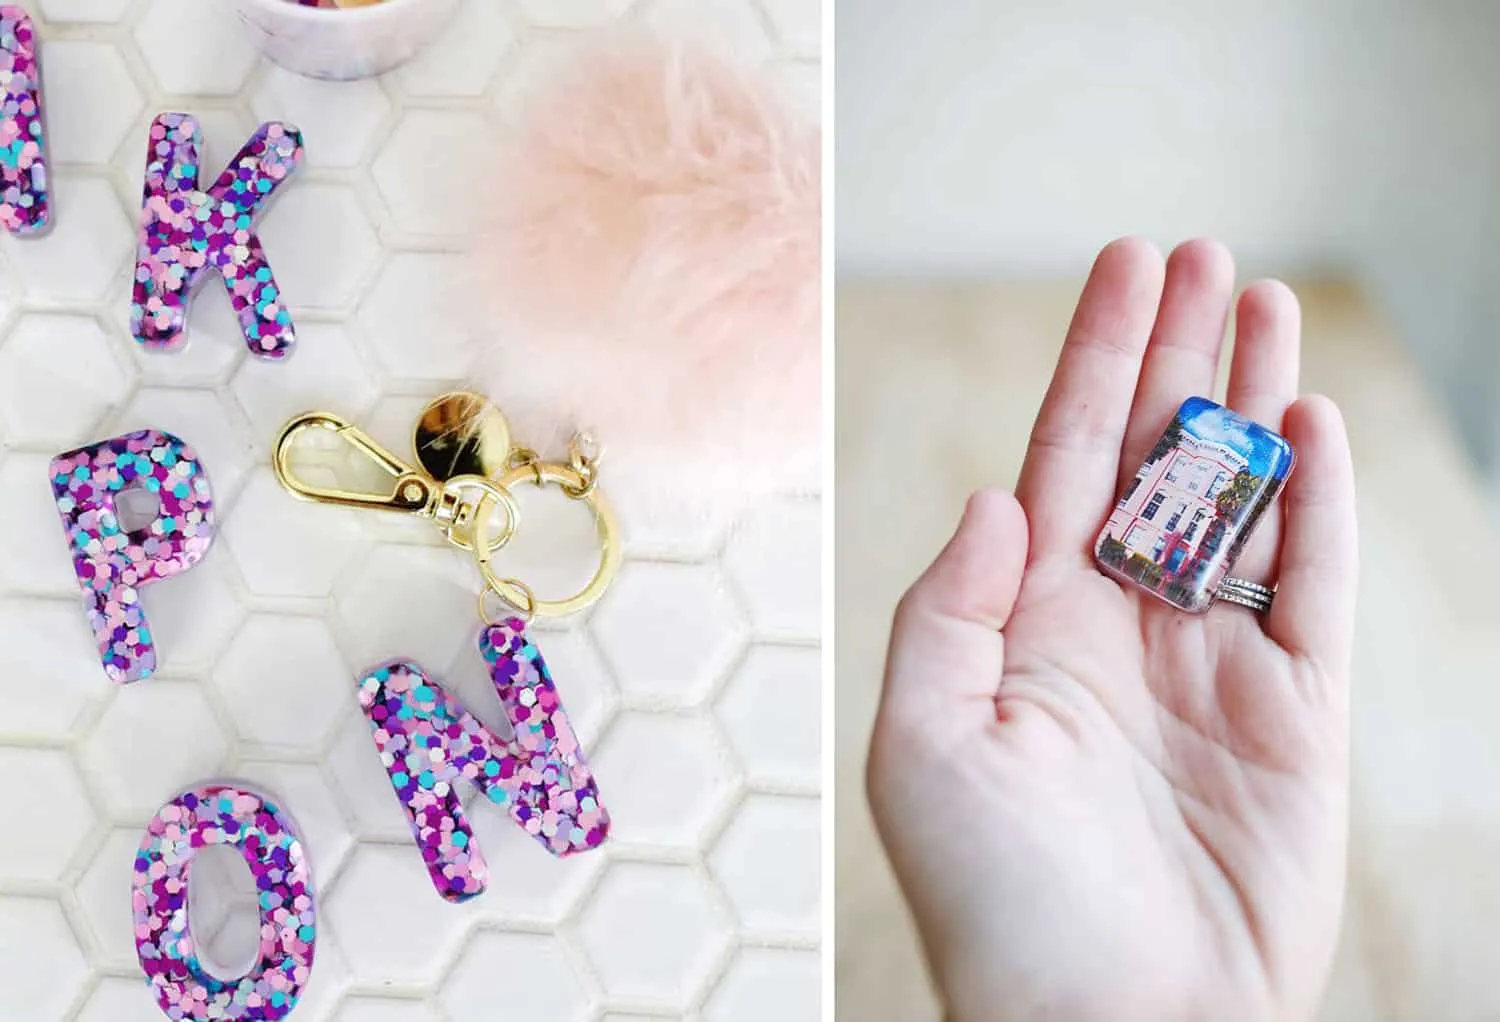
- Glittery Resin Jewelry
- Colorful Resin Desk
- Epoxy Jewelry Box
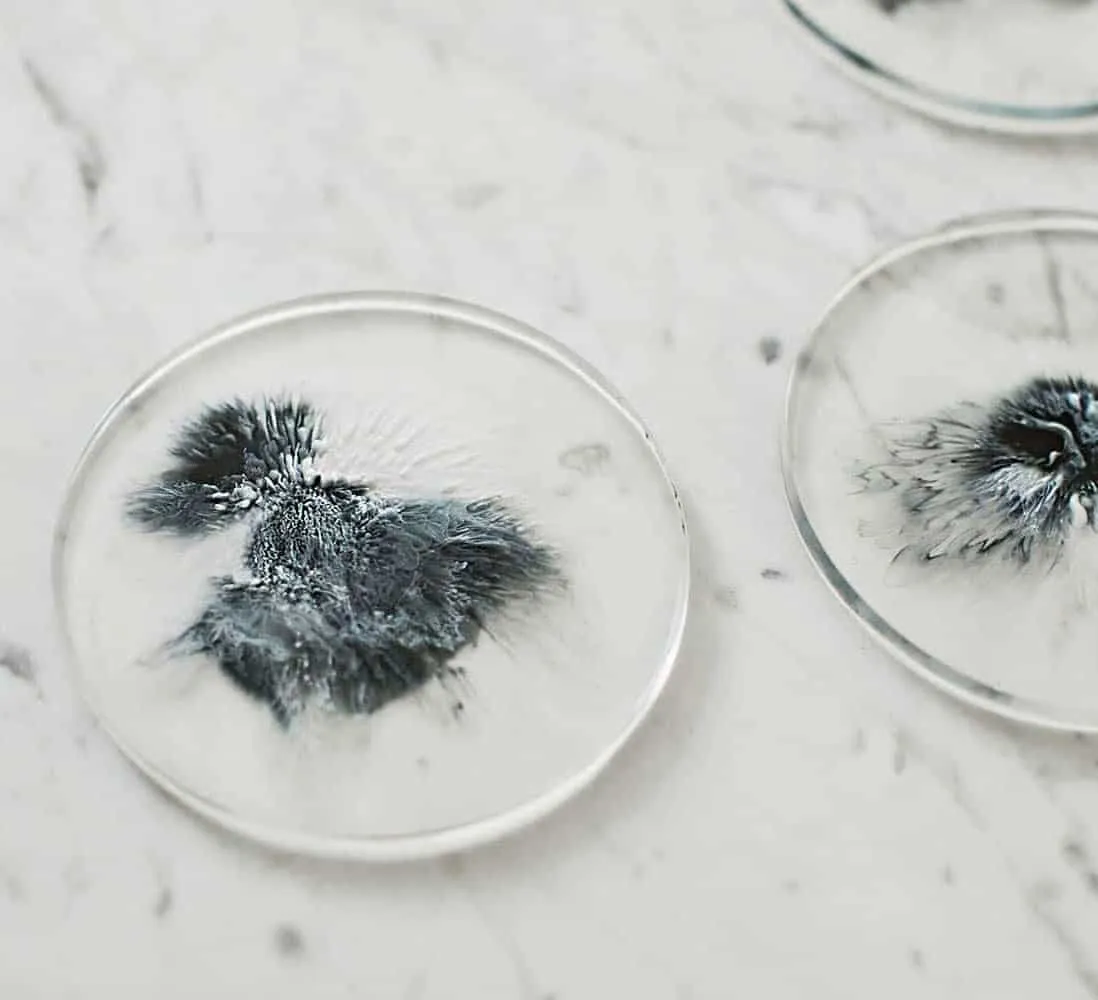
- Alcohol Ink Coasters
- Daisy Earrings
- Glitter Letter Keychain
- Statement Necklace with Photos
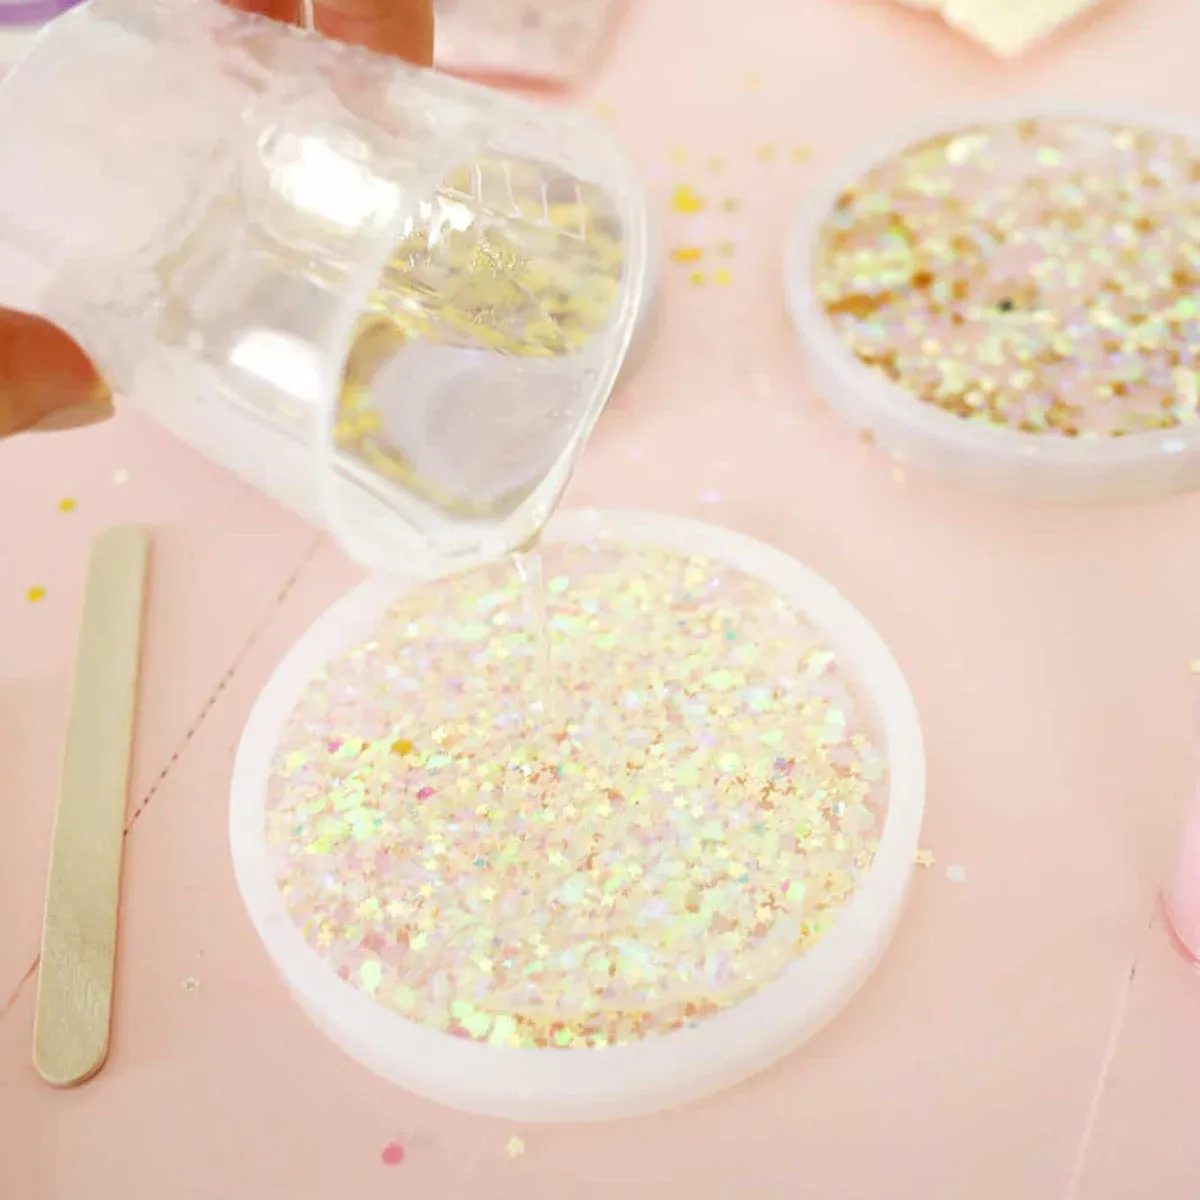
Different Types of Resin
- Epoxy: Best for crafts and smaller projects. Low odor and cures within 24 hours.
- Polyester: Stronger odor but cures hard; good if you need to sand your project.
- Polyurethane: Cures super fast. Ideal if you’re in a hurry.
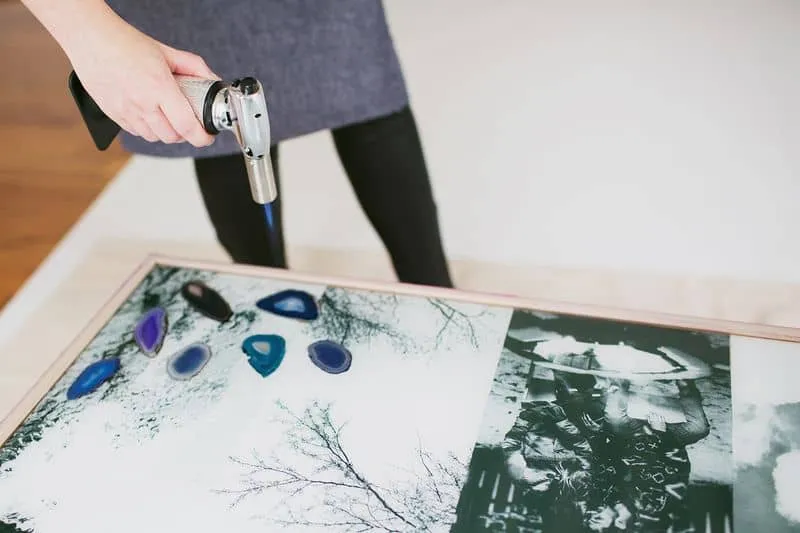
Tips for Success
- Have everything ready before mixing your resin.
- Protect your workspace from spills.
- Use gloves and consider protective eyewear.
- A heat gun or kitchen torch helps remove bubbles from larger pieces.
- For smaller items, use a toothpick to handle bubbles.
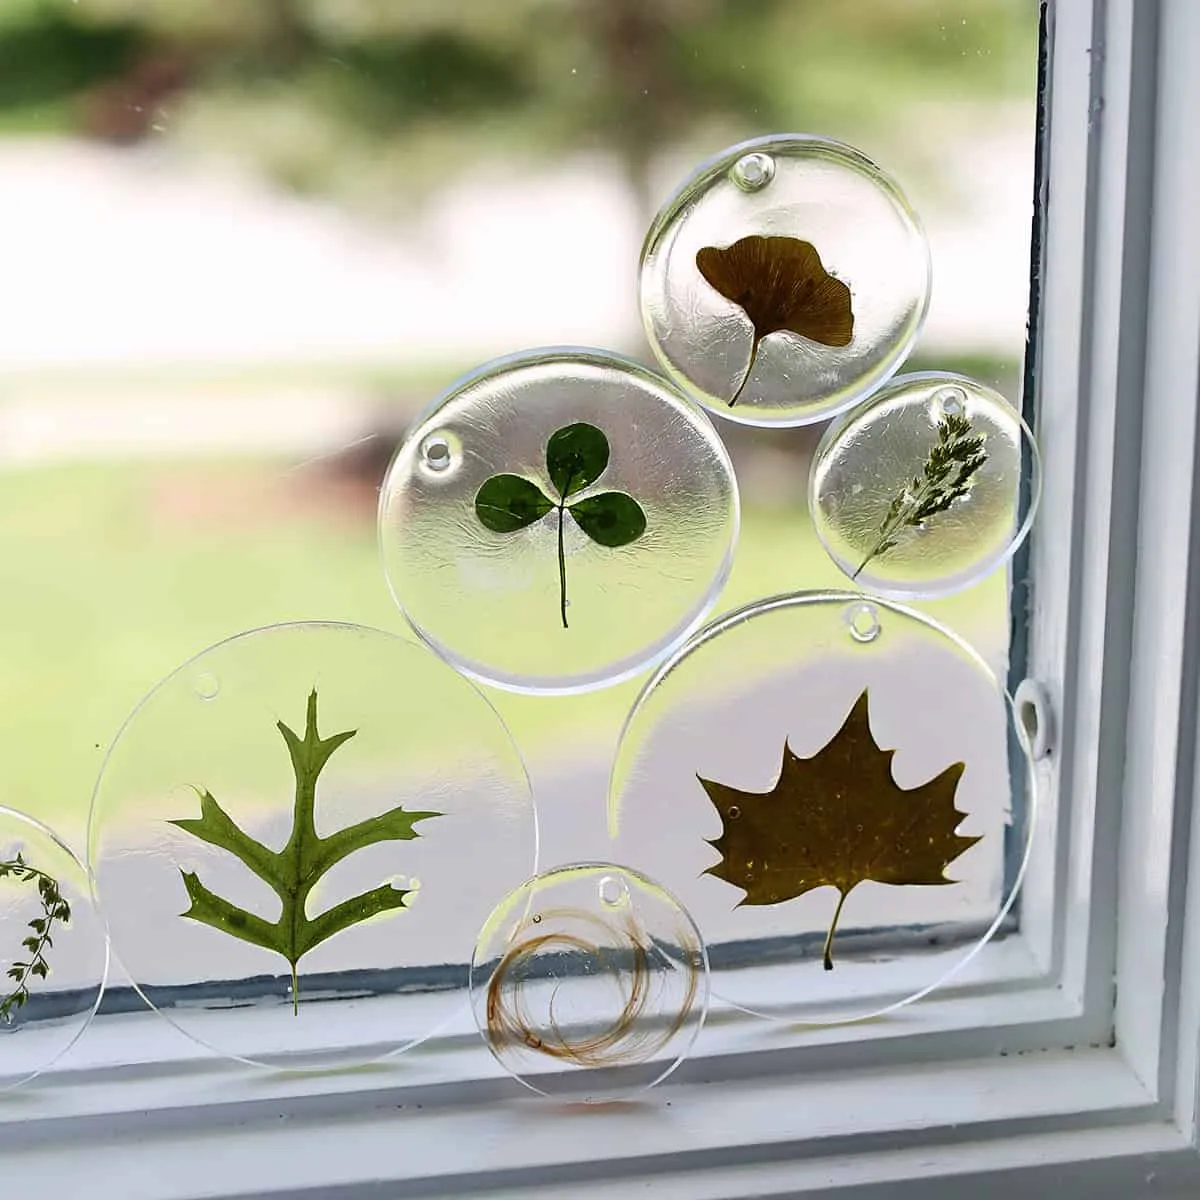
Frequently Asked Questions
Is resin art expensive? Not really. Smaller projects like coasters or jewelry are pretty budget-friendly. Larger pieces can be pricier because they need more materials.
Is resin art difficult? Nope! It’s quite accessible. Just keep a close watch if kids are involved due to the chemicals.
Can you paint on epoxy resin? Yes, you can! Once cured, you can paint it or even tint the resin itself.
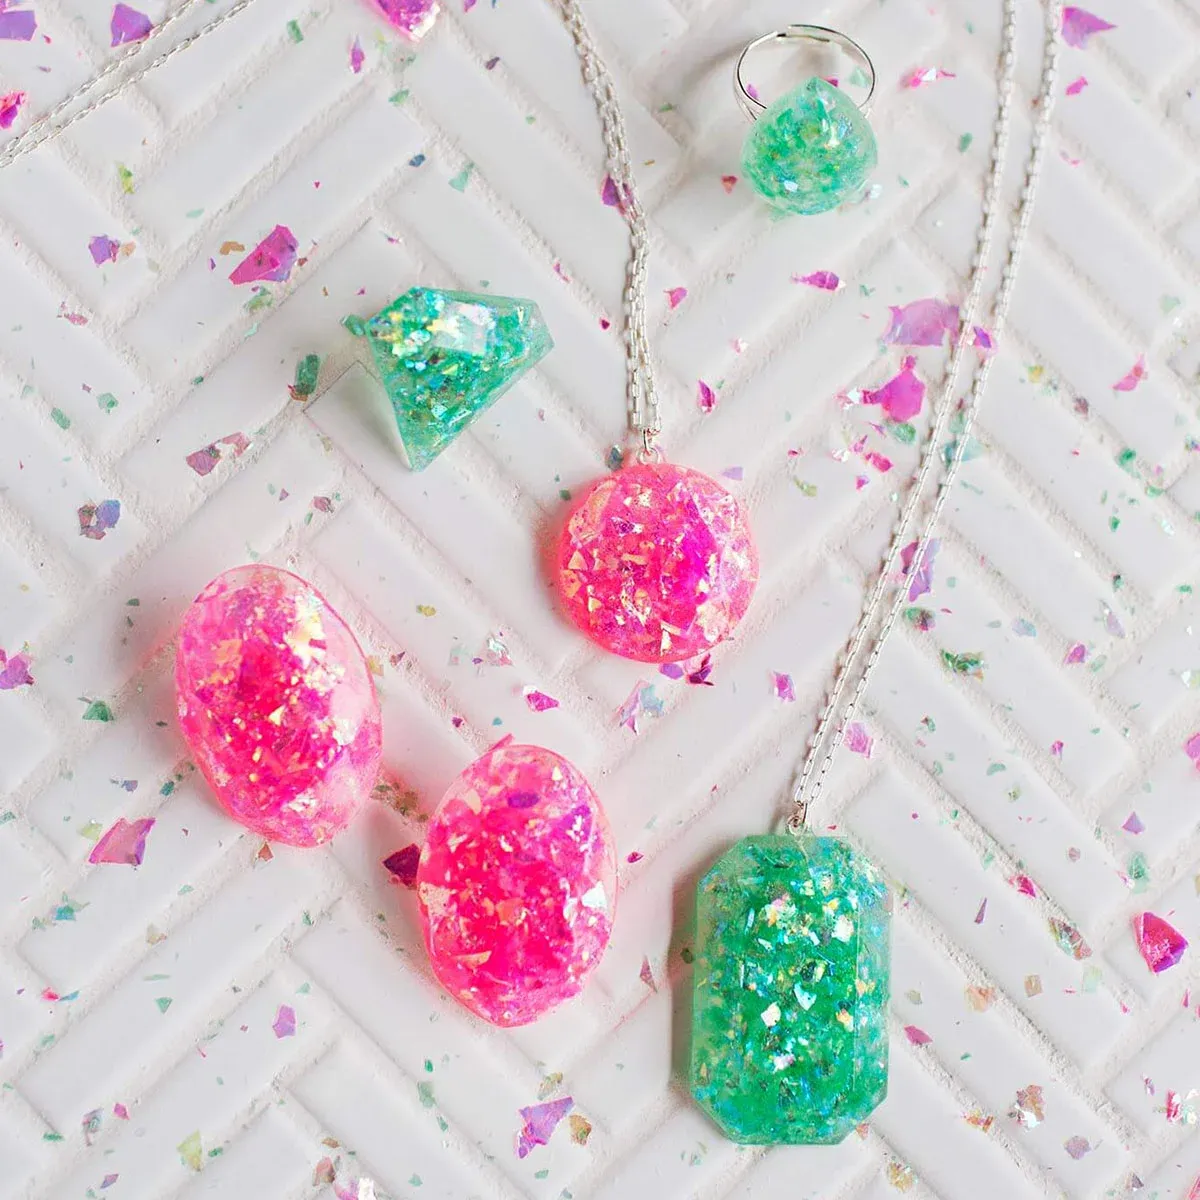
Got questions or projects you’re excited about? Let me know!
Love this post? Subscribe to our newsletter for more creative ideas!
Join Now
Get fresh ideas for recipes, crafts, decor, and more right in your inbox!
Supplies
- ▢ 1 Epoxy Resin crystal clear kit
- ▢ 1 Measuring cup
- ▢ Pressed flowers or plants
- ▢ 1 Pair disposable gloves
Instructions
- Prep your work area and molds.
- Mix epoxy resin and hardener (usually 1:1 as directed).
- Add elements and fill the molds with mixture.
- Use toothpicks to arrange elements and remove bubbles.
- Let cure for 10-24 hours.
- Remove from molds and add final touches.
Notes: I also included some hair from my son’s first haircut in this project for keepsake.