Painting Your Kitchen Cabinets: A Friendly Guide
Hey there! Thinking about giving your kitchen cabinets a fresh look? A new coat of paint can truly transform the whole room. But let’s be real, there’s a right way to do it to avoid any messes. Don’t worry, though - with the right know-how, you’ll end up with cabinets that are both gorgeous and tough.
Paint Types and Trendy Colors
Let’s dive into the different types of paints and also check out some classic and trending cabinet colors for this year. Here’s what you need to know to pick the best paint for your kitchen cabinets.
Types of Paint
First things first, the quality of your paint matters. All that prep work and effort won’t be worth it if the paint chips off in a few months. Go for something high-quality and hard-drying, since cabinets deal with more wear and tear than walls.
Here are three great paint options:
- Behr Semi-gloss Enamel Interior/Exterior Cabinet, Door & Trim Paint (tons of colors)
- Valspar Semi-gloss Cabinet & Furniture Paint (lots of color choices)
- Magnolia Home Semi-gloss Cabinet & Furniture Paint Enamel (available in eight colors)
Using Chalk Paint?
Yep, chalk paint is an option for kitchen cabinets. Just check out our guide on Painting Cabinets with Chalk Paint (Pros & Cons) first.
Favorite Kitchen Cabinet Colors
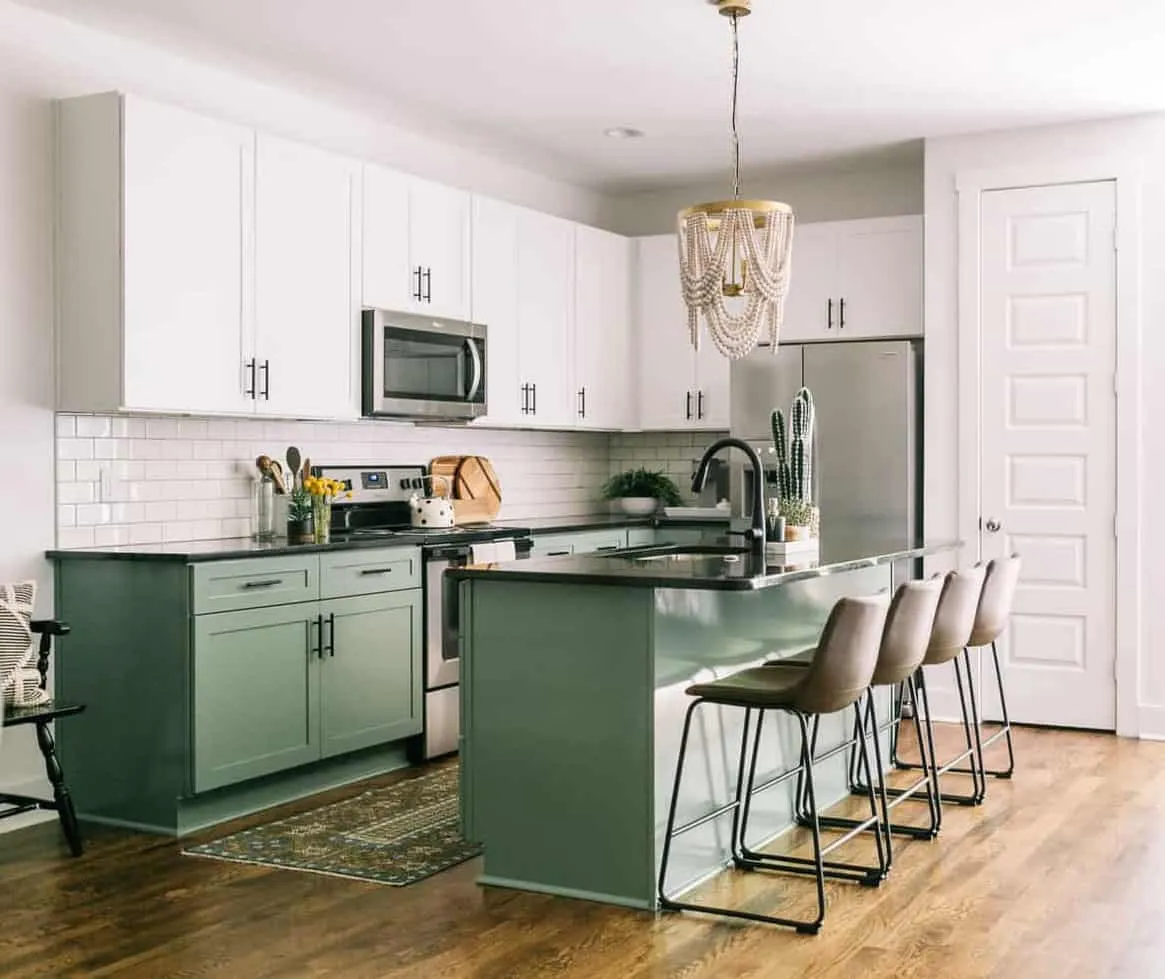
- Behr Swiss Coffee – a creamy white, super cozy.
- Sherwin Williams Marshmallow – a classic, clean white that is always a hit.
- Sherwin Williams Evergreen Fog – a soft, creamy green.
- Behr Black Evergreen – a rich, dark green for a bold look.
How to Properly Paint Kitchen Cabinets
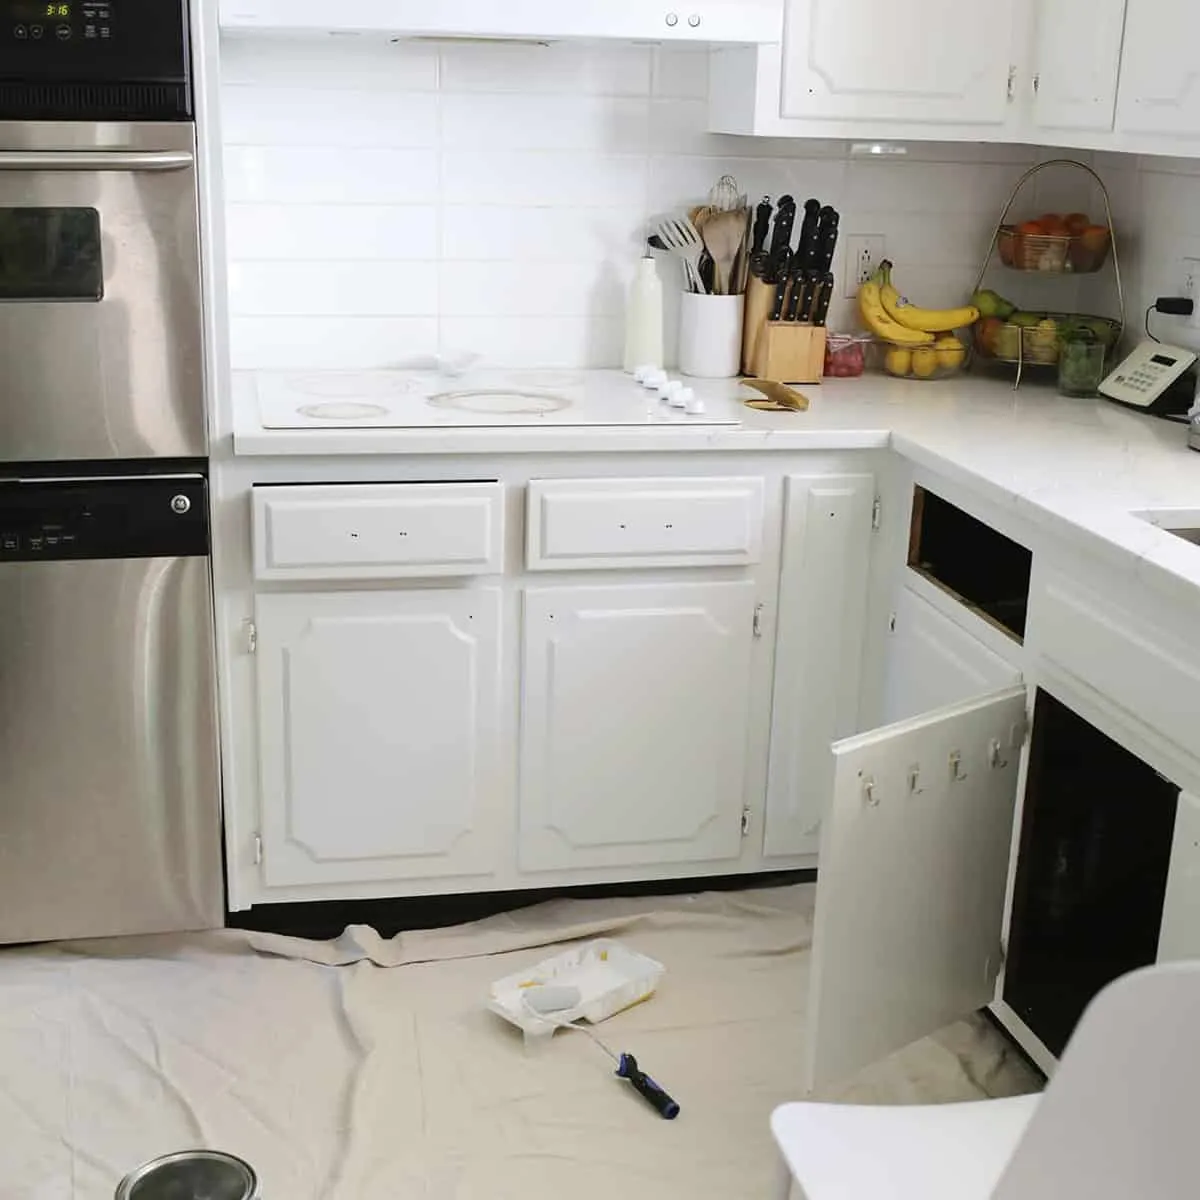
- Remove the doors and drawers: Take off any hardware like hinges and handles.
- Tip: Number the doors with a sharpie under where the hinges go and cover with painters tape for easy reassembly.
-
Clean your cabinets: Make sure all the grease and grime are gone. For really greasy spots, use Krud Kutter Degreaser and then wipe down with Liquid Sandpaper/Deglosser (wear gloves!).
-
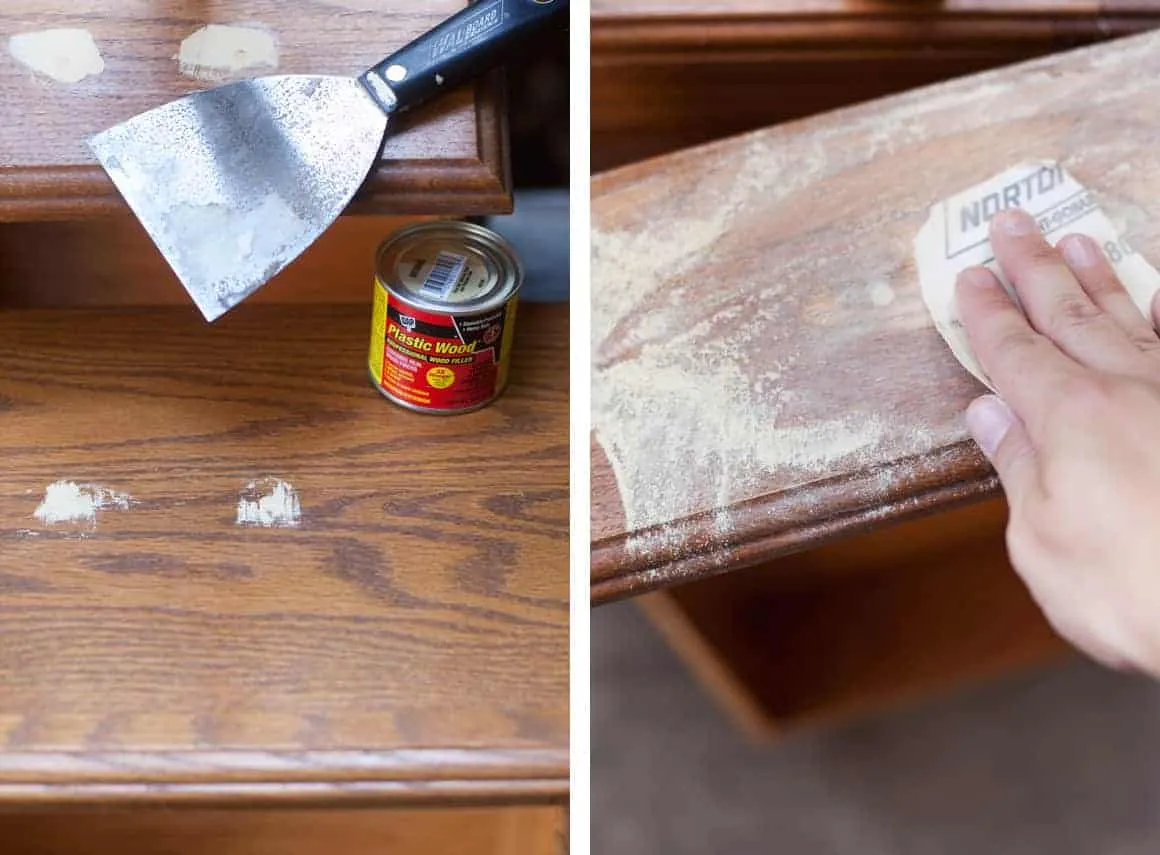
Sand: Sand all surfaces using fine-grit sandpaper (180 or 220 grit). An electric sander can speed this up. No need to sand to bare wood, just make sure everything is scuffed.
-
Remove dust: Use an old paint brush or an air compressor to get rid of dust. Then, wipe down with a rag and denatured alcohol.
-
Cover up: Protect your floor, countertops, backsplash, and walls with painters tape, plastic, paper, or drop cloths.
-
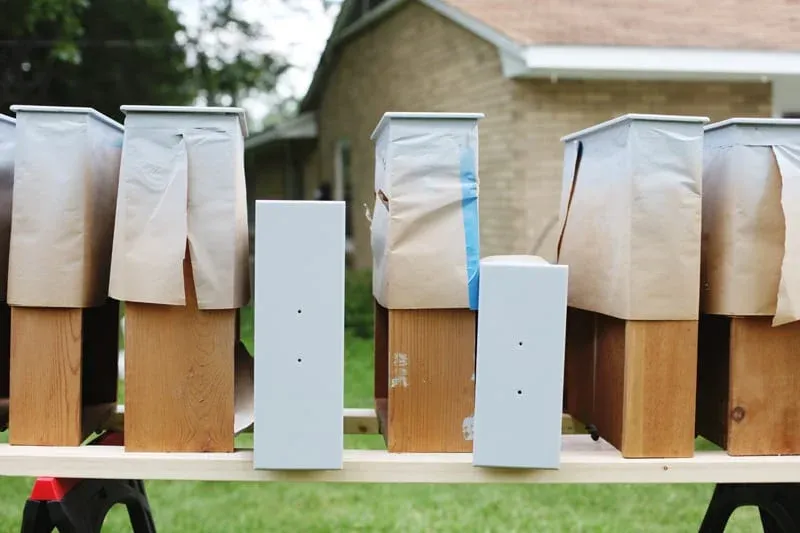
Prime the cabinets: Use a durable primer. Shellac is great if you have a paint sprayer and don’t mind the smell. For brushing, a high-quality water-based bonding primer is perfect.
-
Lightly sand: After priming, lightly sand with 220 or 320 grit sandpaper, then remove the dust.
-
Paint: Use a high-quality, hard-drying paint (urethane alkyd enamel is best). Allow 2-4 hours of dry time between coats.
-
Remove masking and tape.
-
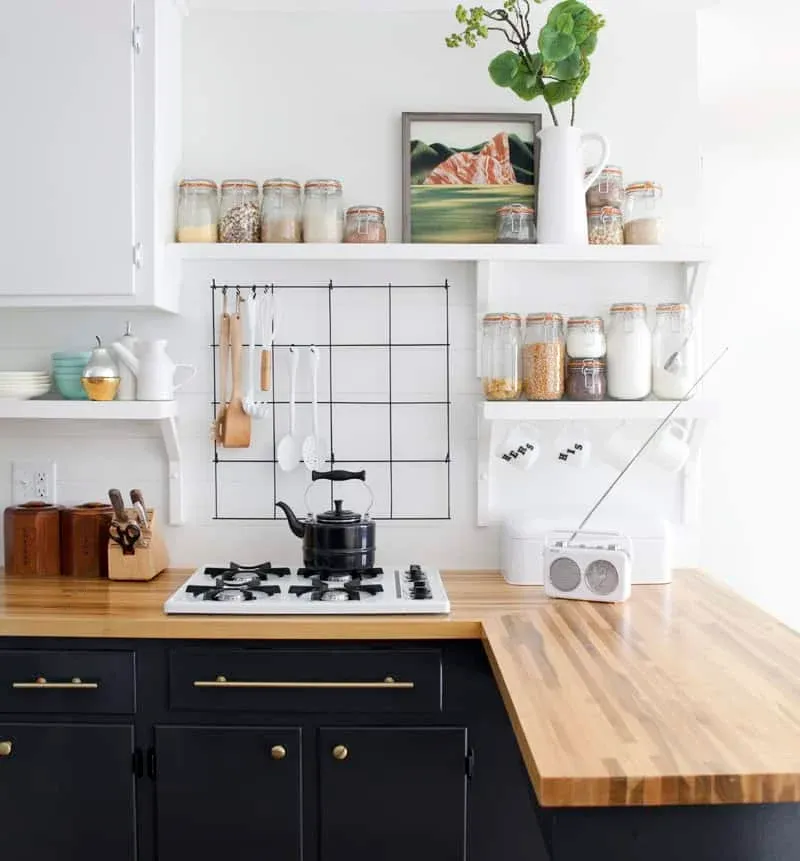
Reinstall doors and drawers: Adjust hinges if needed so everything hangs properly.
What Not to Do
Avoid these pitfalls to make your paint job last:
- Skipping thorough cleaning and sanding
- Not using a bonding primer
- Using latex paint instead of urethane enamel
Don’t be overwhelmed! Stick to the steps, and you’ll end up with beautiful, durable cabinets.
Spraying vs. Rolling Cabinets
Spraying gives a smoother finish and can be faster but requires more prep and equipment. You can rent a paint sprayer if needed.
