Hey friends! I’ve always wanted to try one of those faux marble DIY kits, especially after giving my kitchen a budget-friendly makeover with a faux tile backsplash.
So, I finally took the plunge and bought a faux marble countertop kit, setting aside a couple of days to dive into the project. In this post, I’ll walk you through everything you need—tips for painting the marble, and a rundown of the pros and cons.
Spoiler alert: I am thrilled with how it turned out!

But first, let’s talk about the transformation. Check out these unfiltered, unedited phone pics to see the before and after.
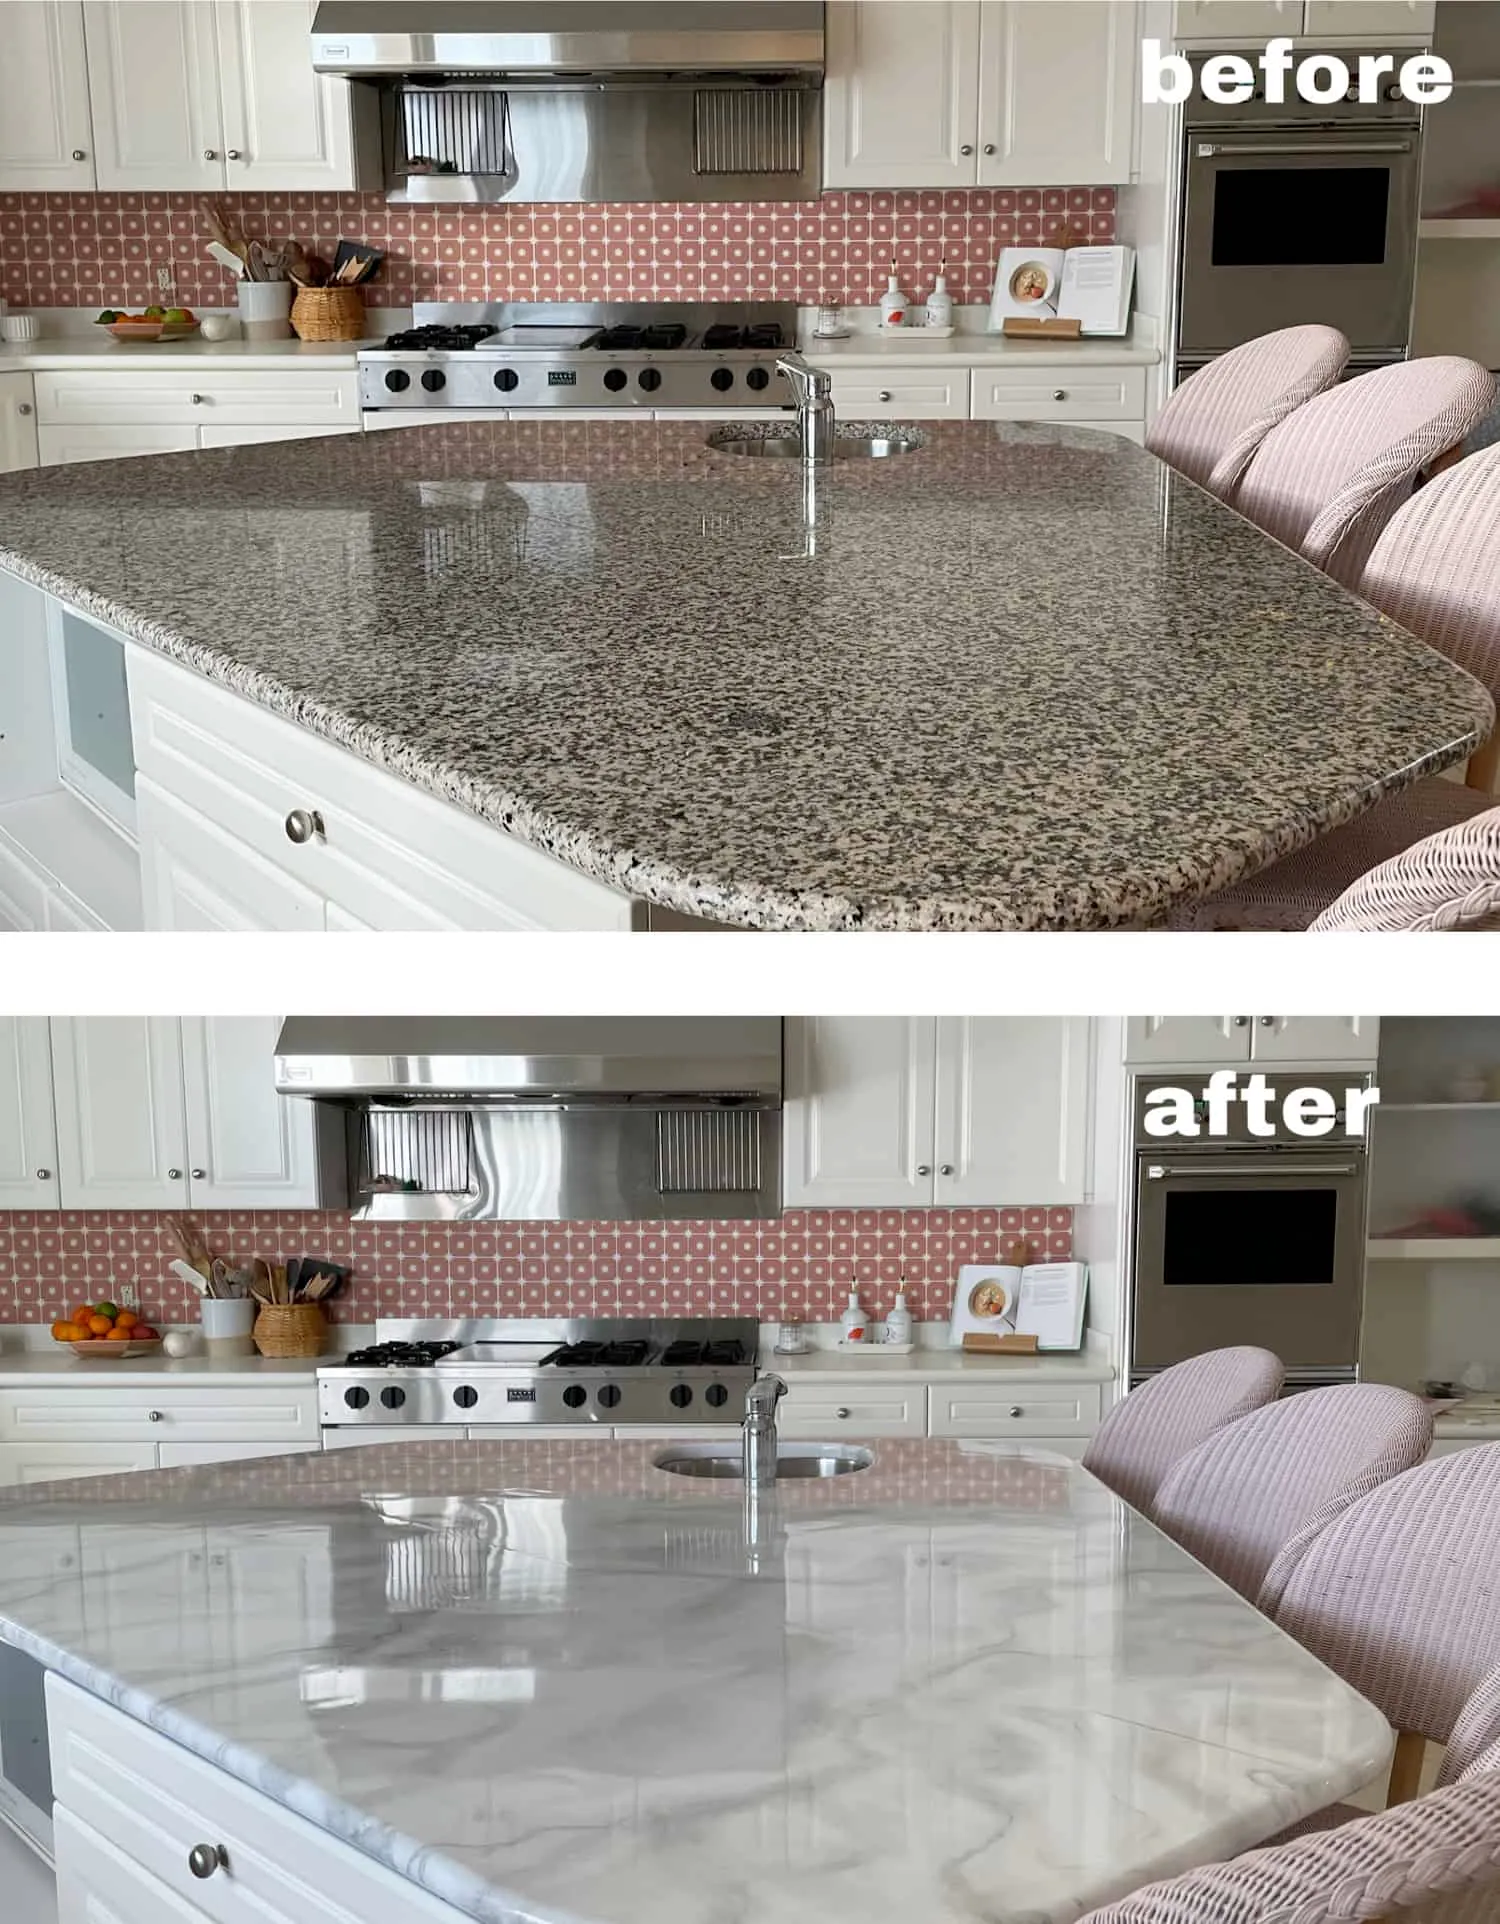
When we moved in, the island counter was not my style at all. A full kitchen remodel is still a few years away, so spending money on a new counter that we’d eventually replace didn’t make sense. After our first Christmas in the house, I started thinking about DIY solutions. I needed something budget-friendly that could handle the daily use from our kids.
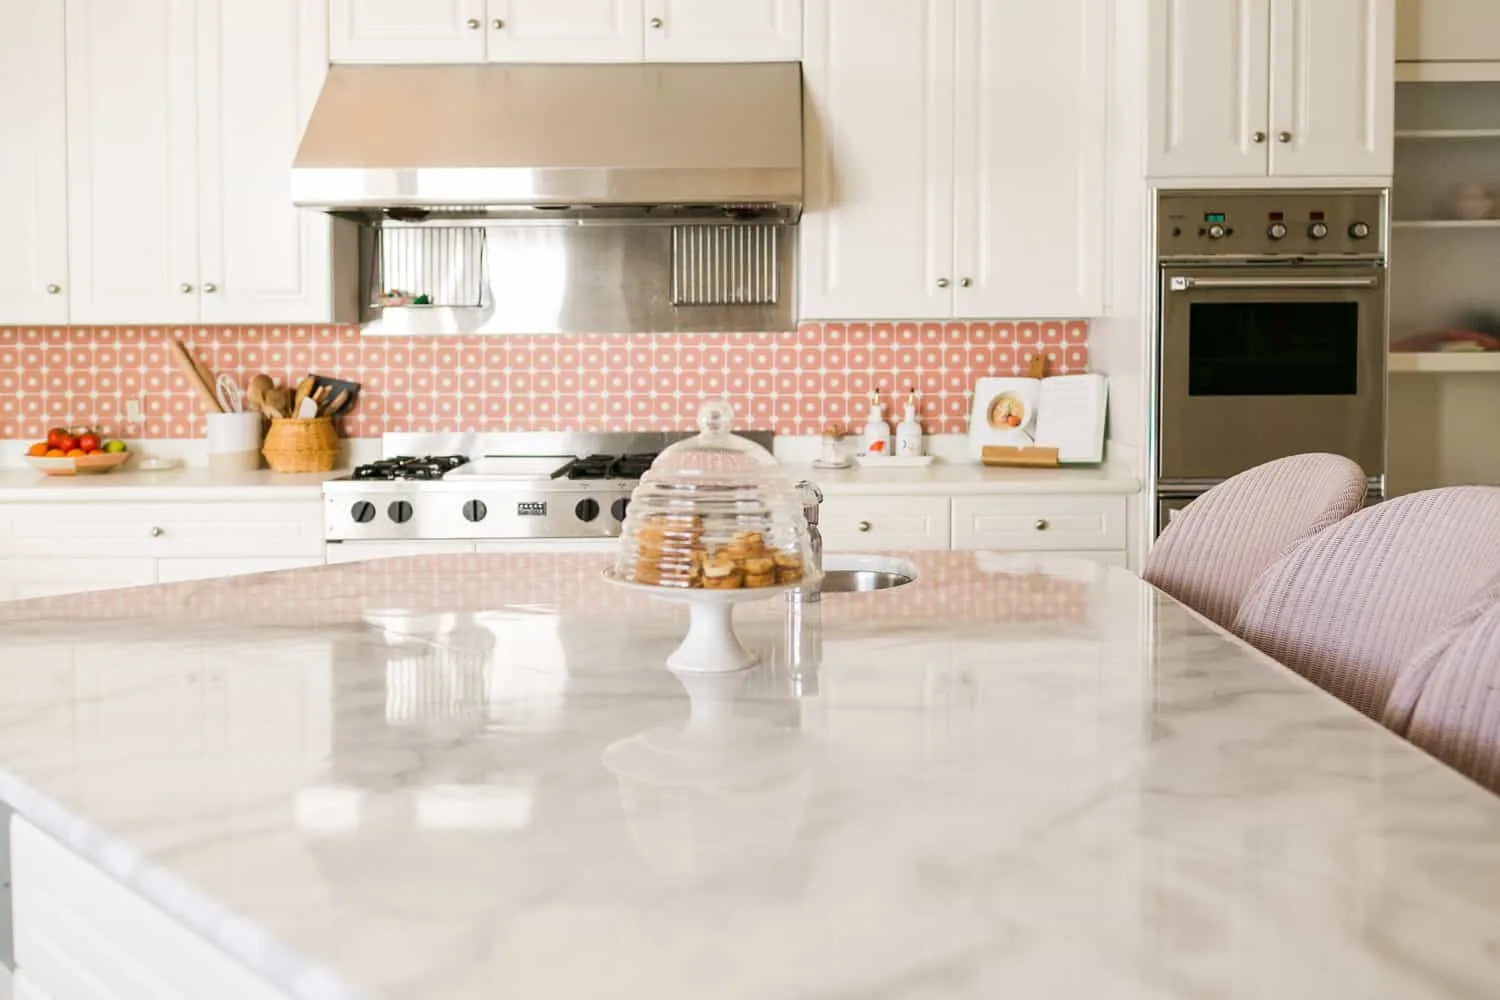
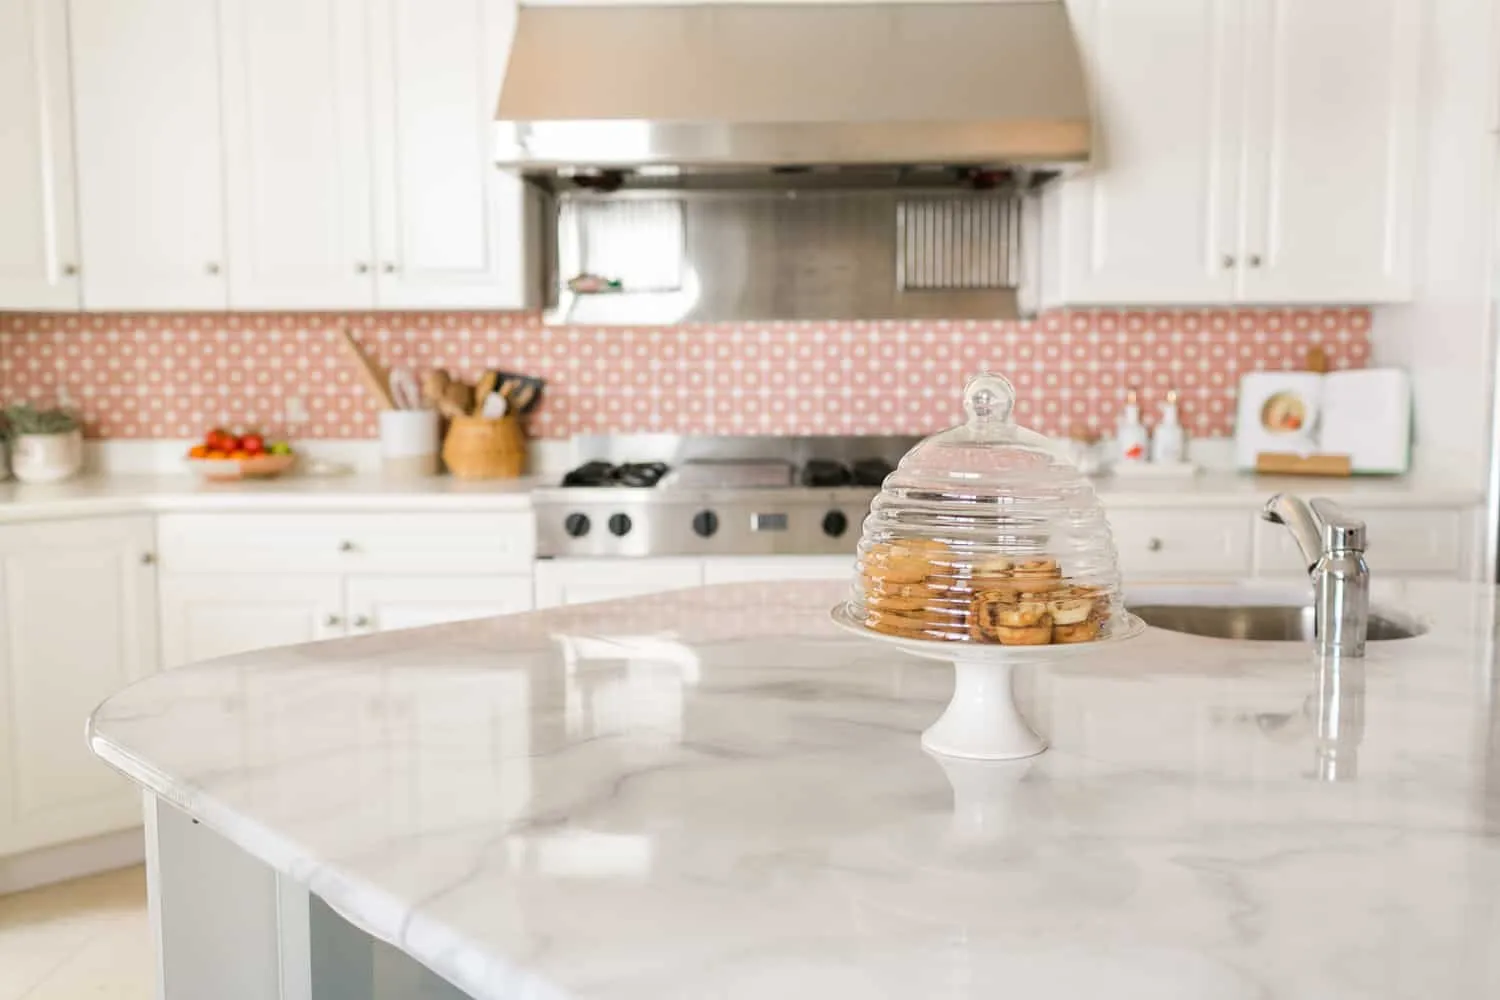
This faux marble countertop kit was PERFECT. I love how it looks now and it’s super easy to clean. Every time I walk into the kitchen, it just makes me happy.
I’ll be honest—the results were great, but this project isn’t for everyone.
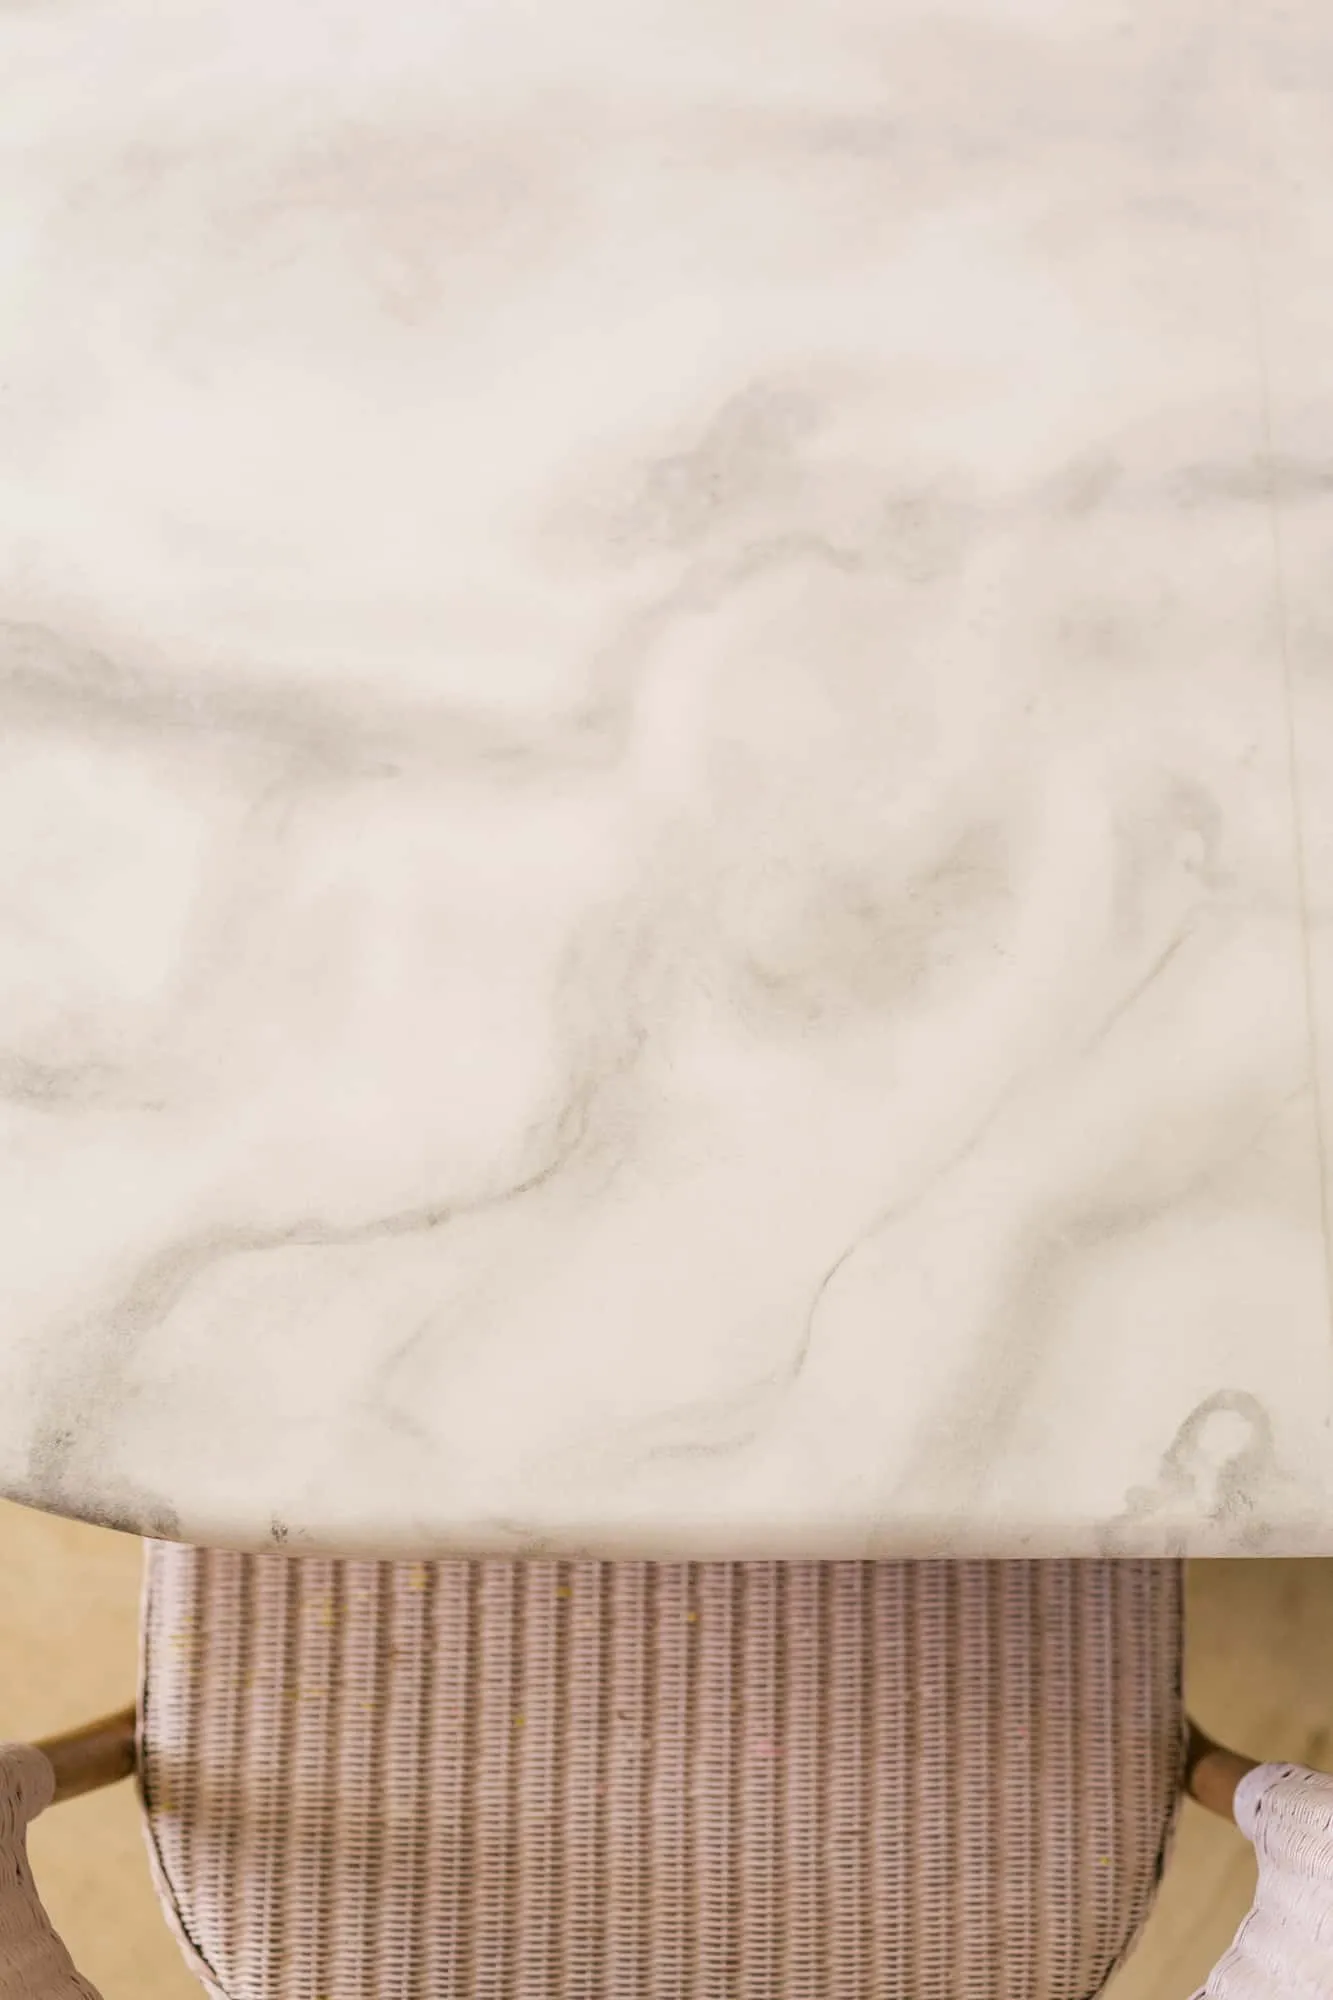
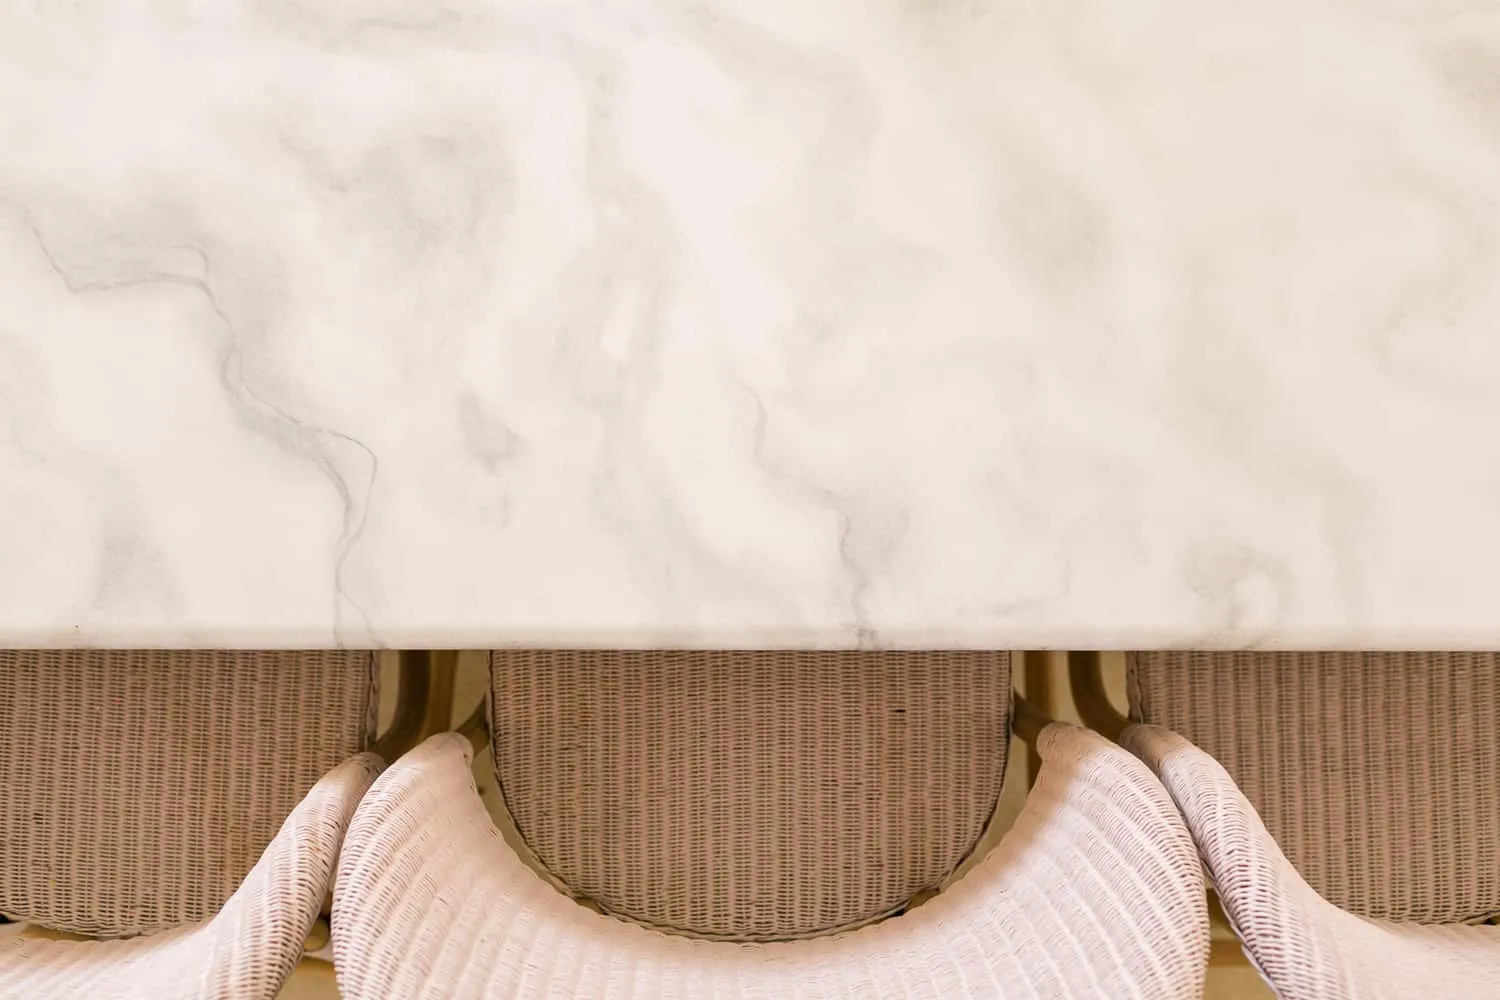
DIY Marble Countertop Tips
People often ask if you need to be artsy or a good painter to pull this off. Not at all! Patience and attention to detail will get you far, and it’s actually better if you aren’t a perfectionist.
I’m not that great of a painter and I’m definitely not a perfectionist, but I had a blast getting messy and trying to mimic real marble from photos.
In all my DIY years, this turned out to be one of my favorites. It was surprisingly easy and incredibly fun.
The marbling took me about three hours. There were moments I doubted everything, but after stepping away for a bit, I came back and was pleased with the results. So, if you start feeling frustrated, take a quick break.
Before starting, I watched an 18-minute YouTube video by the kit makers. It was super detailed and covered every step. Watching it is essential.
Apart from the kit, all we needed were some tweezers and painter’s tape.
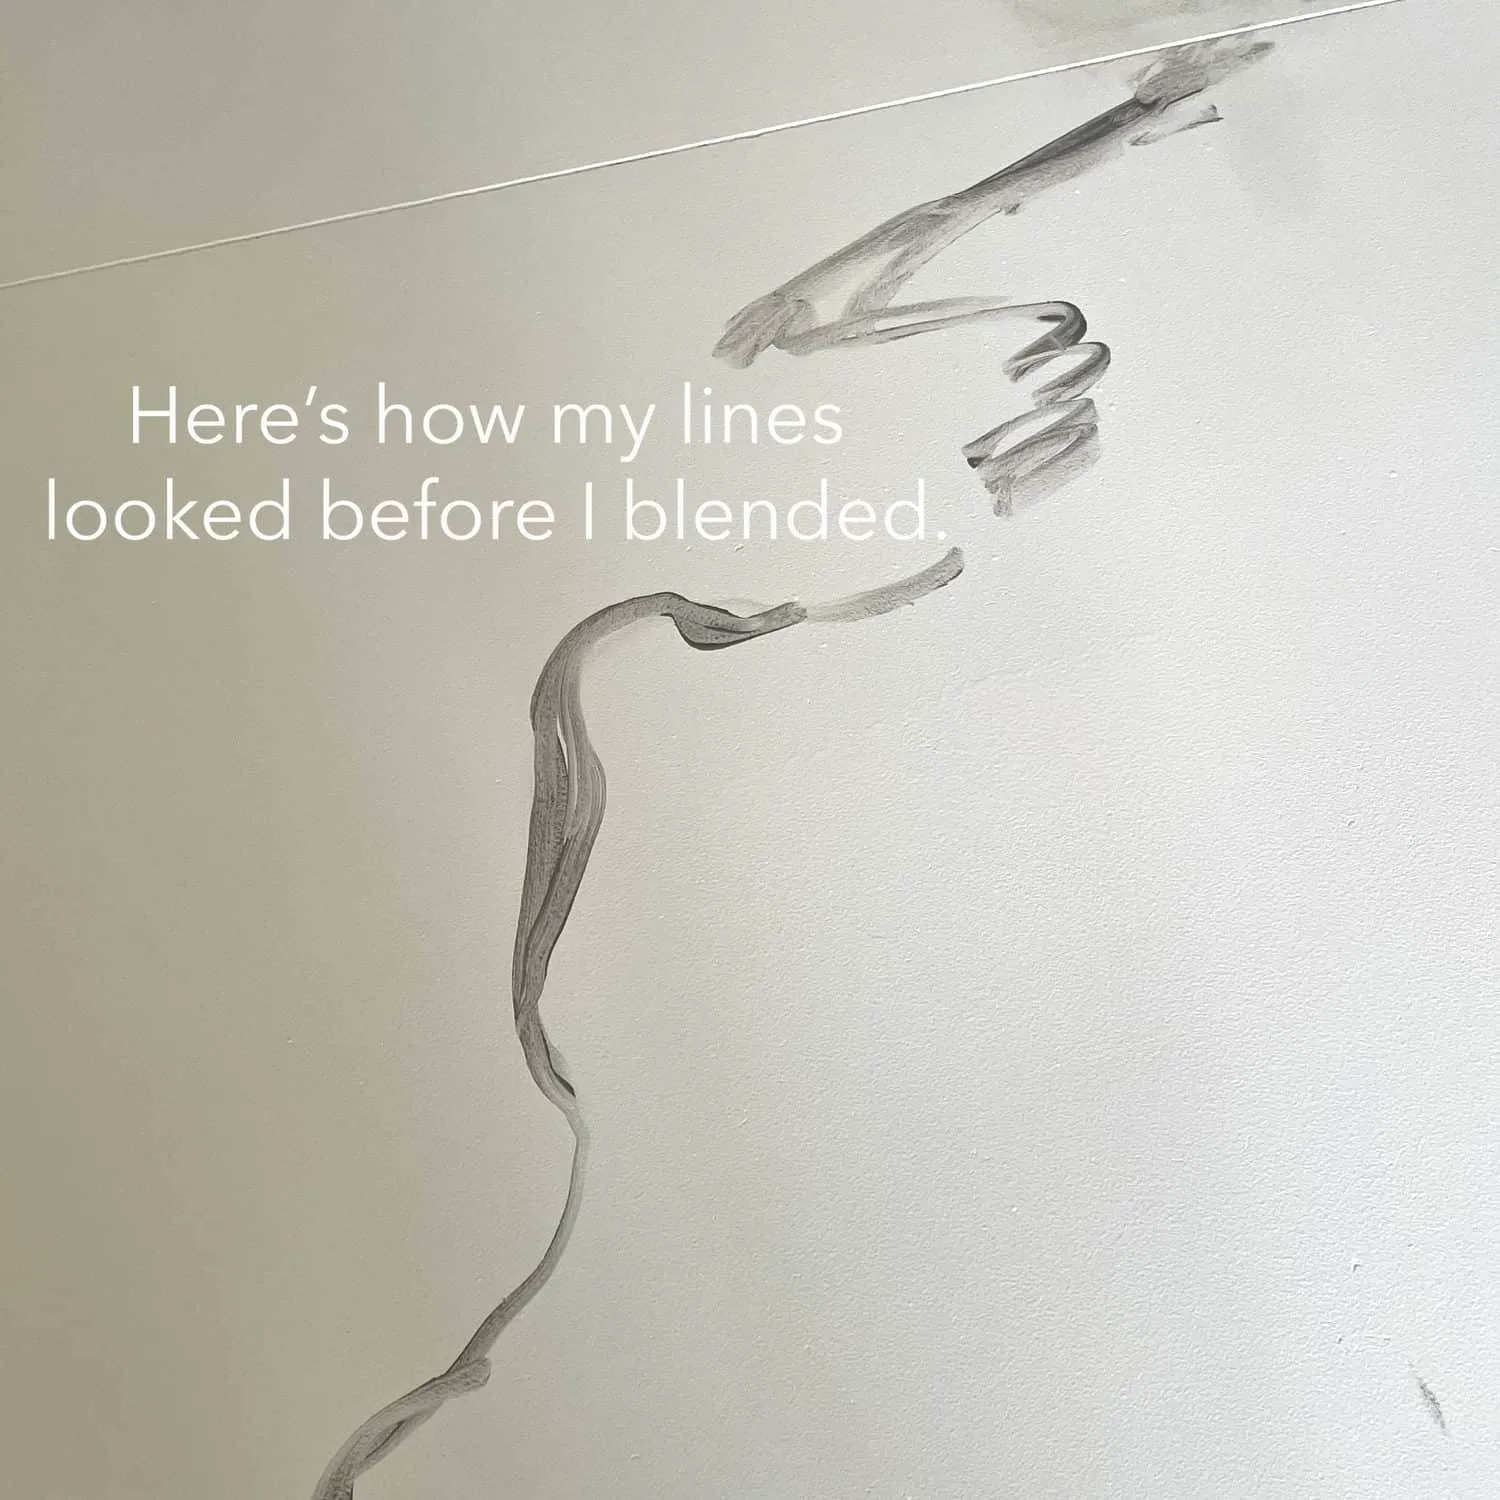
How Do You Make the Marble Look Real?
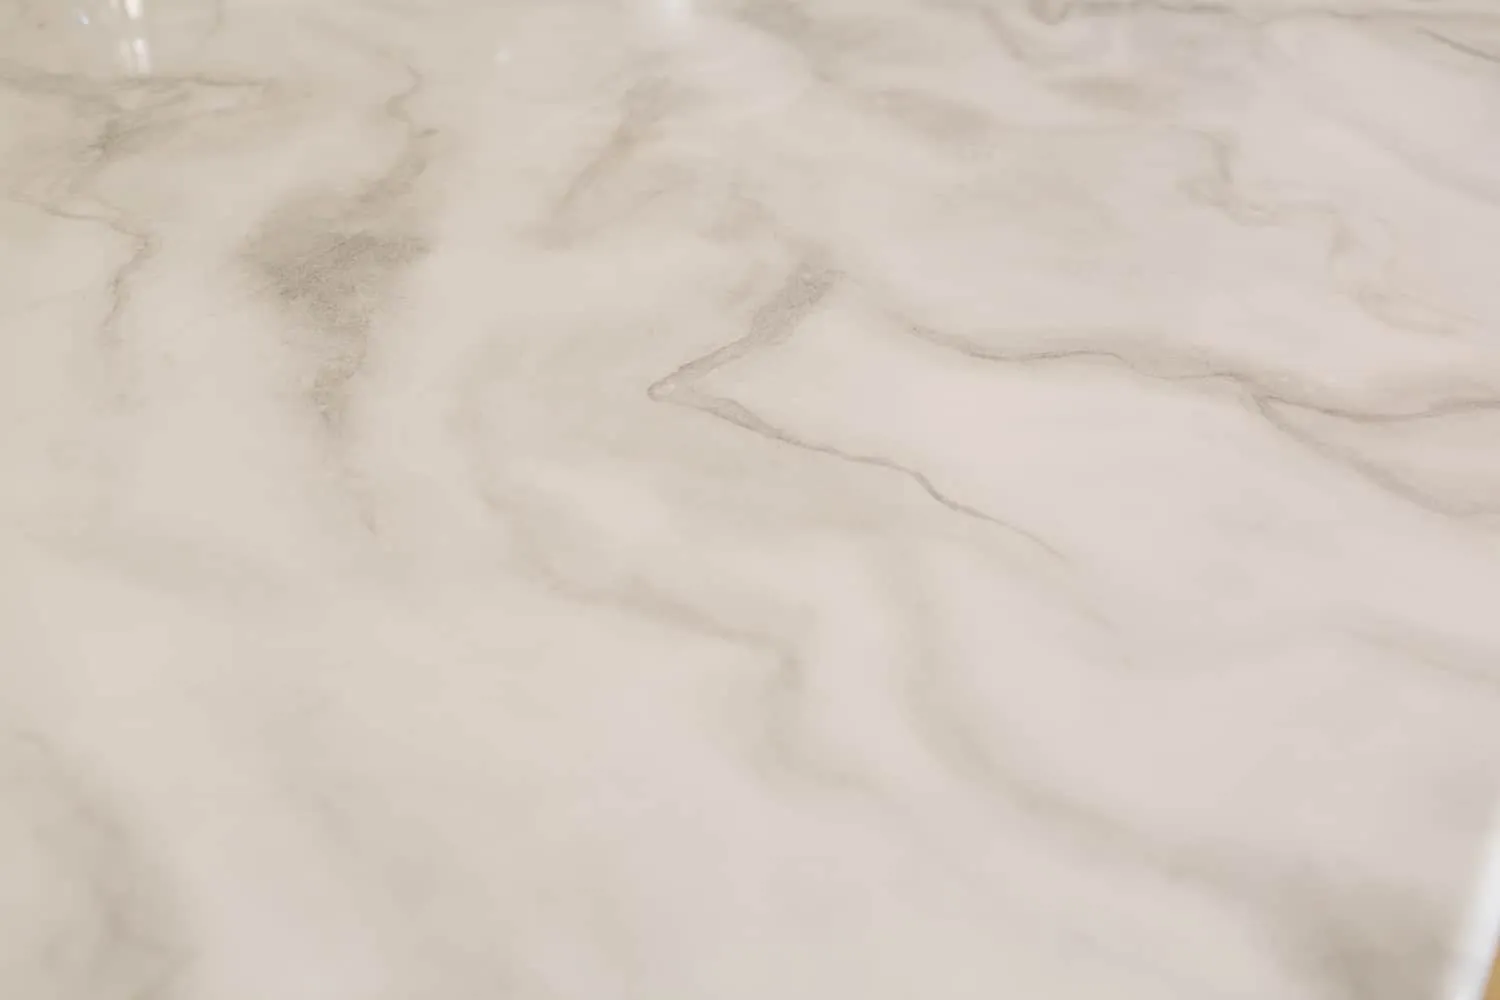
The key to making faux marble look real is to have reference photos of real marble. This helps maintain the right level of imperfection. Trust me, these reference photos were a lifesaver.
One thing I did differently from the video was to tackle the edges as I went along, which made each vein look seamless. I recommend this approach if you have a backsplash ledge.
Tips
- Go for lower contrast if you’re nervous. It’s easier to make low-contrast marble look real.
- Don’t be afraid to mess up. You can always wipe it off and start over.
- If you go too dark, lighten it by blending in more white paint.
- Practice on a piece of white foam board first if you’re unsure. This is a low-risk way to see if you enjoy or can handle the painting technique.
Frequently Asked Questions
Can you place hot pans on the surface without a pad?
Nope. Always use a trivet or potholder. This is critical if you like putting hot pots directly on the counter.
Is it easy to clean?
Yes! The glossy finish makes it super easy to wipe down and clean.
Can you start with any kind of counter? Does it need to be granite?
It doesn’t have to be granite. Actually, this technique is ideal for laminate surfaces since it’s a total upgrade. There’s some debate about whether it devalues granite, but for us, it wasn’t an issue since we planned to replace it anyways. According to the Giani website, you can apply this to almost any countertop type—vinyl, wood, and various stones.
Did the epoxy smell really strong?
Surprisingly, no. The primer is the strongest-smelling component, similar to regular wall paint. We kept a window open, and there was no noticeable odor. The epoxy didn’t smell either.
Would you do this on a counter you’re keeping long term?
If your laminate counter is in poor condition, then definitely yes! For granite, I’d think twice since it loses heat resistance. In a low-traffic area, it’s a great option.
Did you make any mistakes? How did you fix them?
Oh, yes! My brush shed hairs, which caused scratches. Use tweezers to avoid this. I just dabbed more paint to fix it before sealing. We also had to fill some small holes in the epoxy later on. Thankfully, we had leftovers for repairs.
How does the surface feel?
Glossy and slick, like a bar or restaurant table with an epoxy finish, but not as thick.
Did you actually do this yourself? Can it be a one-person job?
Yes, my partner Collin and I tag-teamed the project. He handled the base coat and epoxy, while I did the marbling. It’s totally doable solo.
Did it turn yellow?
No yellowing at all, which was a big concern for me.
Is it food-safe?
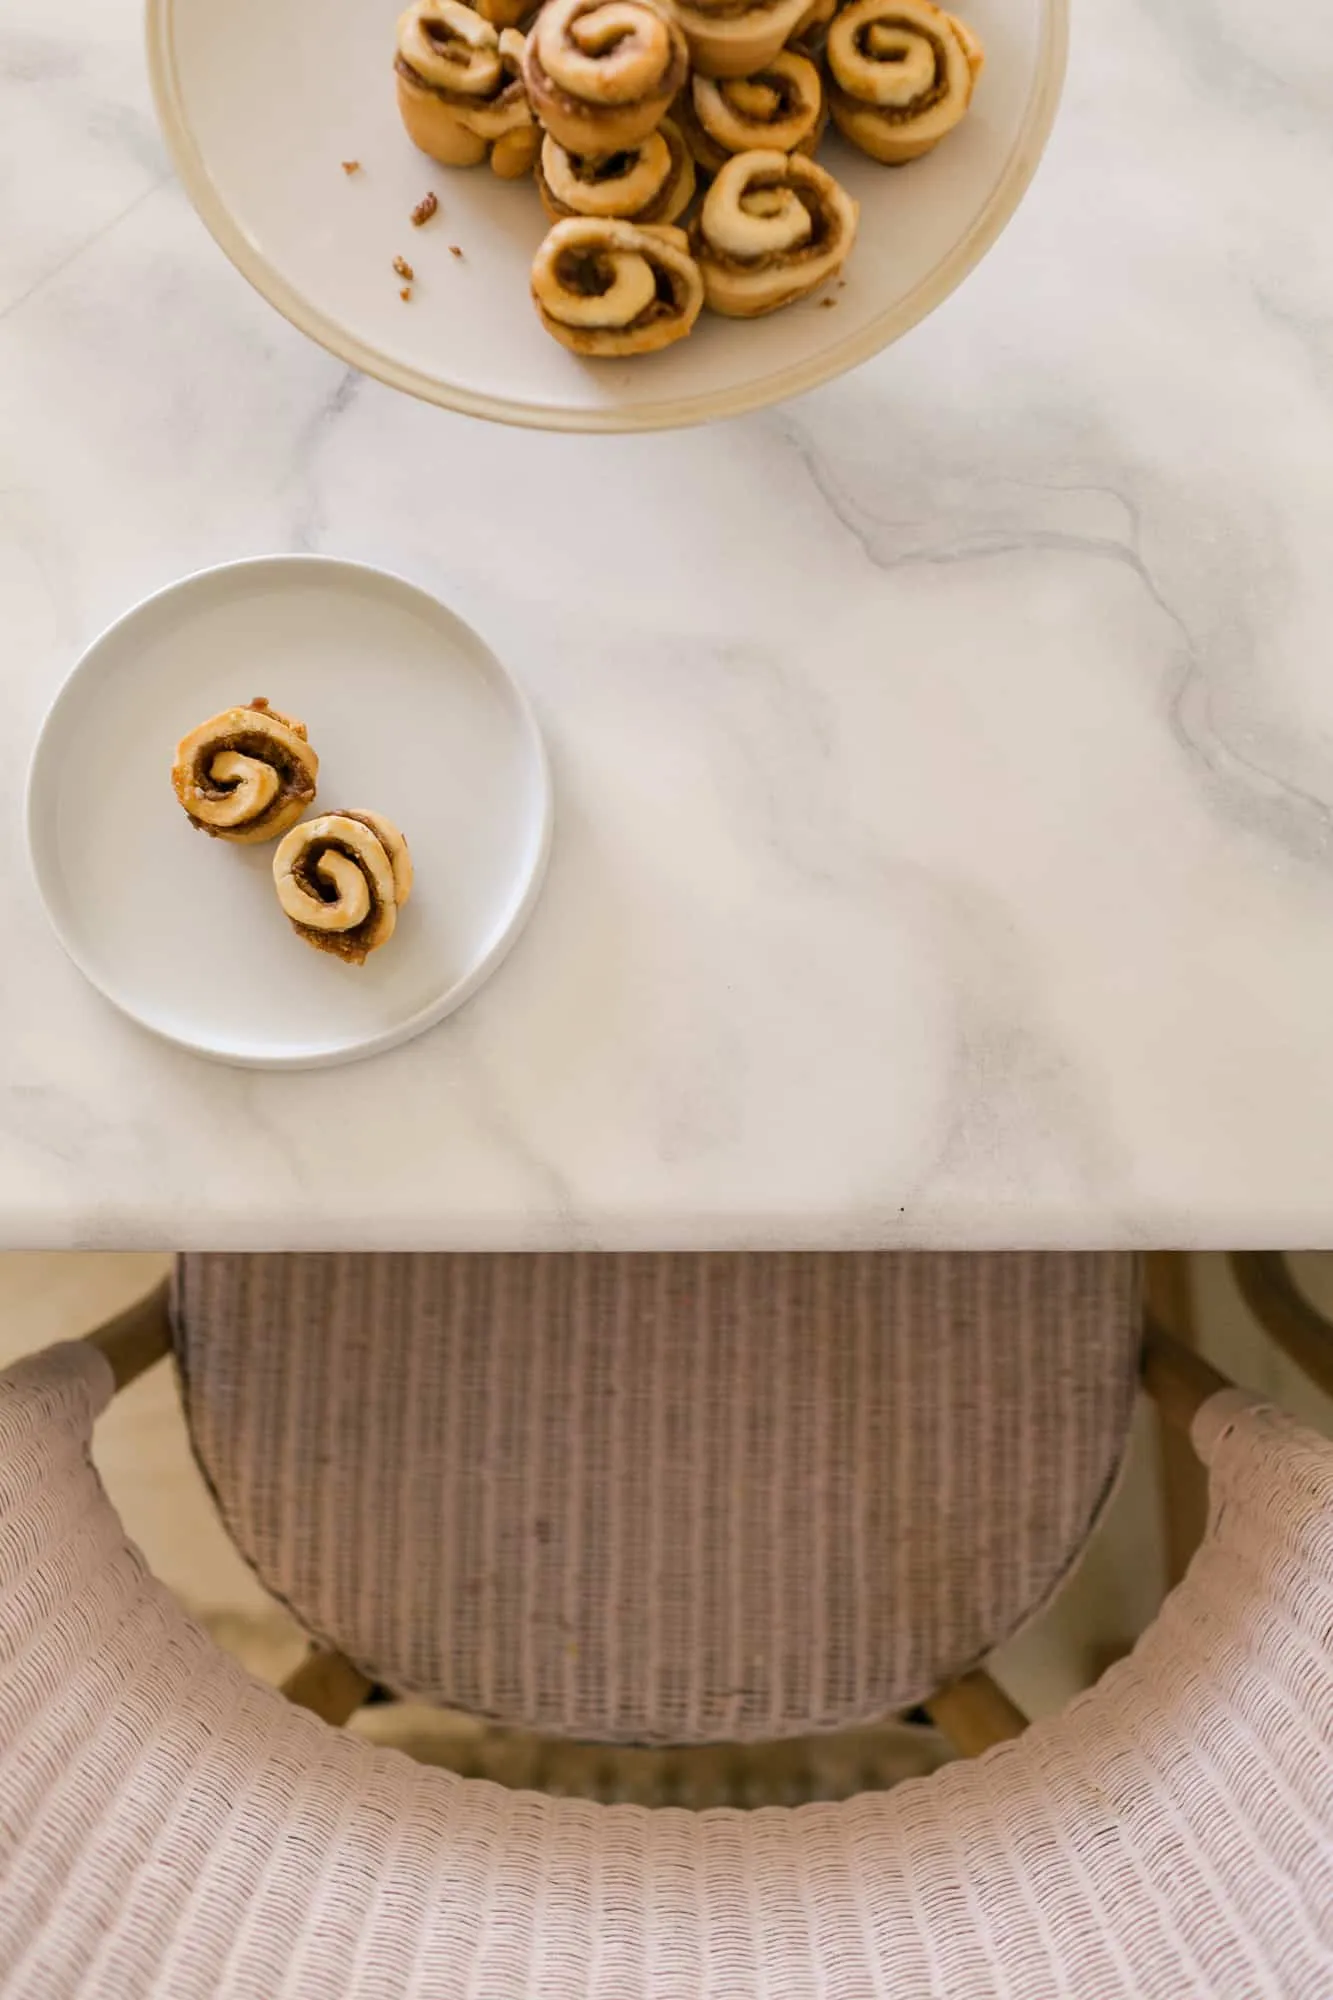
Nope. Always use a cutting board and plates. Also, avoid cutting directly on it to prevent scratches.
Do you have to remove the sink or can you go around it?
No need to remove the sink—just tape everything off.
Did the epoxy drip everywhere?
It dripped a little but was mostly contained by the provided tarps. Follow the video guidelines, and you’ll be fine.
Does it look better in photos or real life?
It looks just as great in real life as it does in photos!
Pros and Cons of This Project
Pros:
- Affordable: Under $200 for the whole project.
- Quick: Takes 2-3 days and makes a big impact.
- Fun! One of my favorite DIYs ever.
- Easy: On the spectrum of countertop DIYs, it’s very manageable.
Cons:
- Faux painting can be intimidating.
- You can’t set hot pots on it.
- You can’t cut directly on it or serve food without dishes.
Who Should Do This Countertop DIY?
- If you dream of marble counters but they’re out of budget.
- If your vinyl countertops are in bad shape.
- If you’re planning a remodel in a few years and want a temporary but stylish solution.
How Did It Hold Up?
We used this painted counter for about two years before replacing them just before moving. Despite heavy daily use—especially by our kids—it only got one small scratch. I consider the project a huge success and highly recommend this method for a kitchen upgrade when a full renovation isn’t in the cards yet.