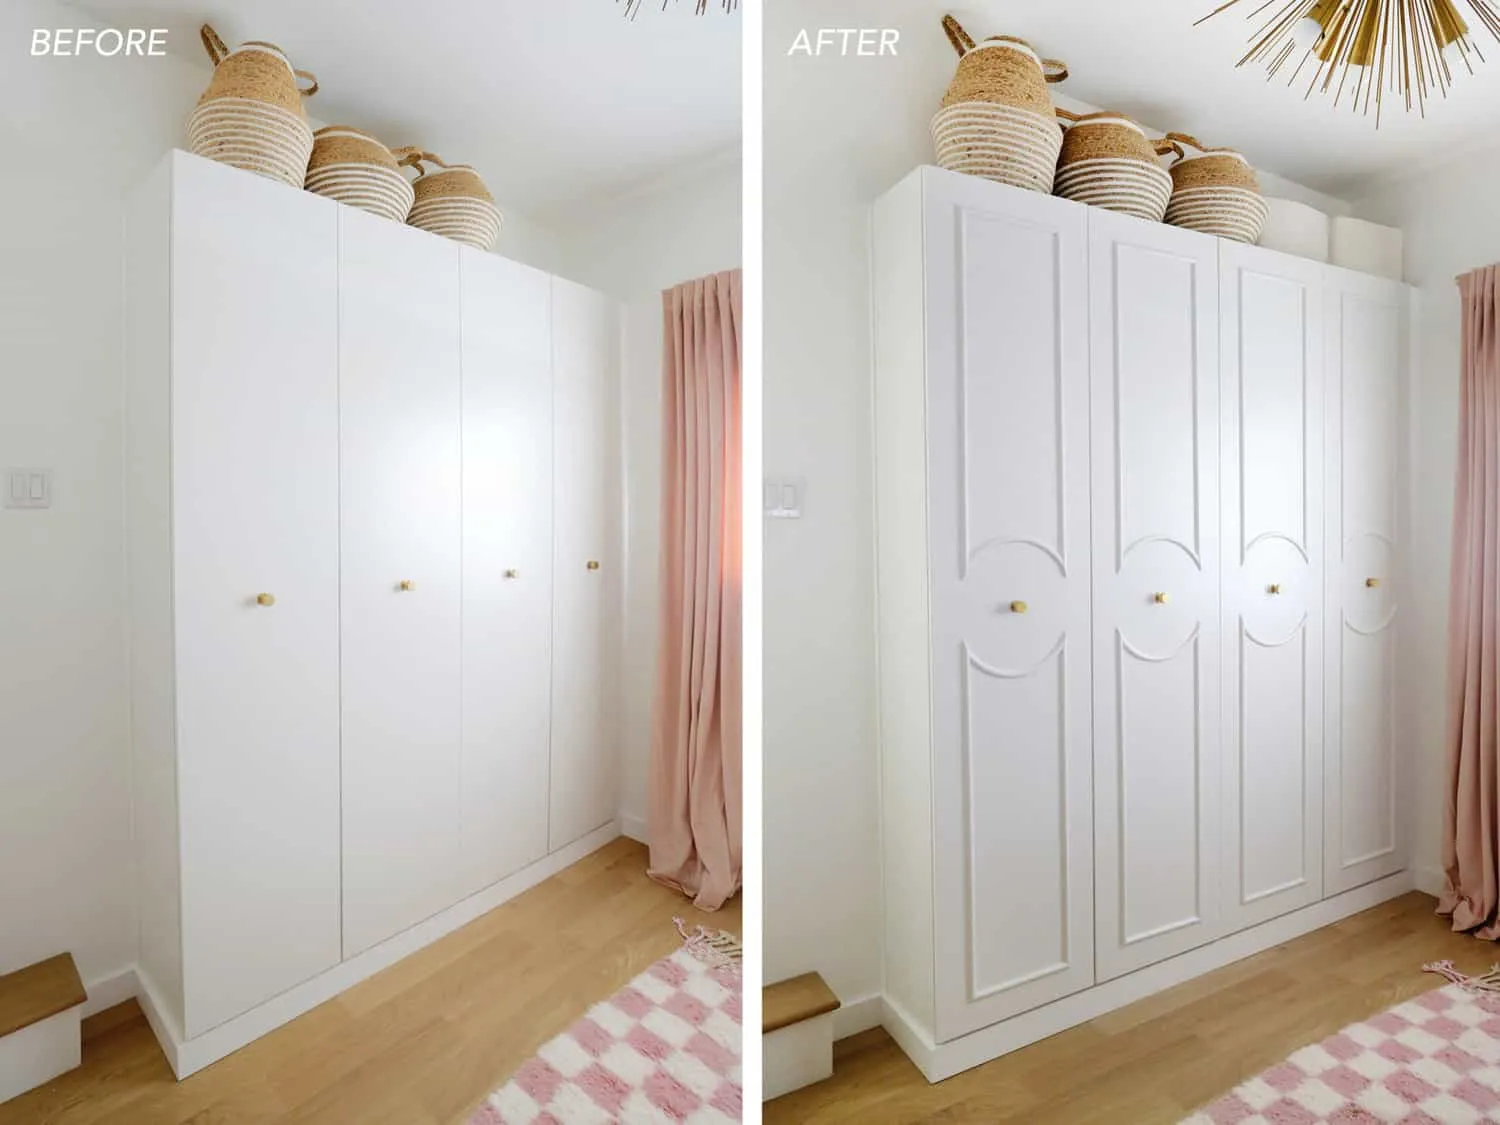
Hey there! If you’ve snagged an IKEA Pax wardrobe and want to jazz it up a bit, I’ve got a great tip for you—add some custom trim to those doors! It’s a simple trick to make your wardrobes look high-end and unique to your style.
Here’s the lowdown on how I gave my Pax wardrobes a chic makeover:

What You’ll Need
- Drill
- Painter’s tape
- Level
- 14″ wooden circle
- Straight half round molding (I used 3/8″ x 3/4″)
- Half round flexible molding (also 3/8″ x 3/4″)
- Miter saw or hand saw with a miter box
- Craft saw
- Finish nail gun and 3/4″ brad nails
- Wood filler and fine sandpaper
- Caulk
- Paint primer (this one works wonders on laminate)
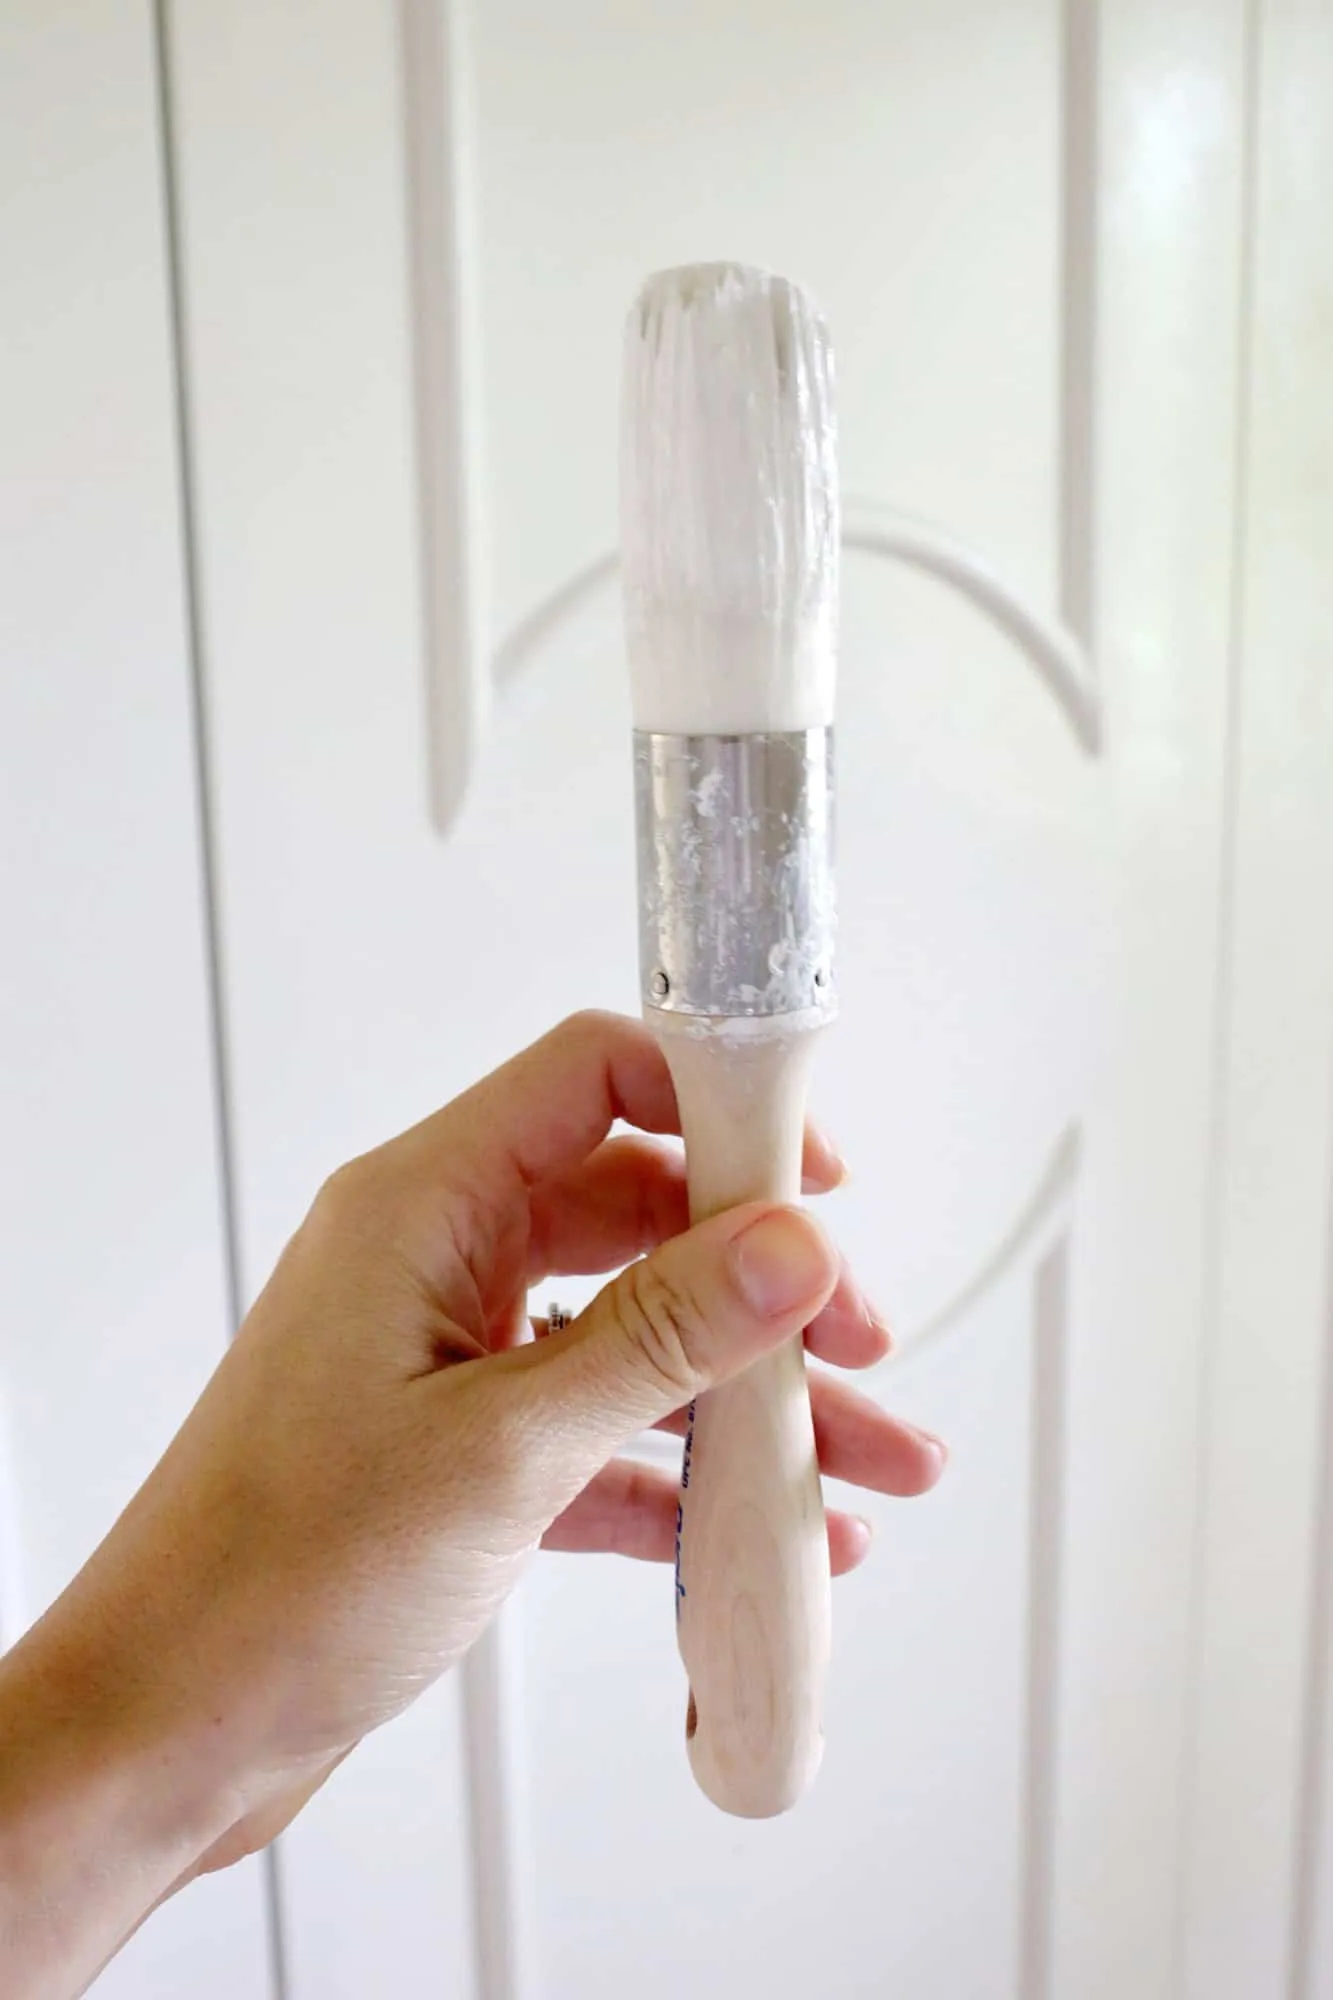
- Acrylic paint (a spindle brush works great for the molding)
Note: Check out this site for flexible molding. They offer various sizes and pre-bent circles, making the process a lot easier.
Getting Started
-
Prep Your Circle:
- Use your wooden circle as an arch guide. Drill a hole in the center to fit your door handle screw. This makes it super easy to hang the circle on the door.
- Secure it with painter’s tape to keep it still.
-
Line Up Your Trim:
- Drape your flexible trim over the circle and tape it in place. Then, position your first straight trim piece on the left side, about 3.5″ from the edge of the door.
-
Mark and Cut:
- Mark where the straight trim meets the flexible trim on your circle. This gives you the angle you need to cut.
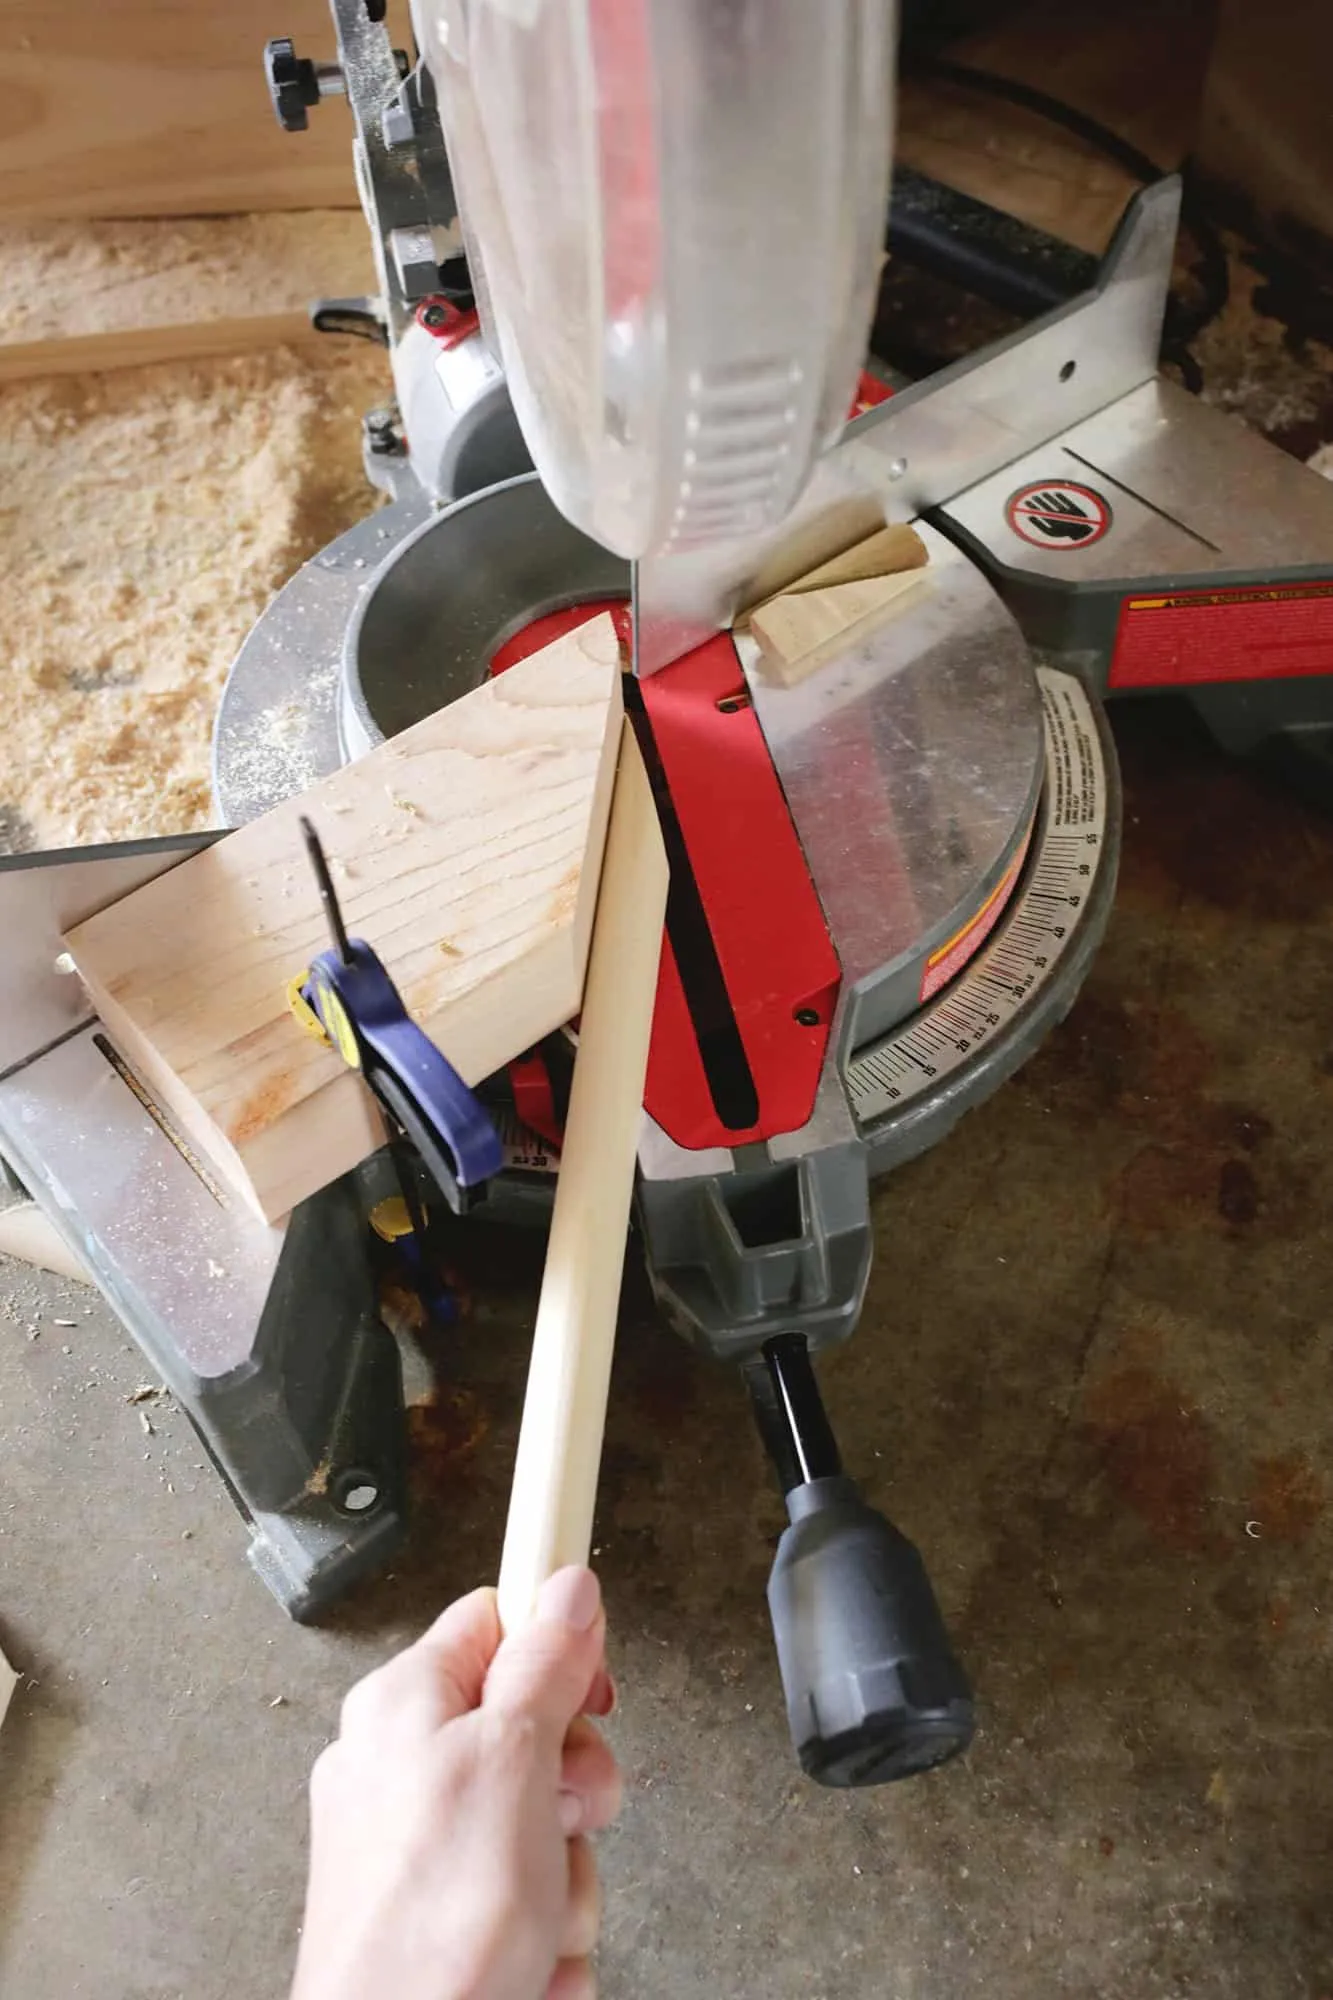
- If your saw doesn’t cut beyond 45°, use this trick: Clamp a scrap piece of wood to your saw, cut at 45°, and this will help get the angle you need. Rotate the saw towards the 25° mark for a 70° angle.
-
Final Angle Cuts:
- For the other side, either repeat the process or flip the trim upside down to mirror the angle.

-
Cutting Flexible Molding:
- Tape your straight pieces in place and cut your flexible trim where they overlap. Pre-bent pieces are a lifesaver for this step—trust me.
-
Assembly:
- Fit your cuts together to form the arch. Repeat for the bottom section of the door.
-
Attach Your Trim:
- Once everything looks good, cut straight pieces to fit between your arch and the top and bottom of the door at a 45° angle. Attach everything with wood glue and a finish nail gun for extra security.

- Finishing Touches:
- Fill in nail holes with wood filler and sand smooth. Caulk the edges for a seamless look, and give them a coat of primer. Finally, paint to match the rest of your wardrobe. I went with a color that perfectly matches IKEA’s white furniture.
And that’s it! Your revamped IKEA Pax wardrobes are ready to shine.