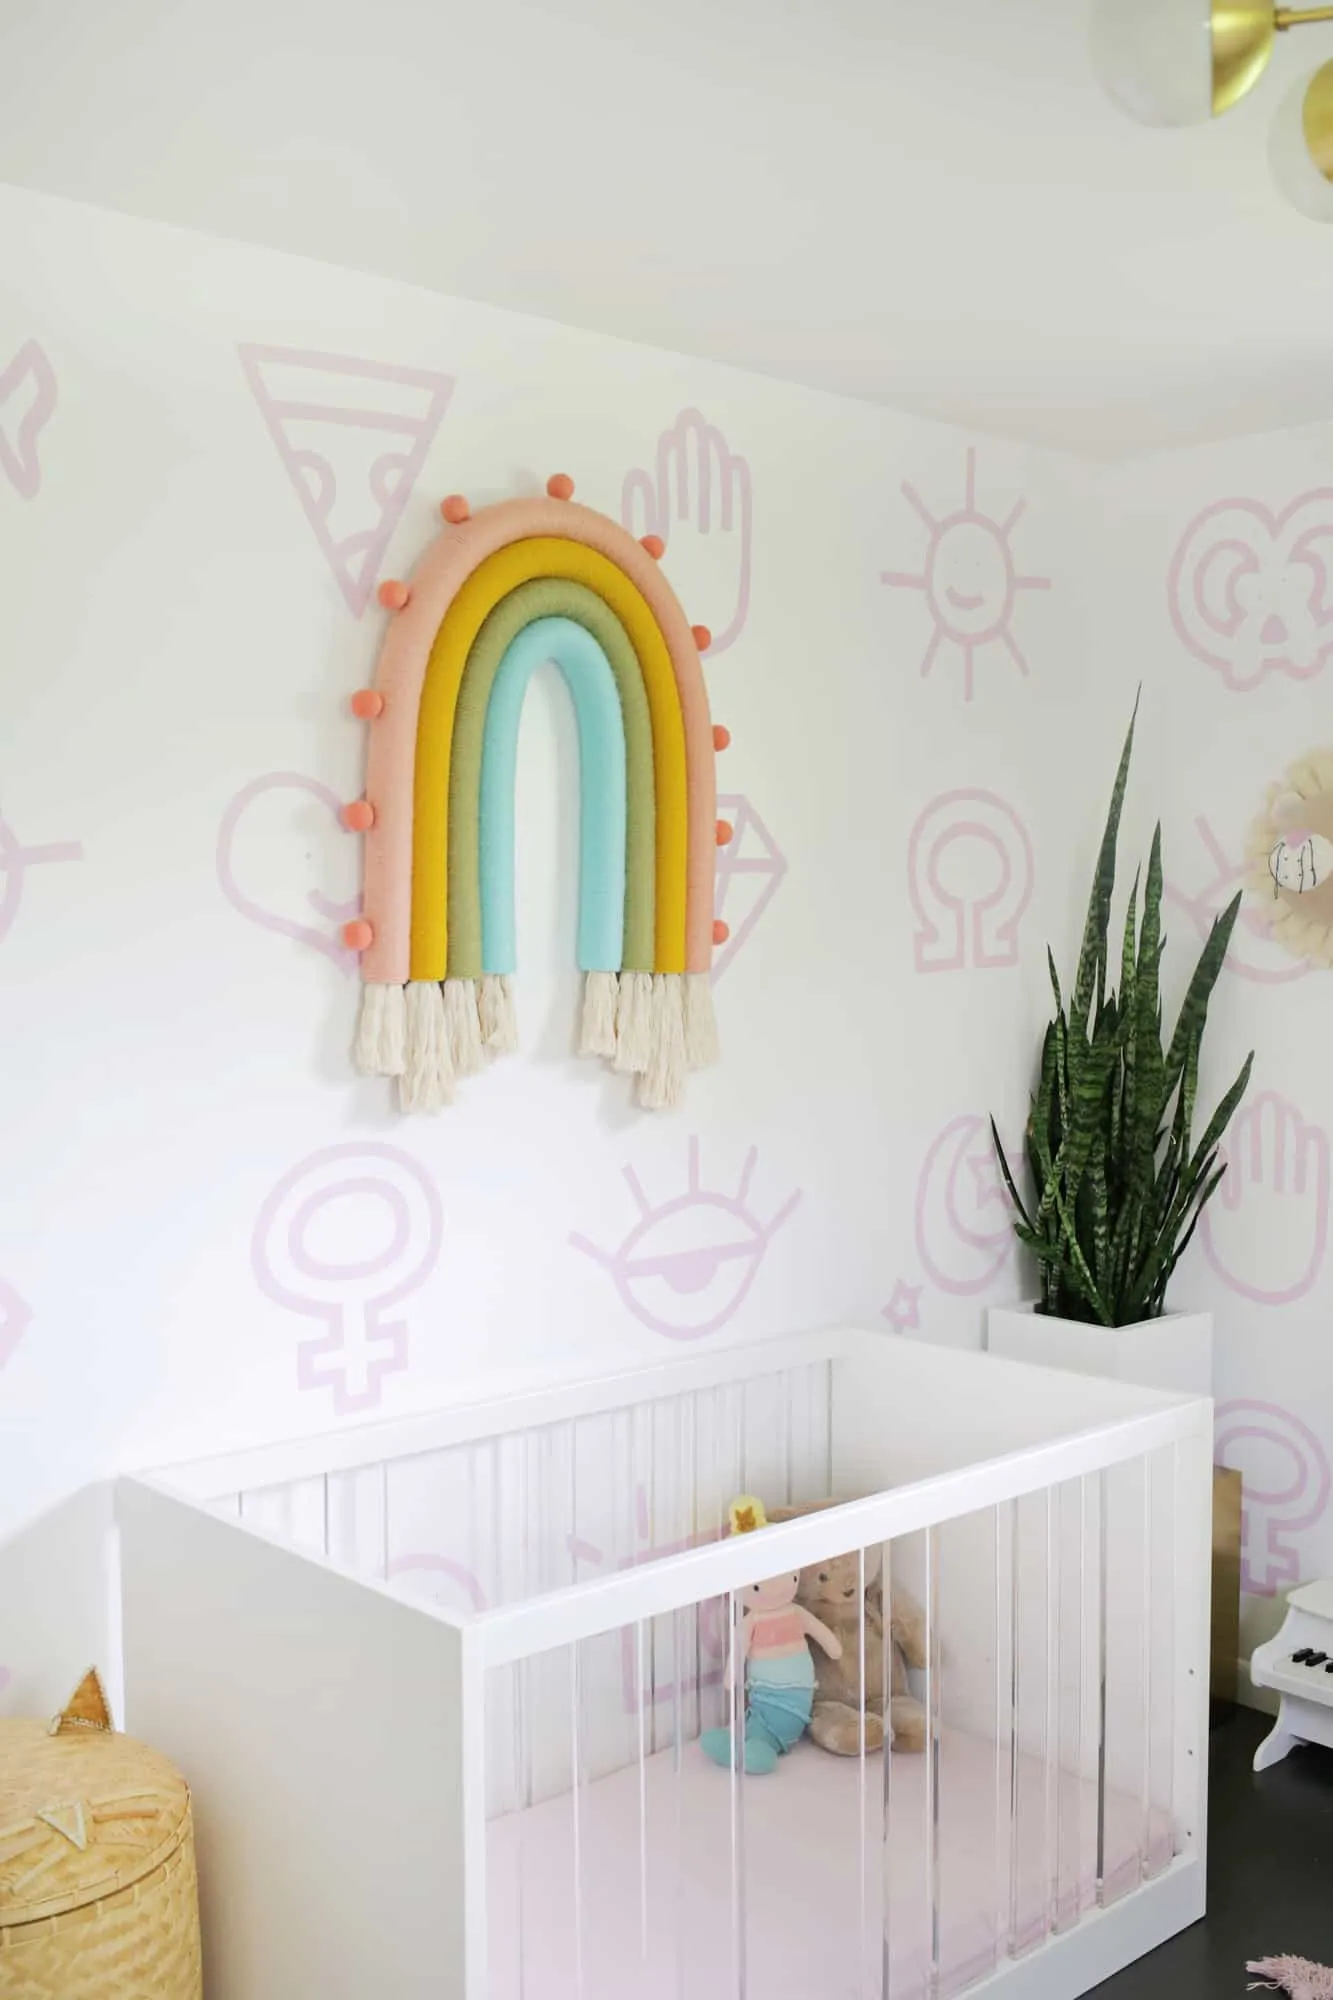
Hey friends! I’m super excited to share this fun and adorable DIY project with you — an oversized rainbow wall hanging!
I’ve been loving all the rainbow-themed decor for kids lately. Whether it’s on clothes, plush toys, or wall art, you can never go wrong with rainbows. And I am especially into the little rope rainbow trend.
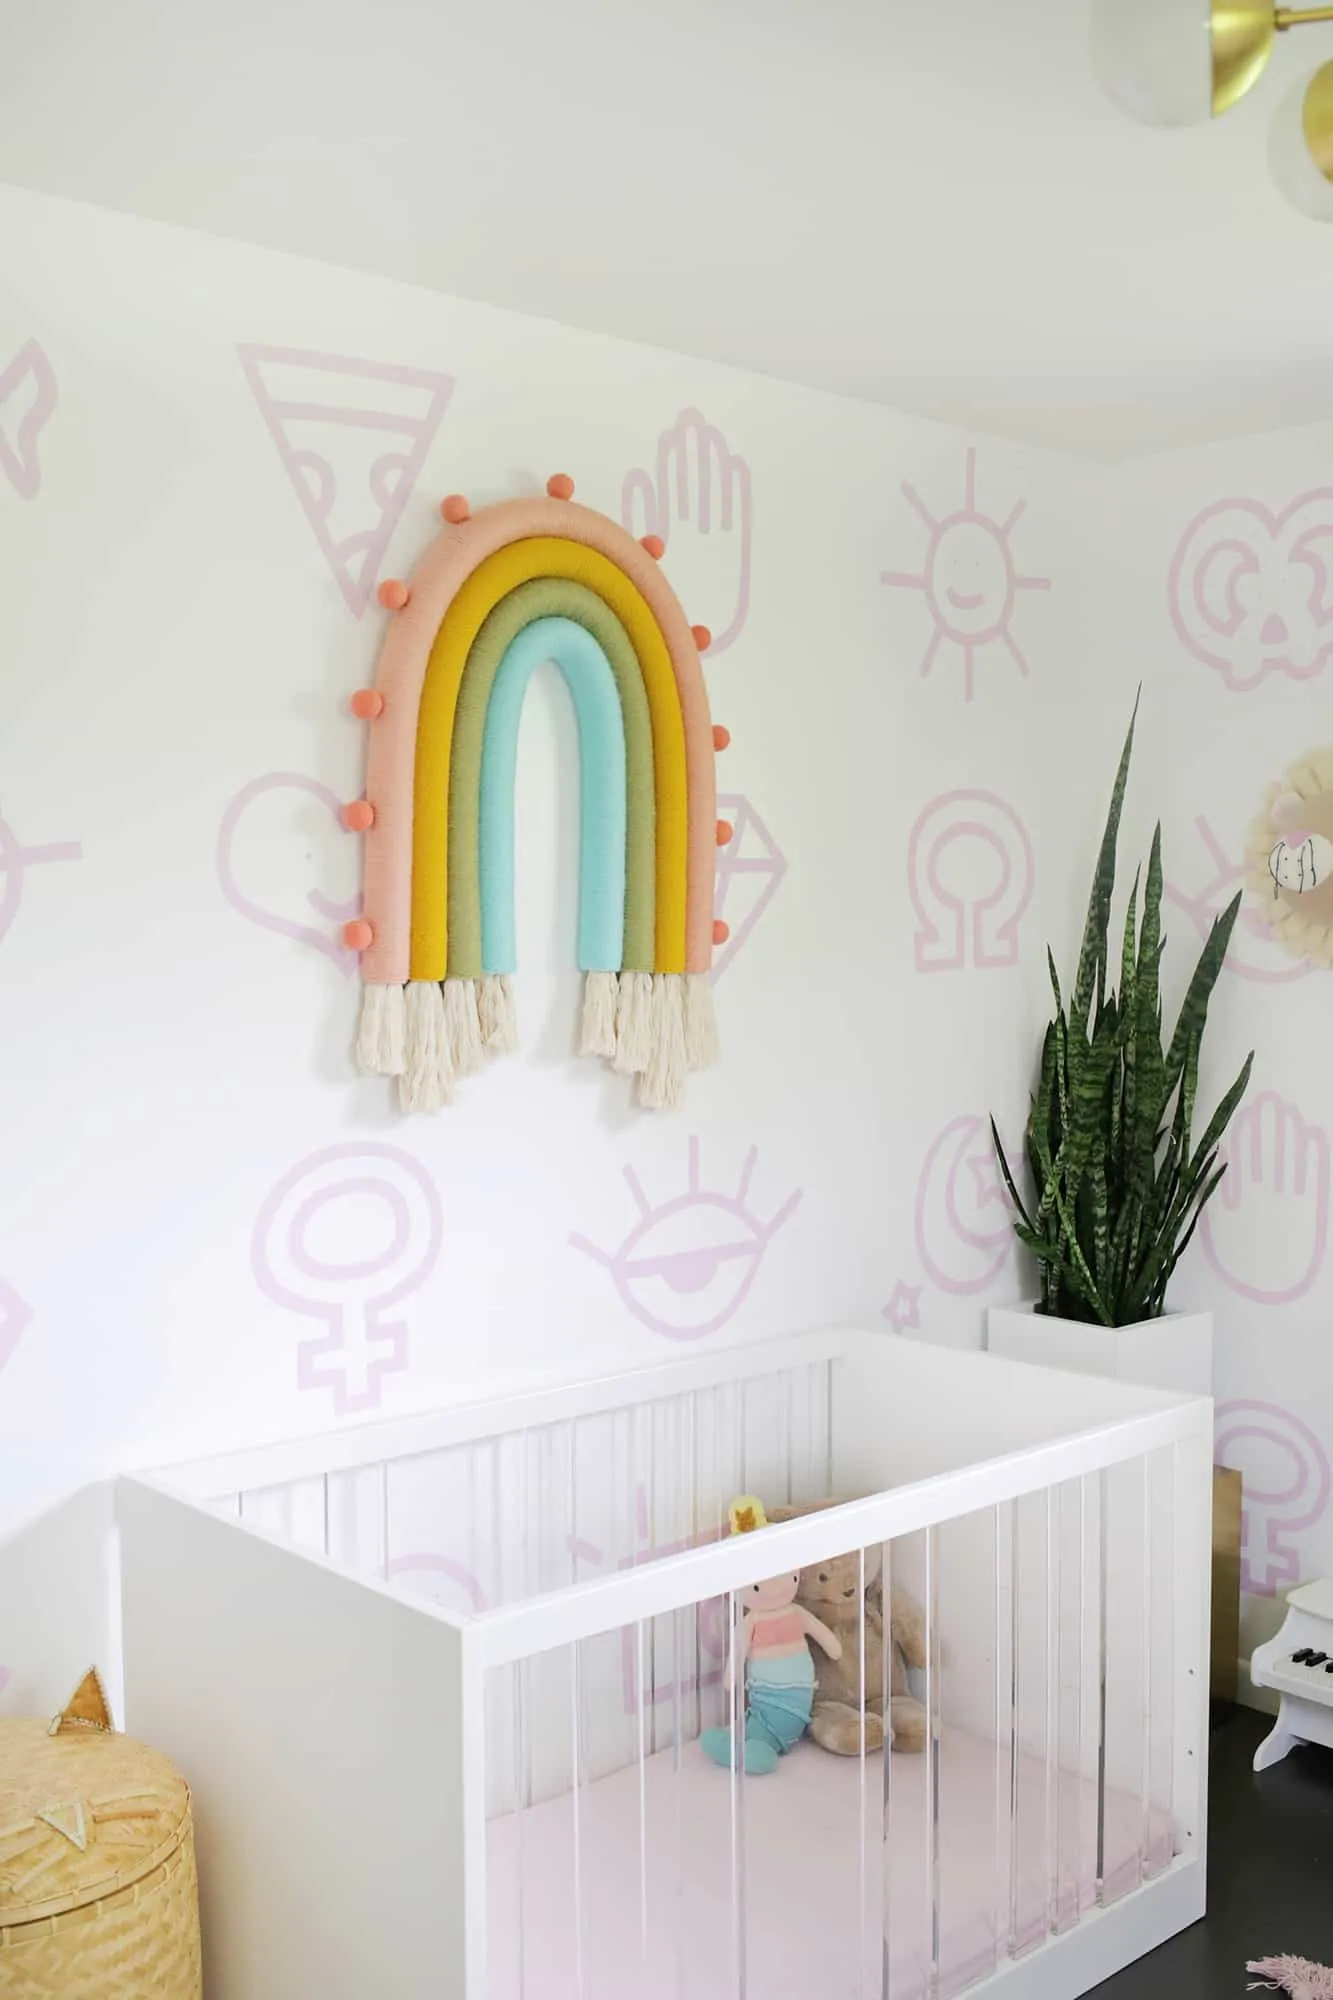
So, I had this idea — what if I made one of those rope rainbows but really big? Turns out, it’s just as awesome as I imagined!
Guess what I used as the base? Here’s a hint… splish, splash!
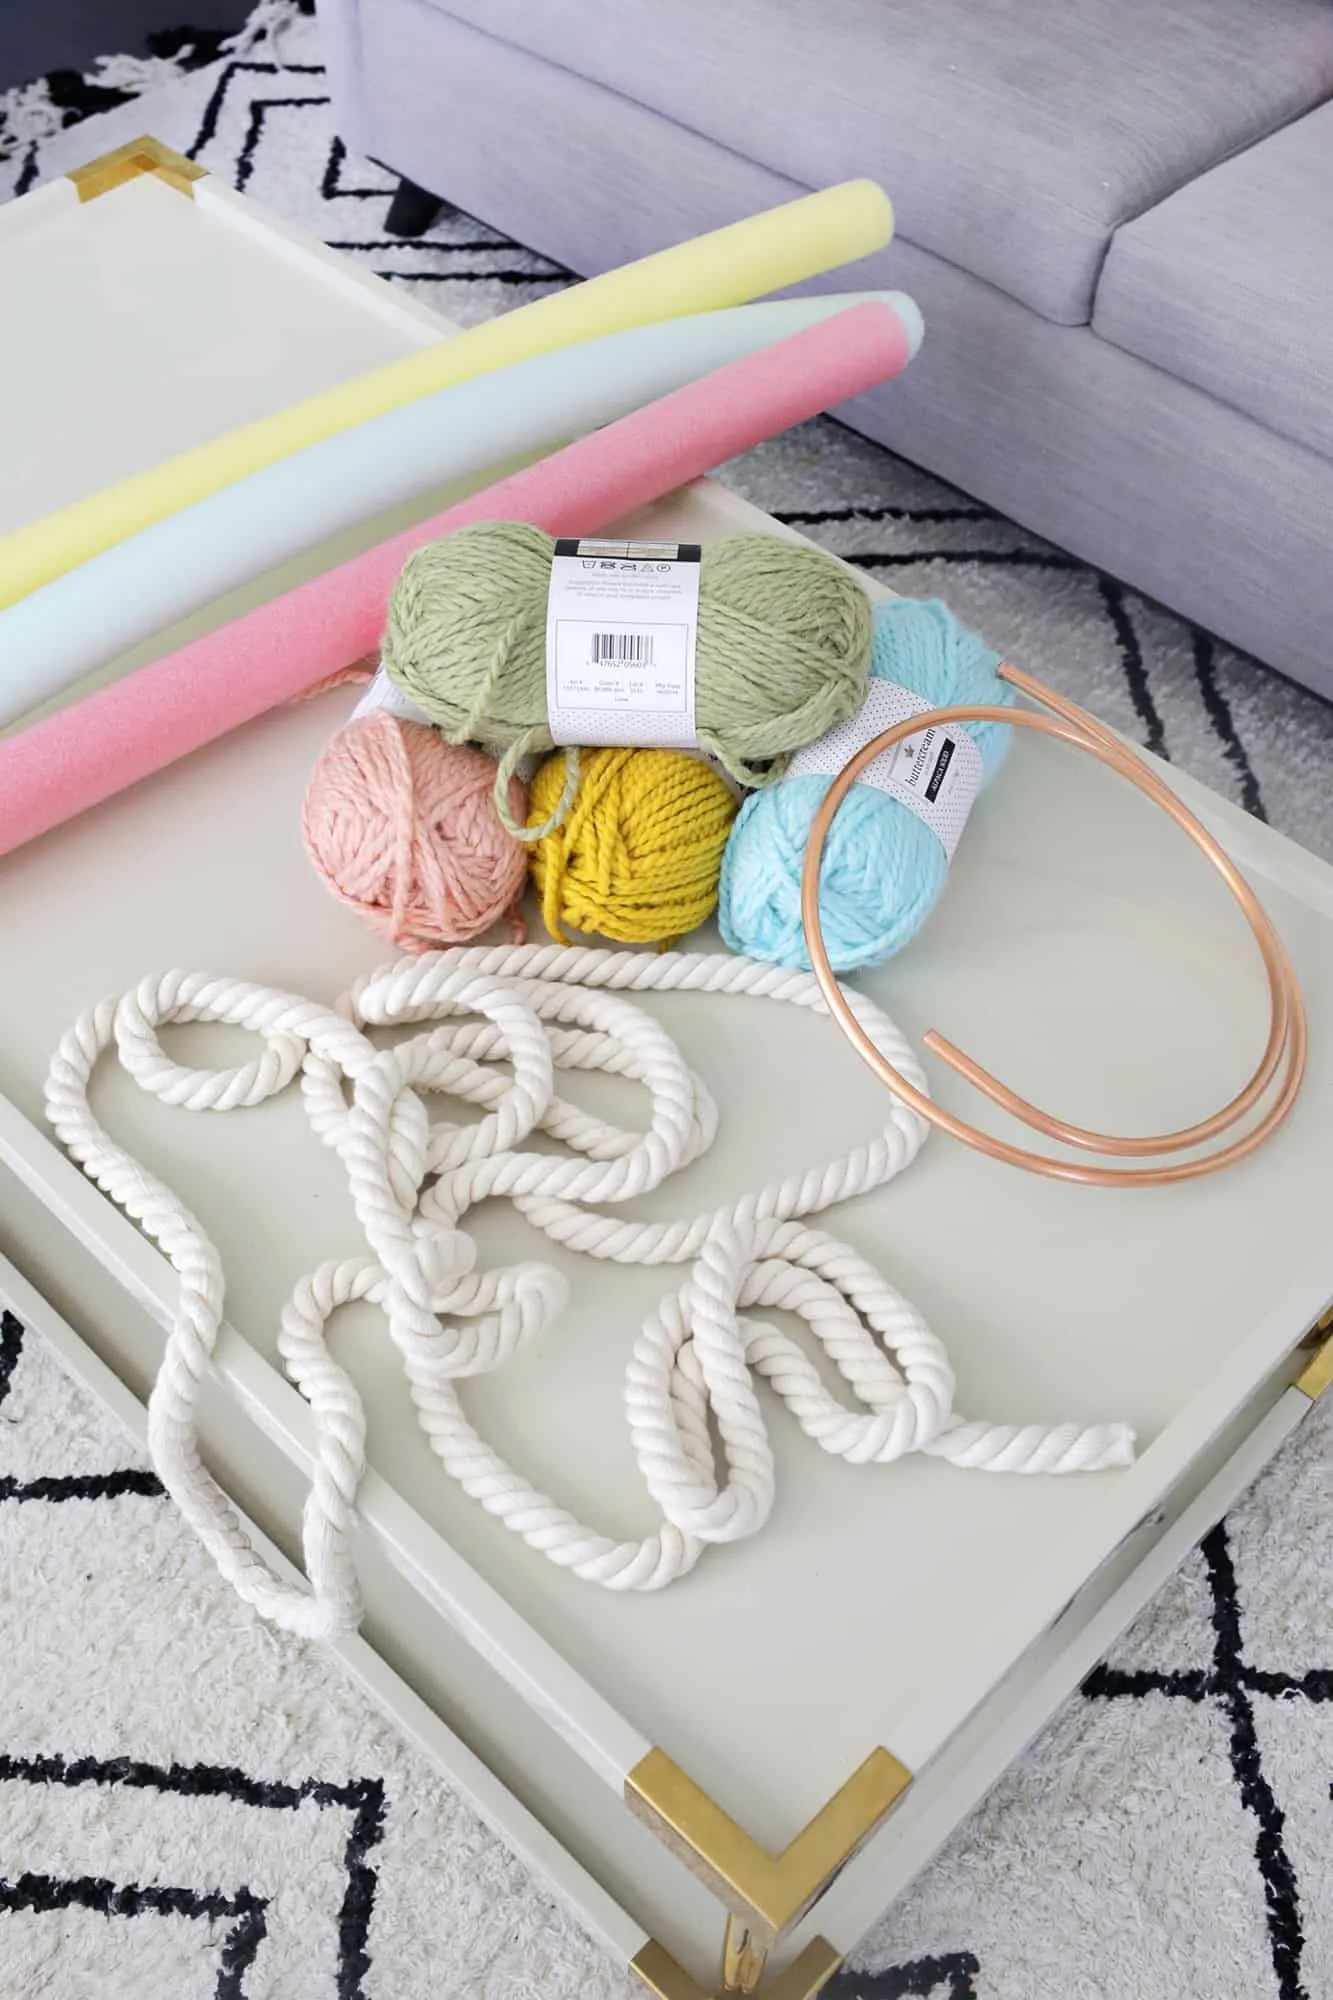
Supplies:
- 5 pool noodles (Did you guess it?)
- Thick cotton rope (You can find this in the trim section of your craft store)
- Thick yarn in your chosen colors (You won’t need more than the yarn in the photo)
- Hot glue gun
- X-Acto knife and scissors
- 10’ of 3/8” copper coil tubing
- Mini pipe cutter
- 4cm wool felt balls
- Cat brush
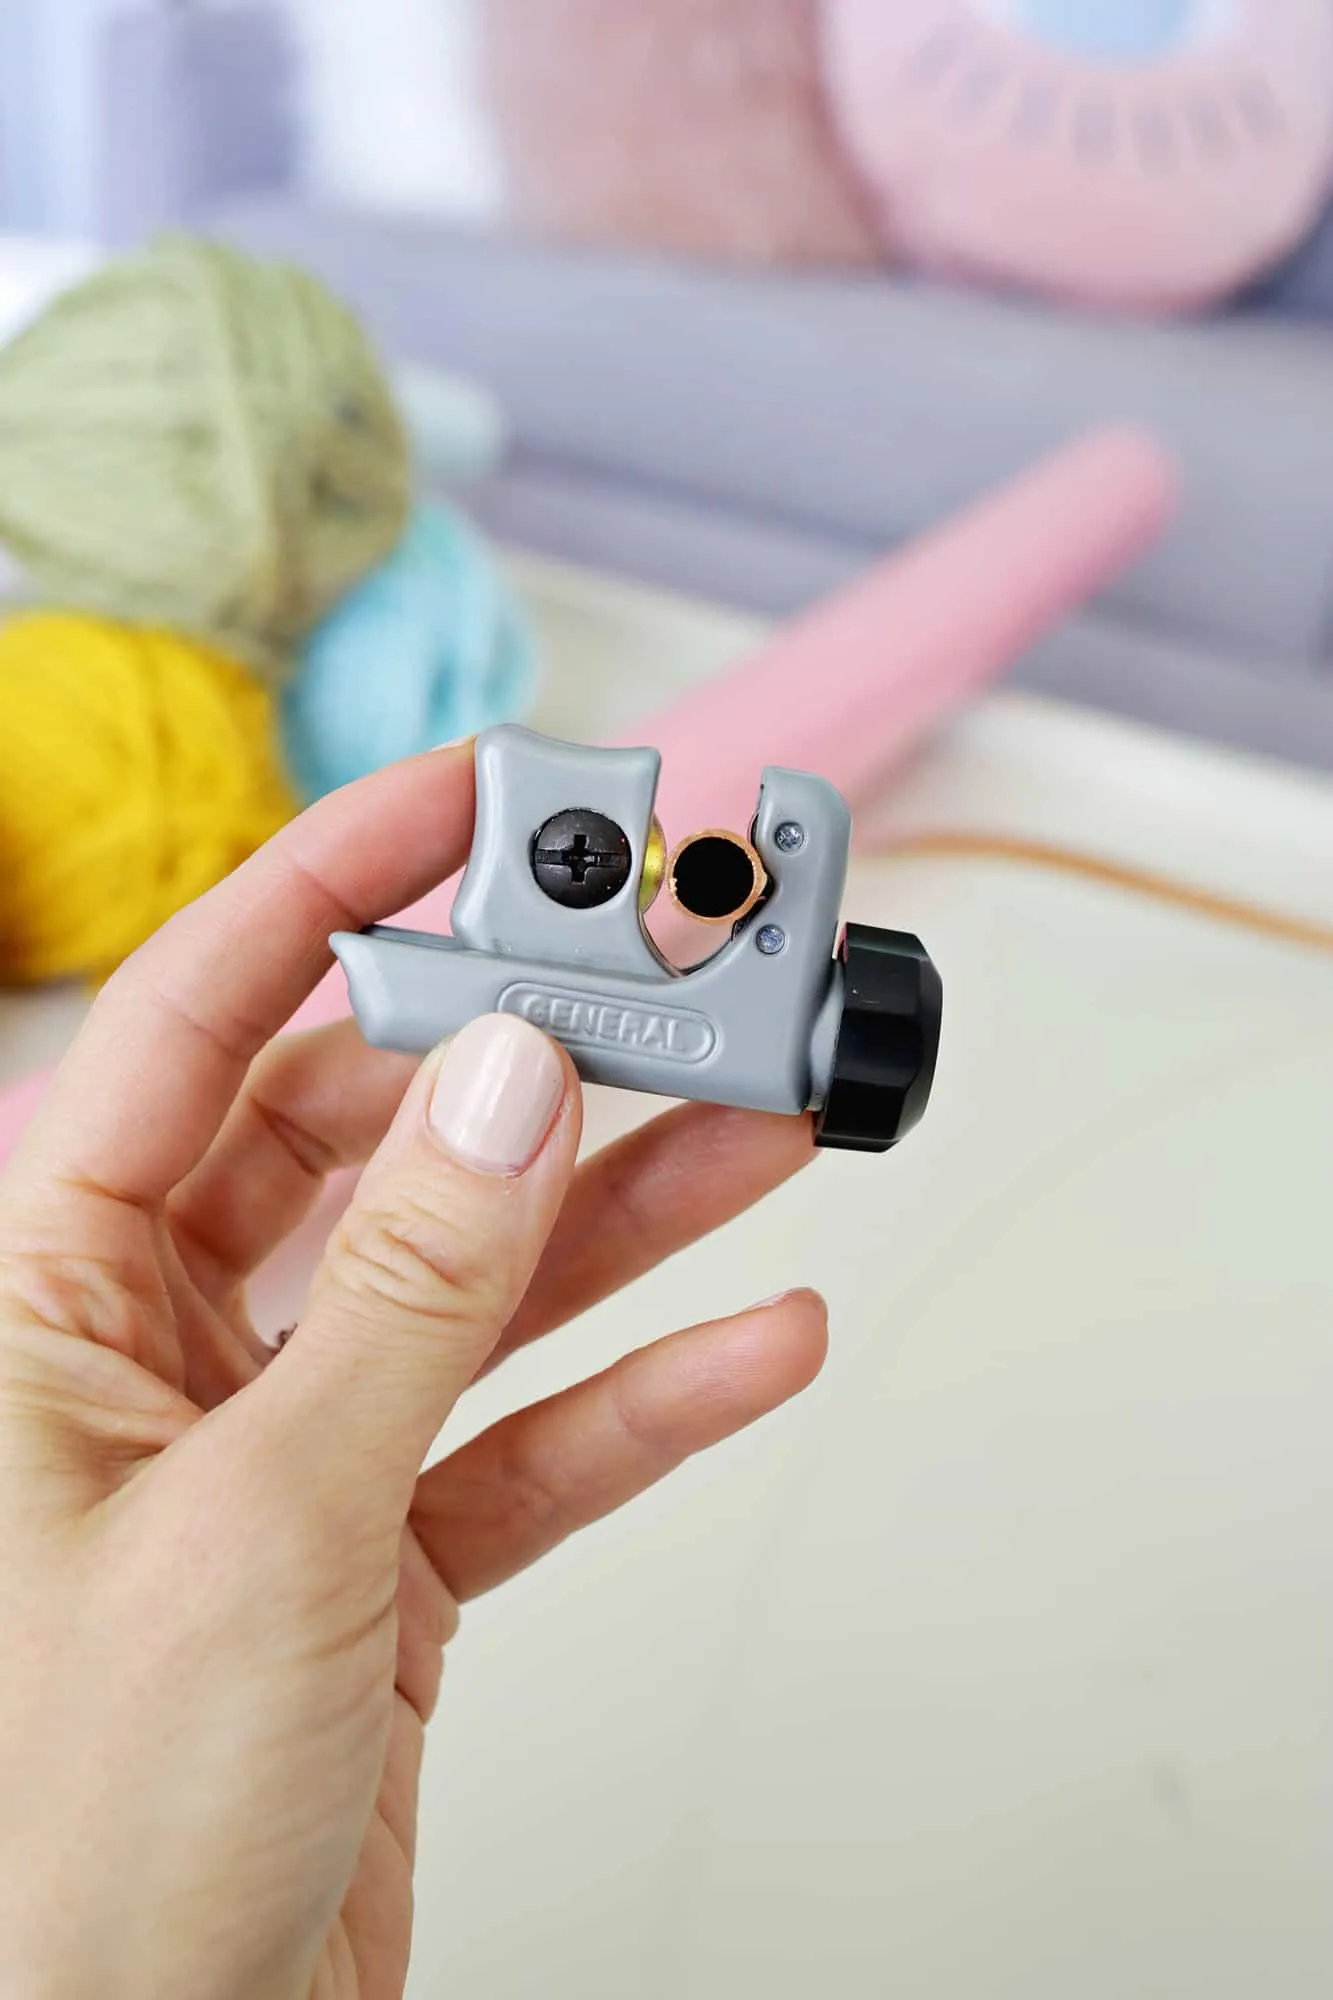
First, figure out how long you want your outer rainbow color to be because that will determine the size of your entire rainbow. I needed mine longer than a single pool noodle, so I cut 8” off another noodle and glued it to the end. Then, I cut a piece of copper coil tubing about 2” shorter than my noodle to fit inside.
Finding the right backbone for the rainbow took some thought. I needed something flexible yet sturdy. Copper coils from the hardware store turned out to be perfect!
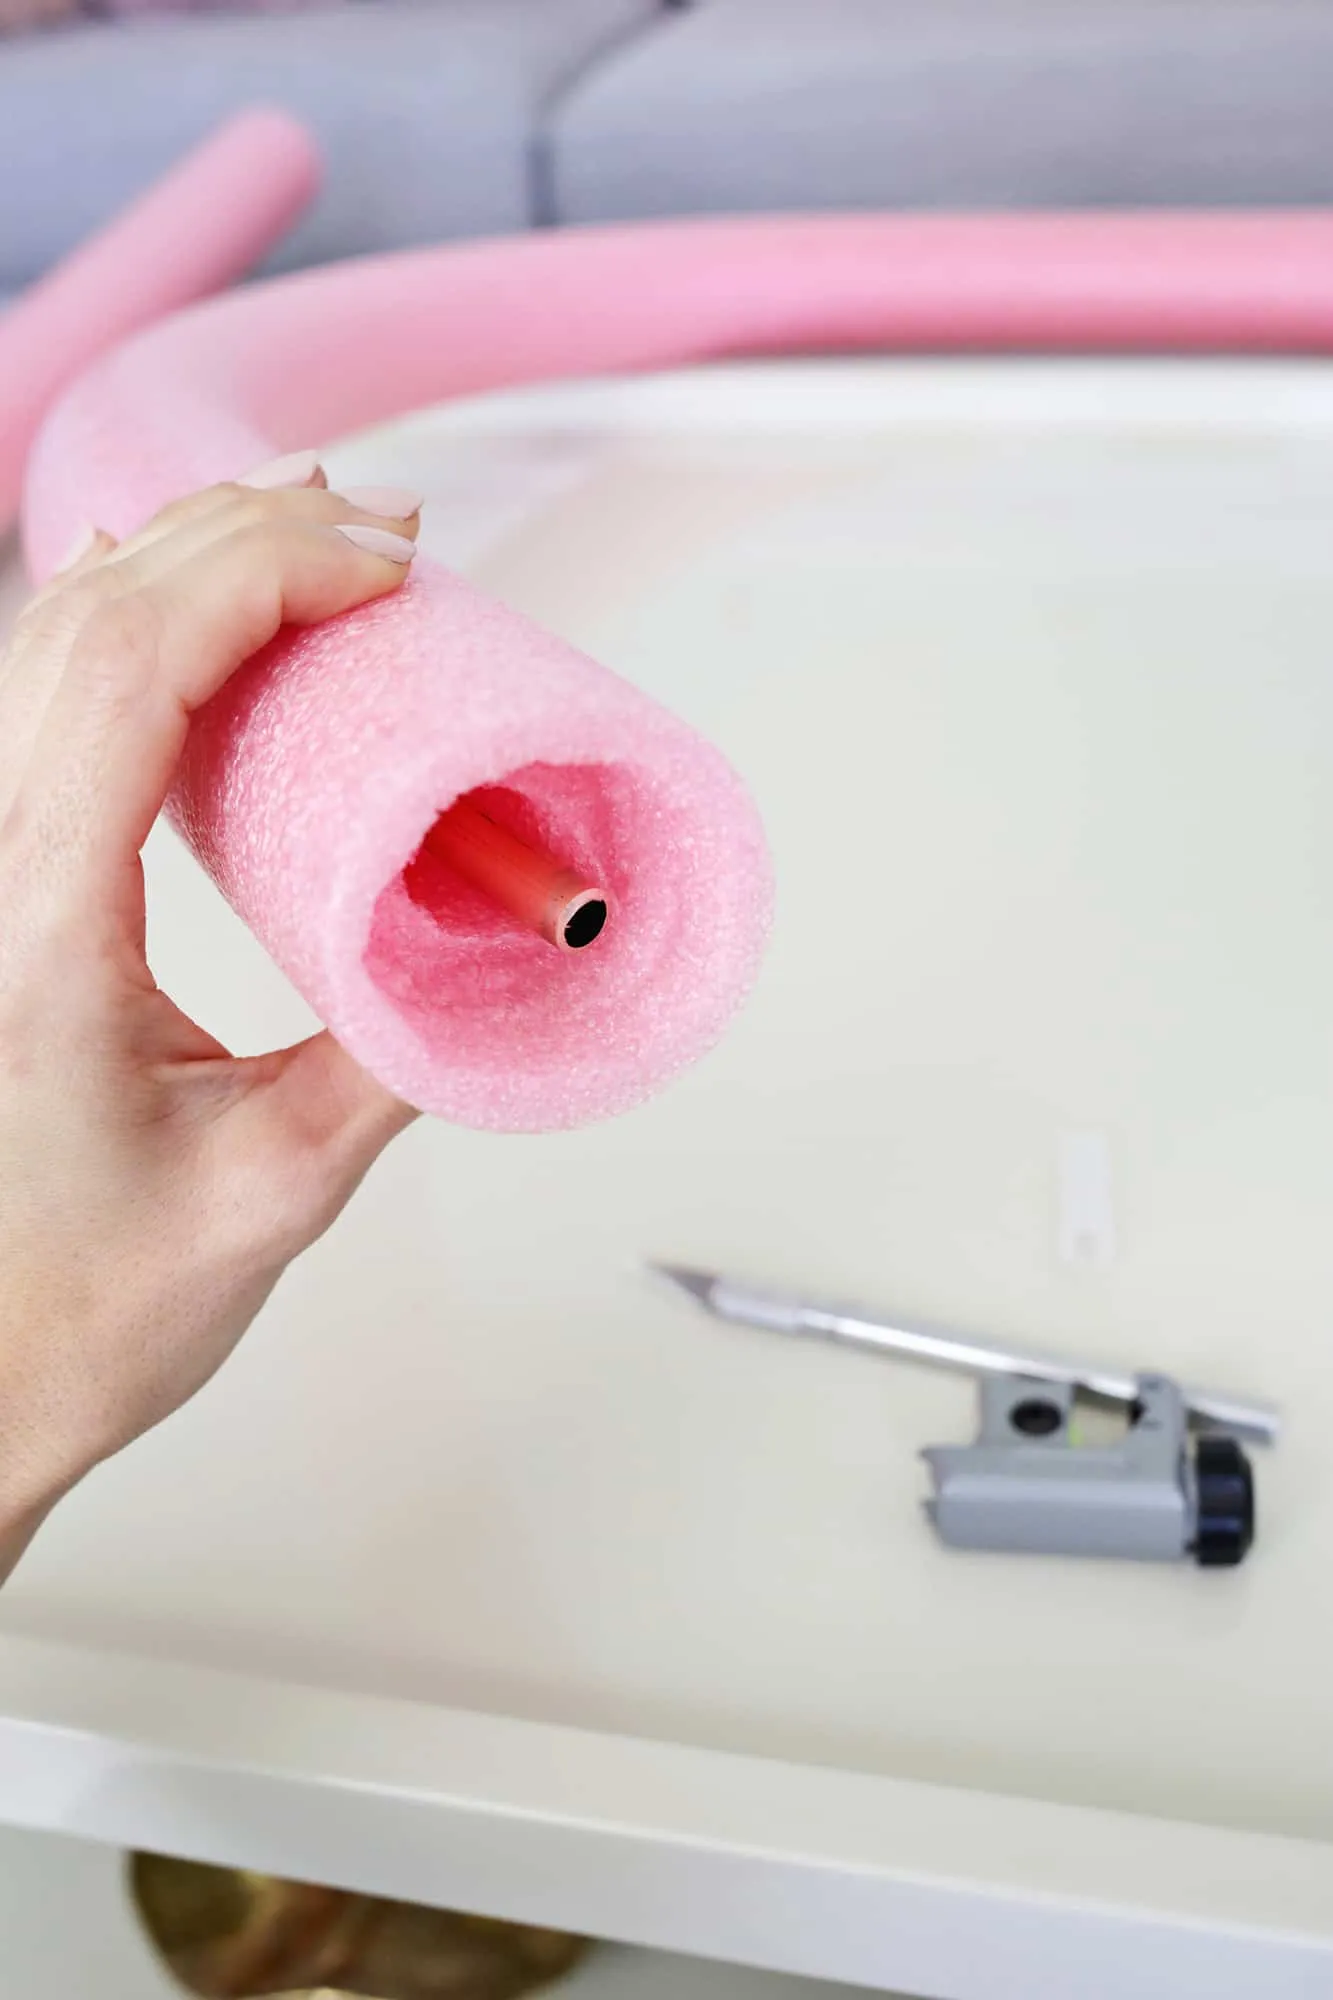
Once your pipe is the right length, use the X-Acto knife to carve out a bit of the inner portion on each end of the noodles. This makes space for the fringe later on.
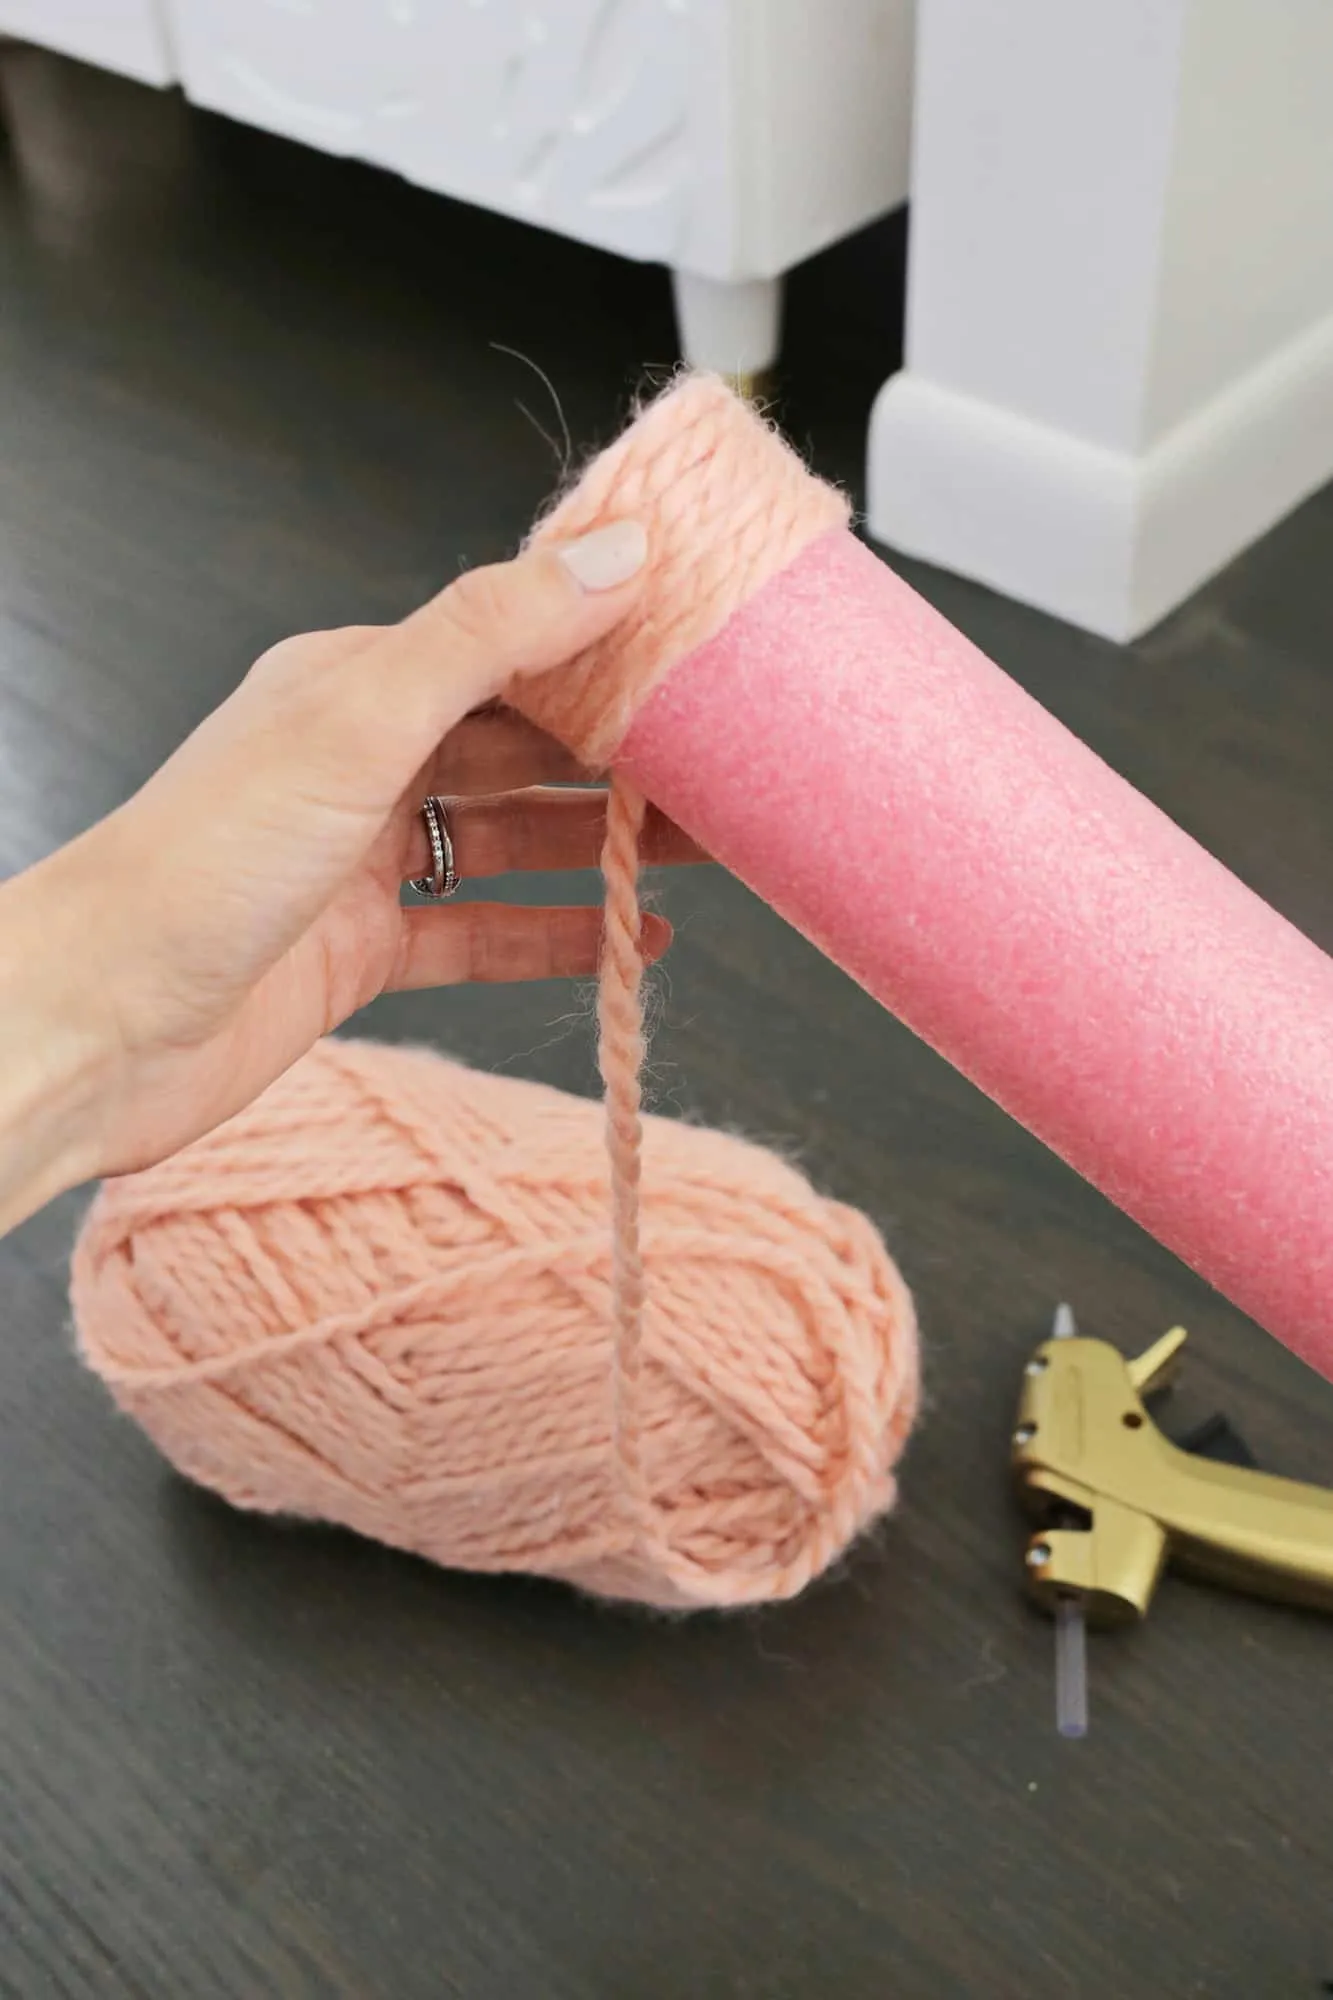
Next, hot glue one end of the yarn to the noodle and start twisting the noodle to wrap the yarn around it. It’s much easier to twist the noodle than to wrap the yarn around it manually. Condense the yarn every few inches to make sure it’s tightly packed, completely covering the noodle.
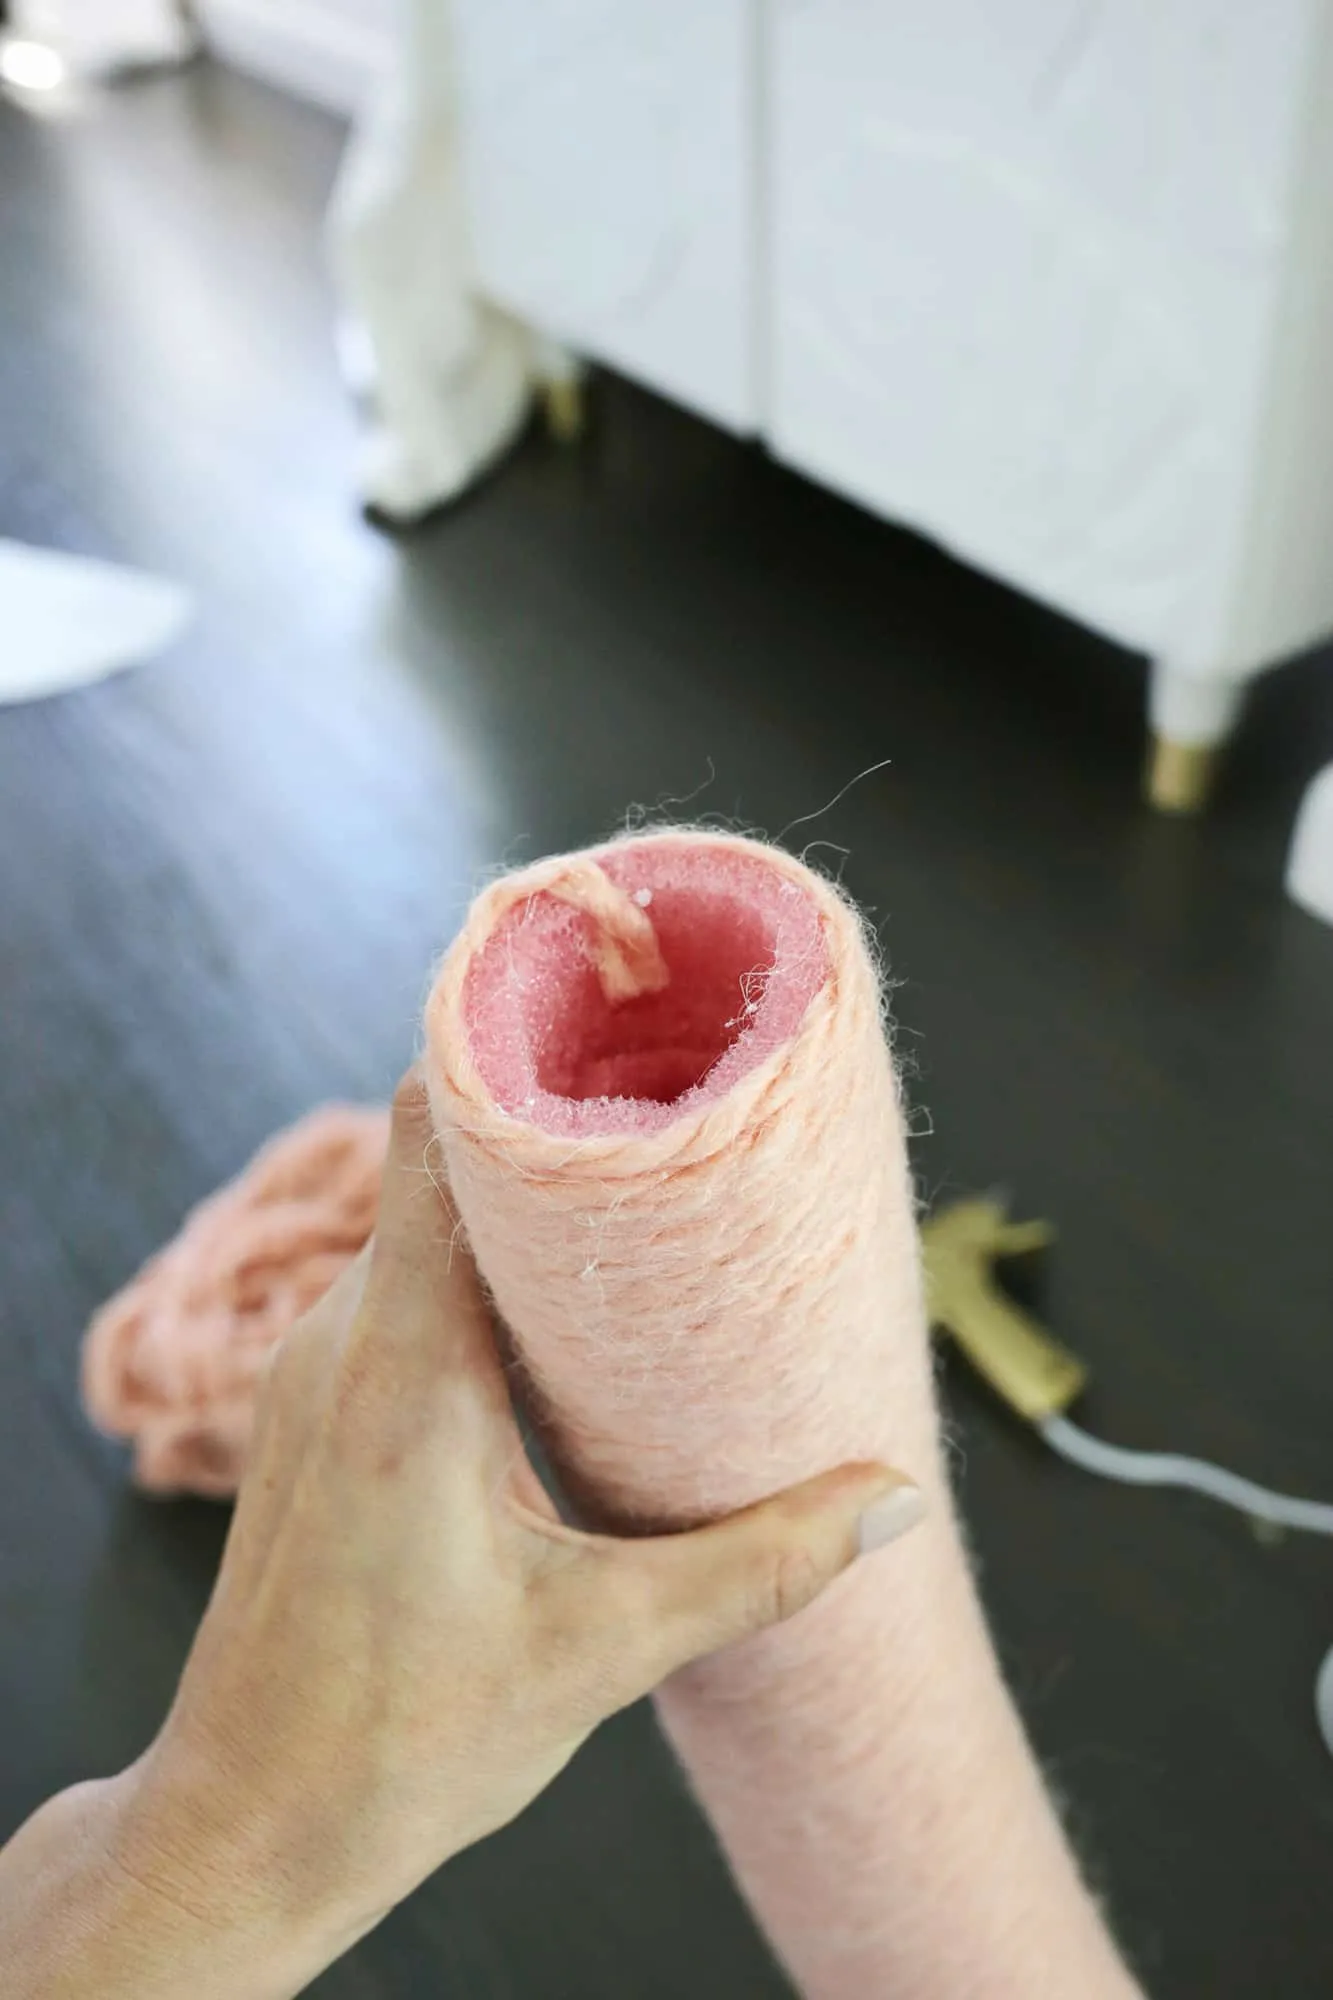
Continue this until you reach the end. Secure the yarn with hot glue and tuck the end into the noodle opening.
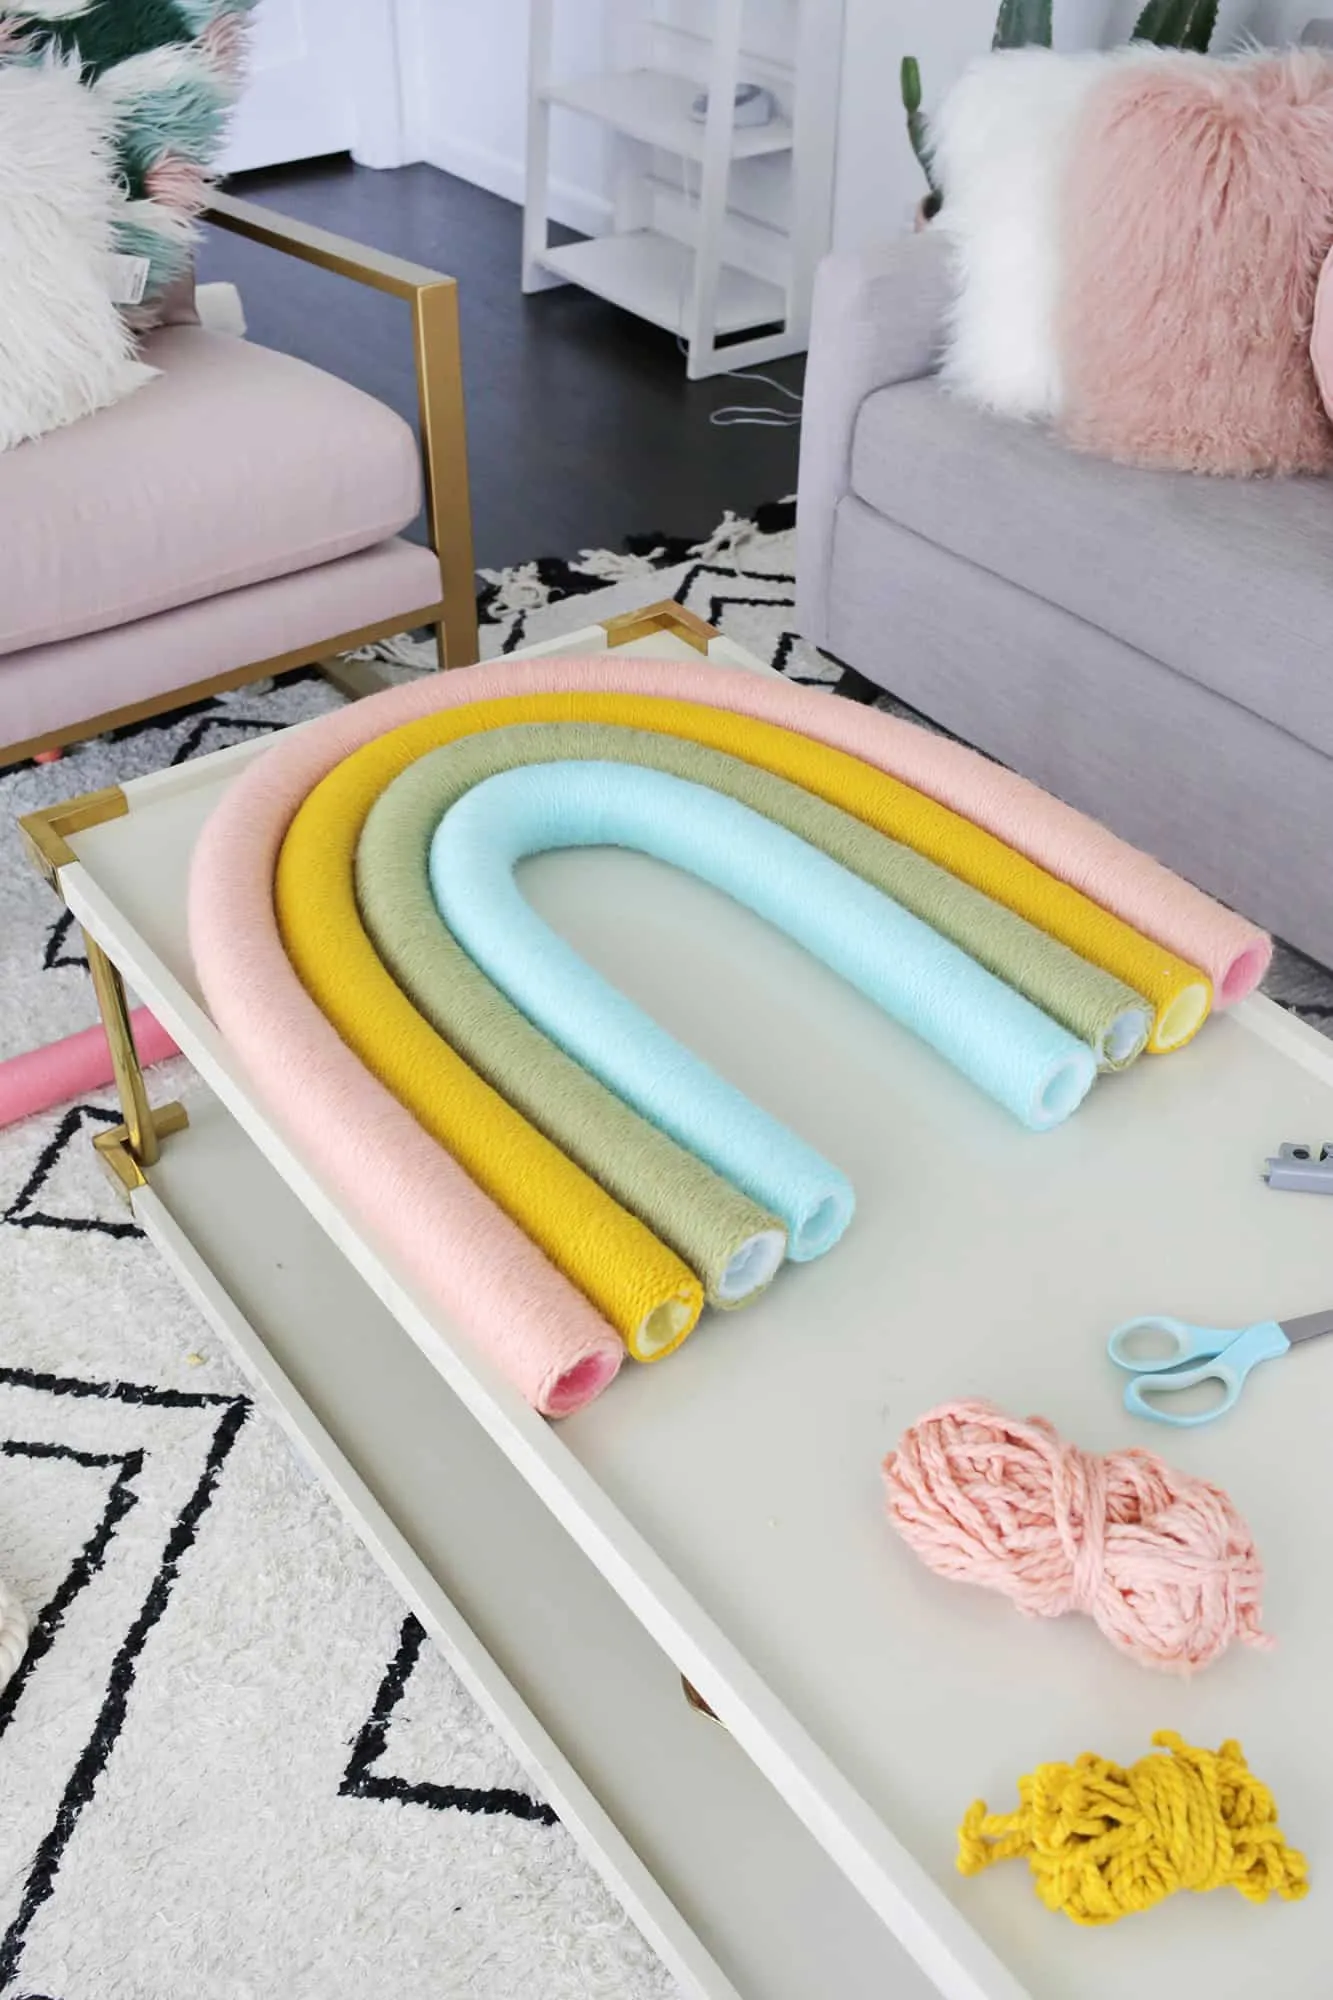
Now, slide in your copper pipe and bend the noodle into a rainbow shape. Check the fit for each subsequent noodle and wrap it with yarn in your chosen colors.
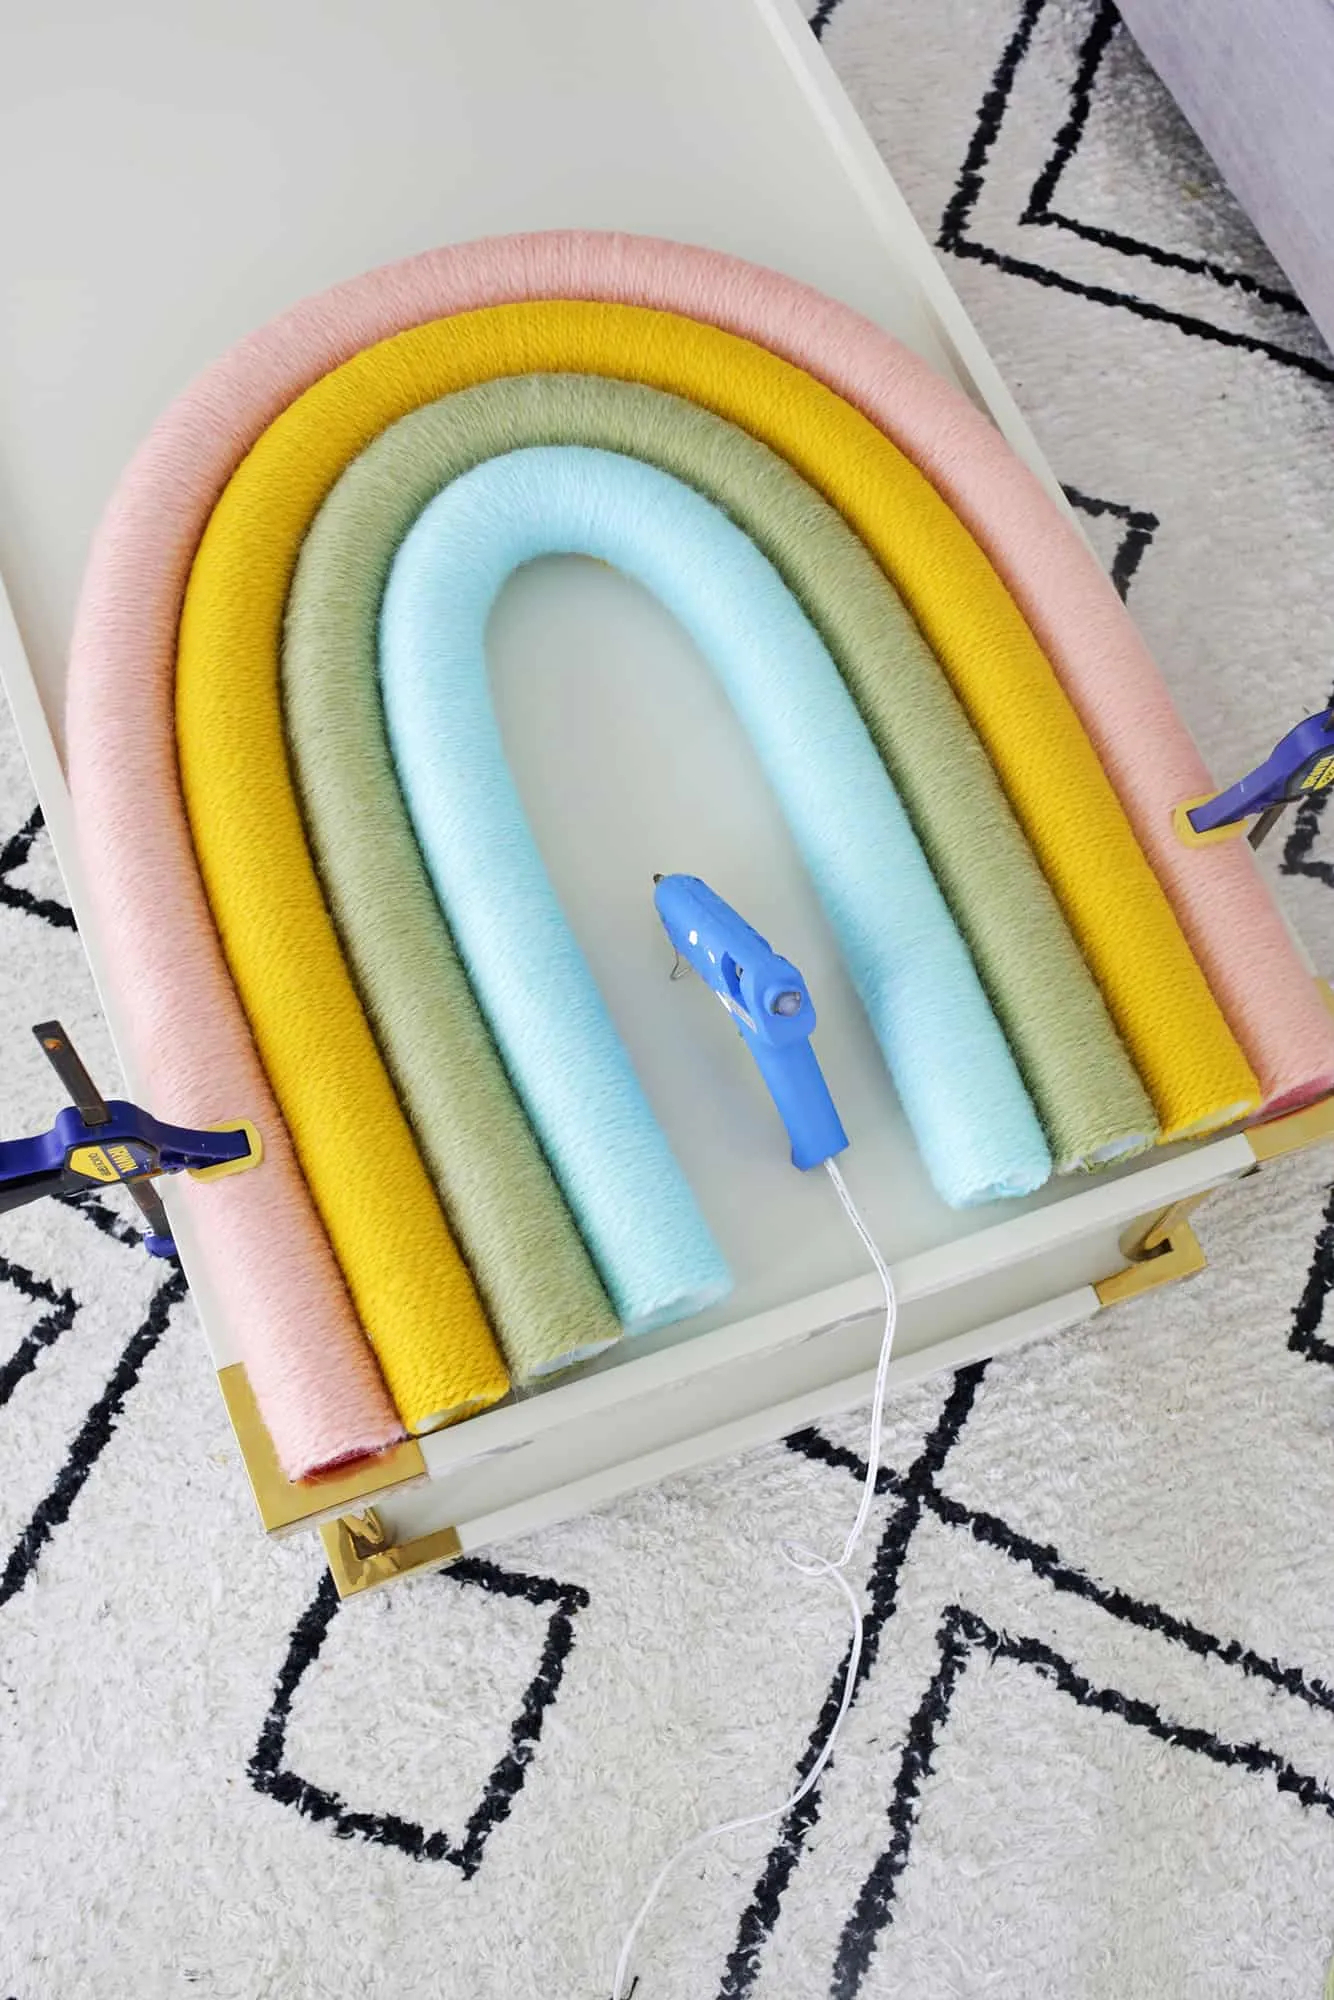
It’s time to glue the rainbow layers together! Securely glue each noodle to the next until they’re all attached.
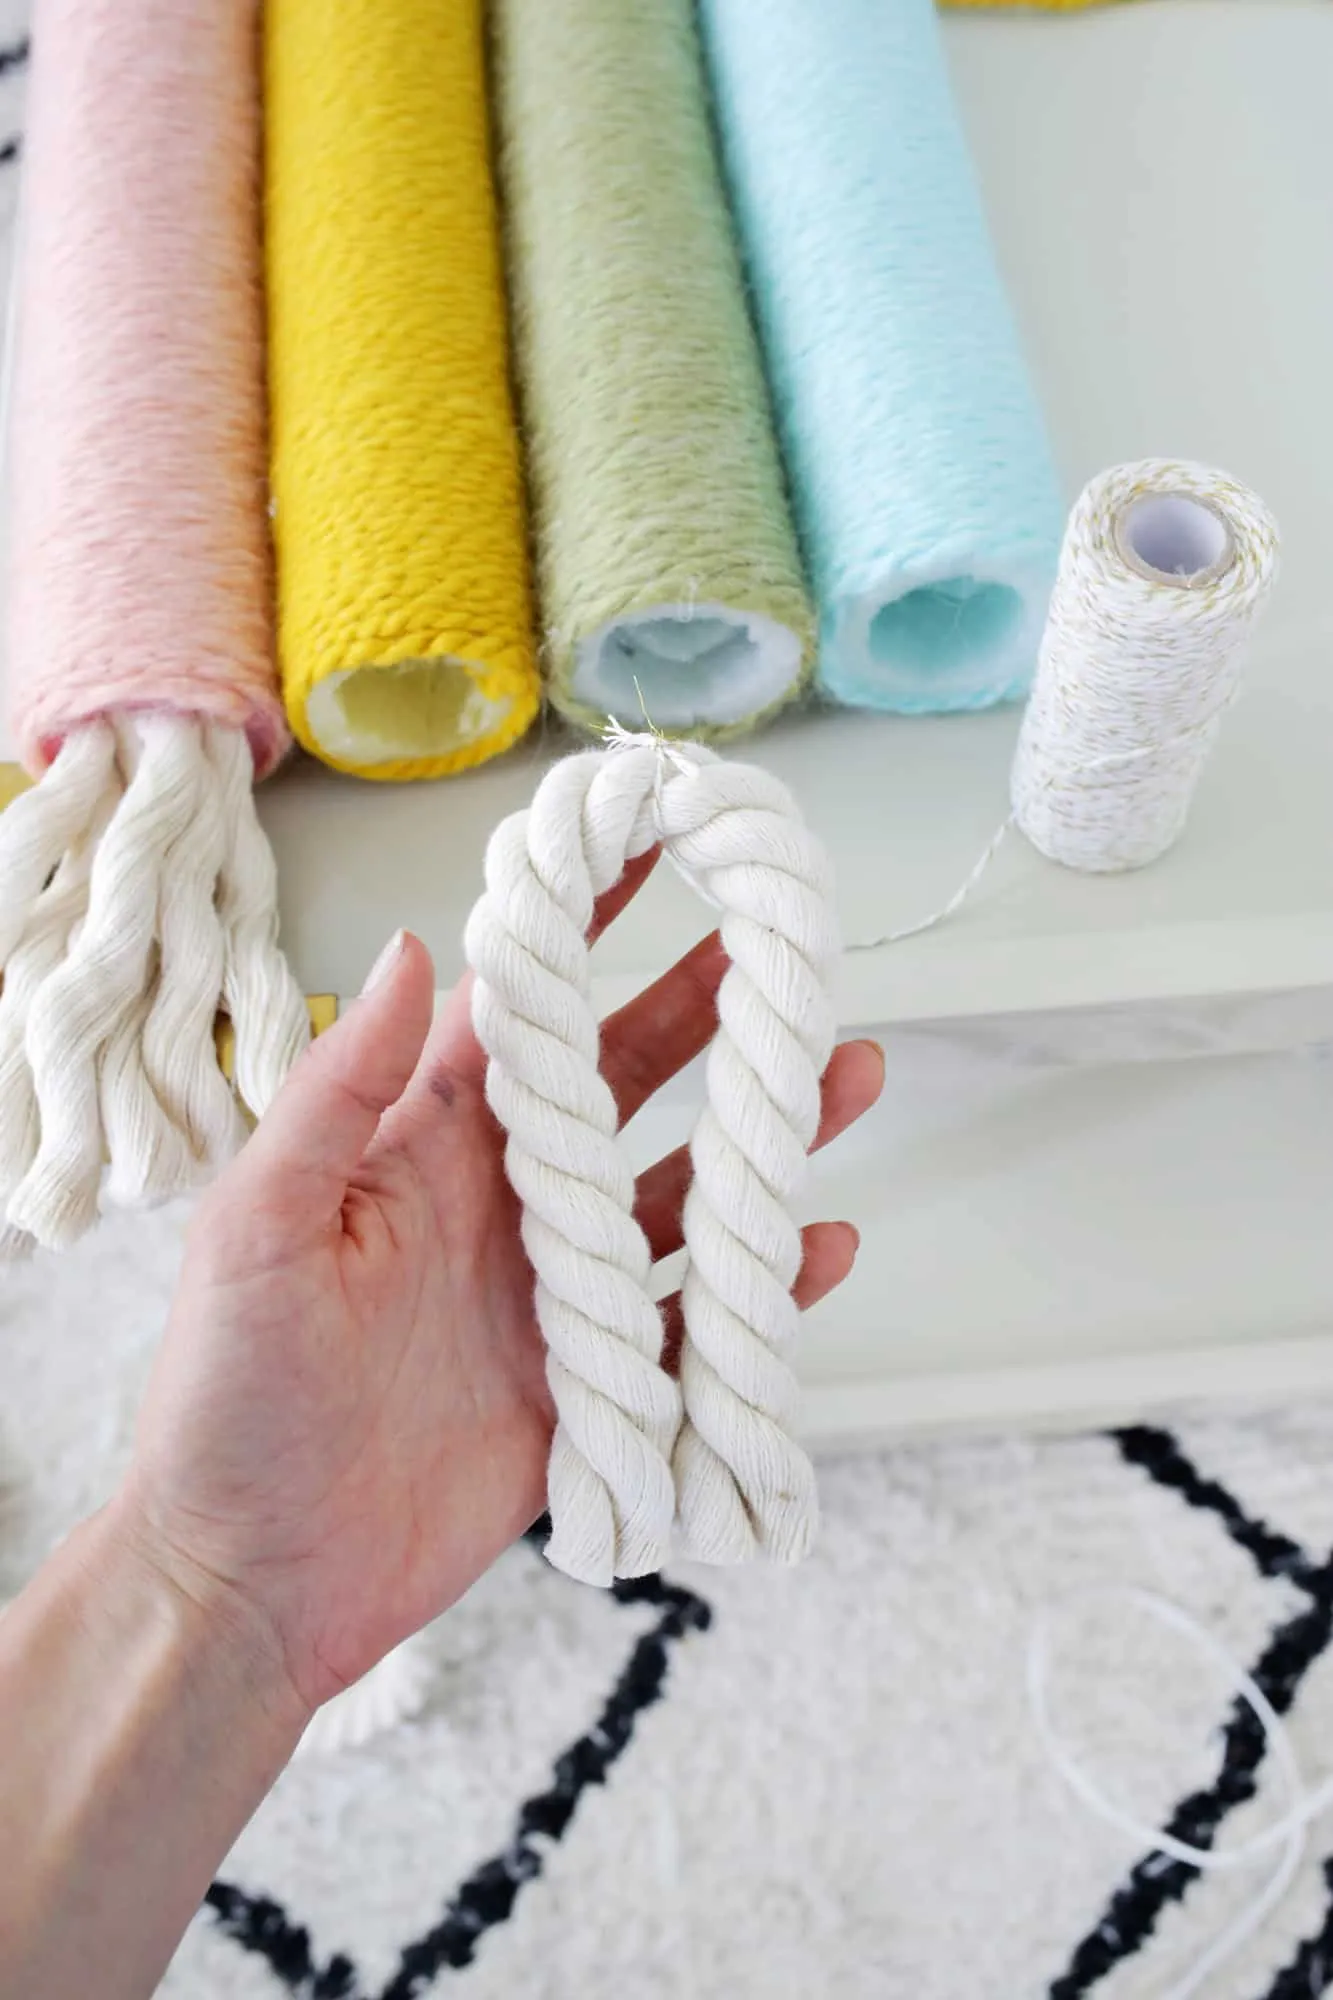
For the fringe, cut thick rope double the length you want and tie it in the middle with twine. Stick this into the opening of the noodles with hot glue.
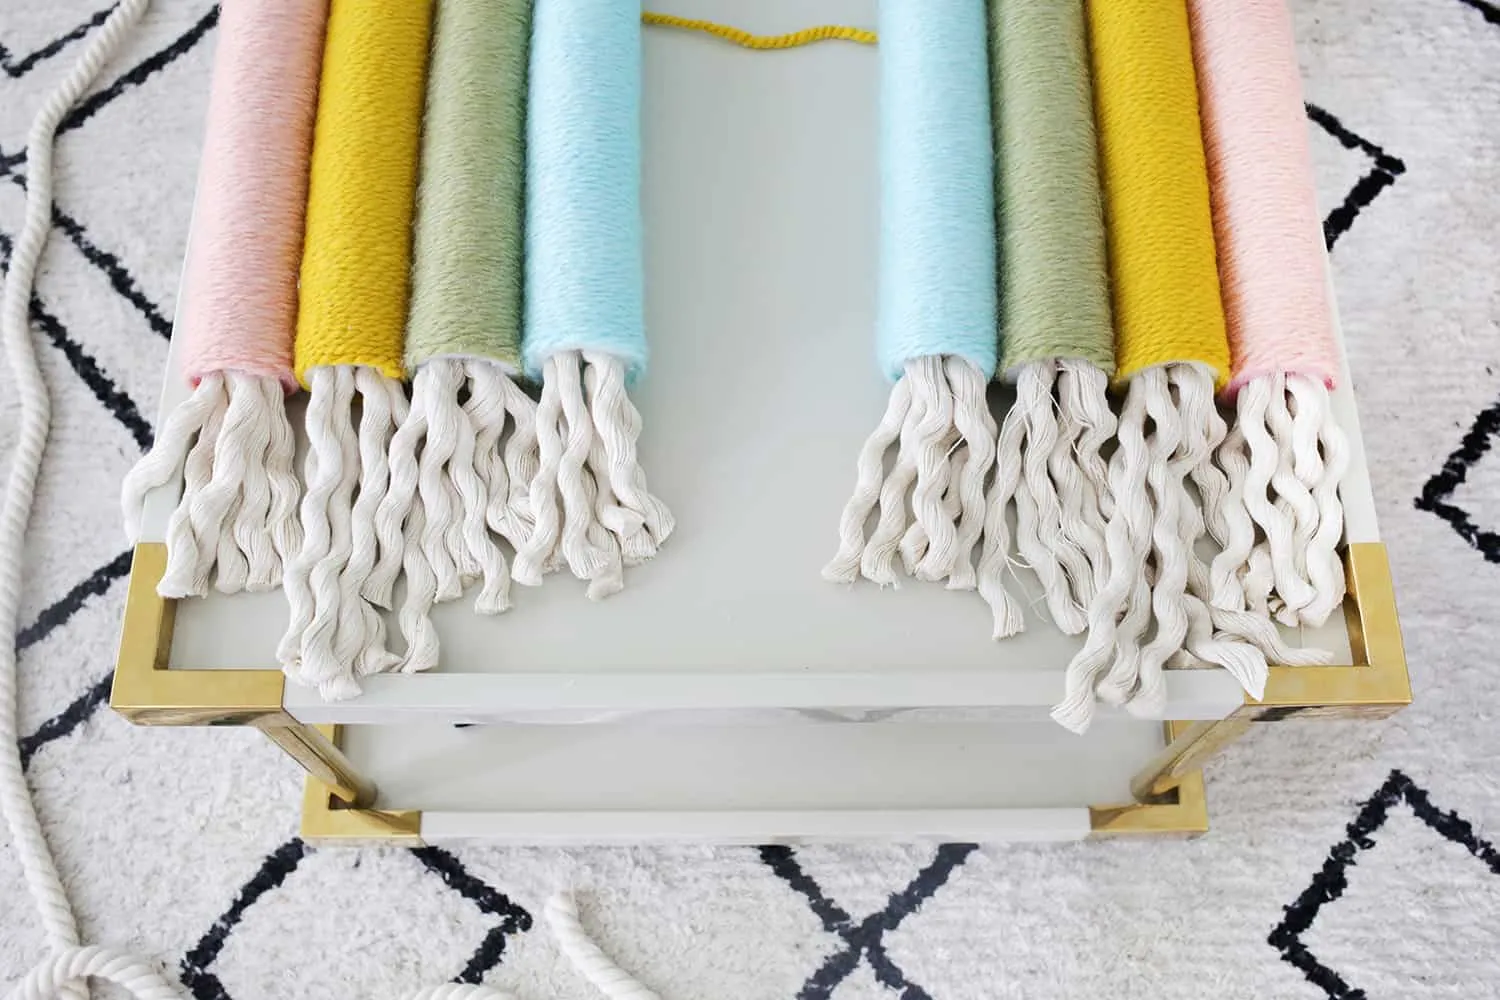
You can either leave the fringe as is or use a pet brush to fluff it out.
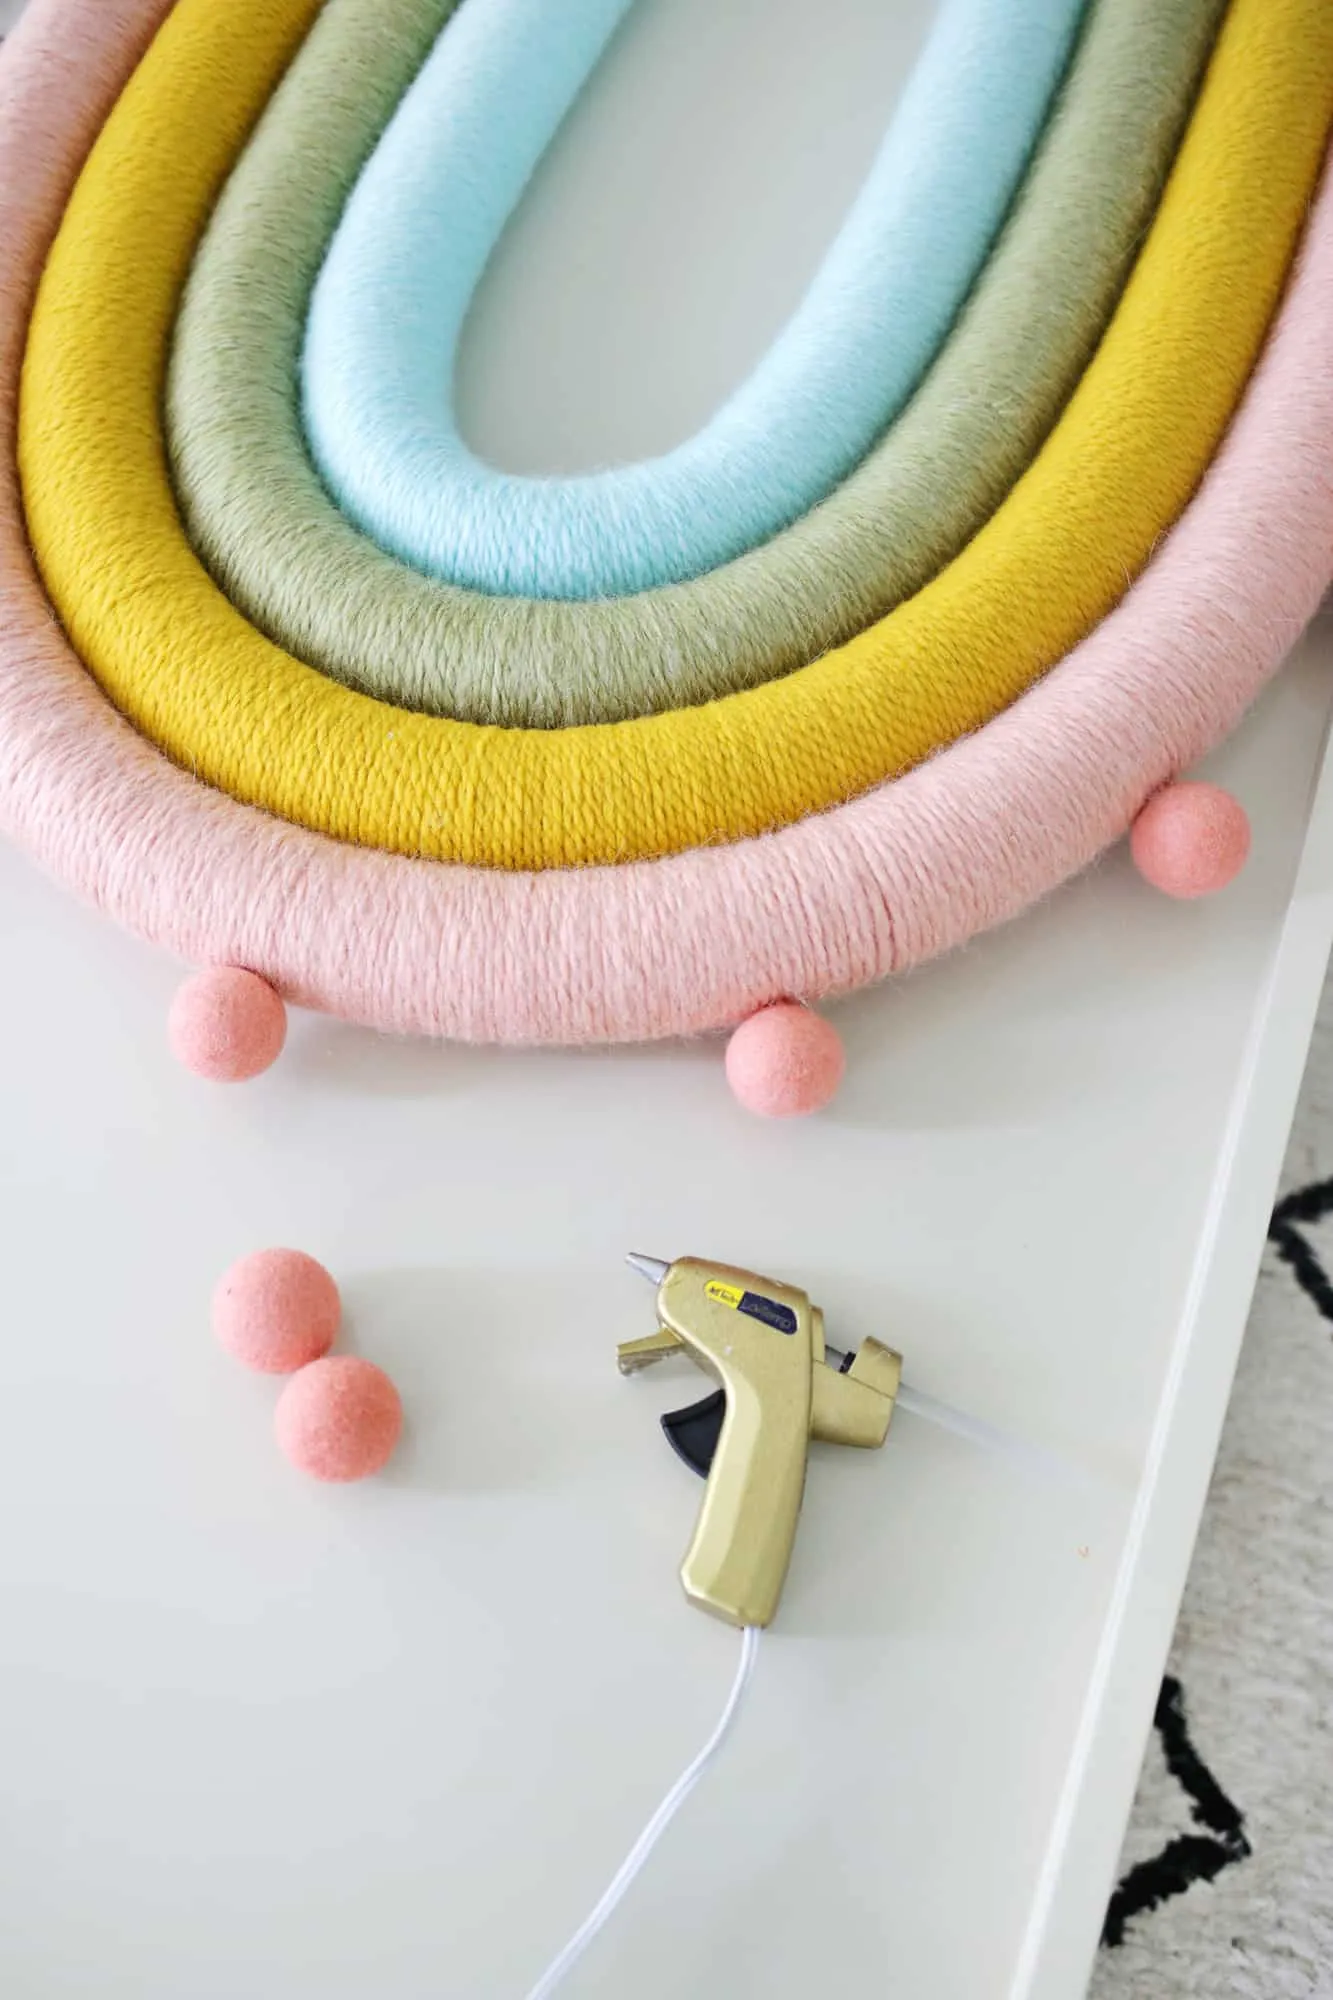
For the final touch, glue felt balls around the rainbow, and voila! Your cute and colorful wall hanging is ready to brighten up any room.
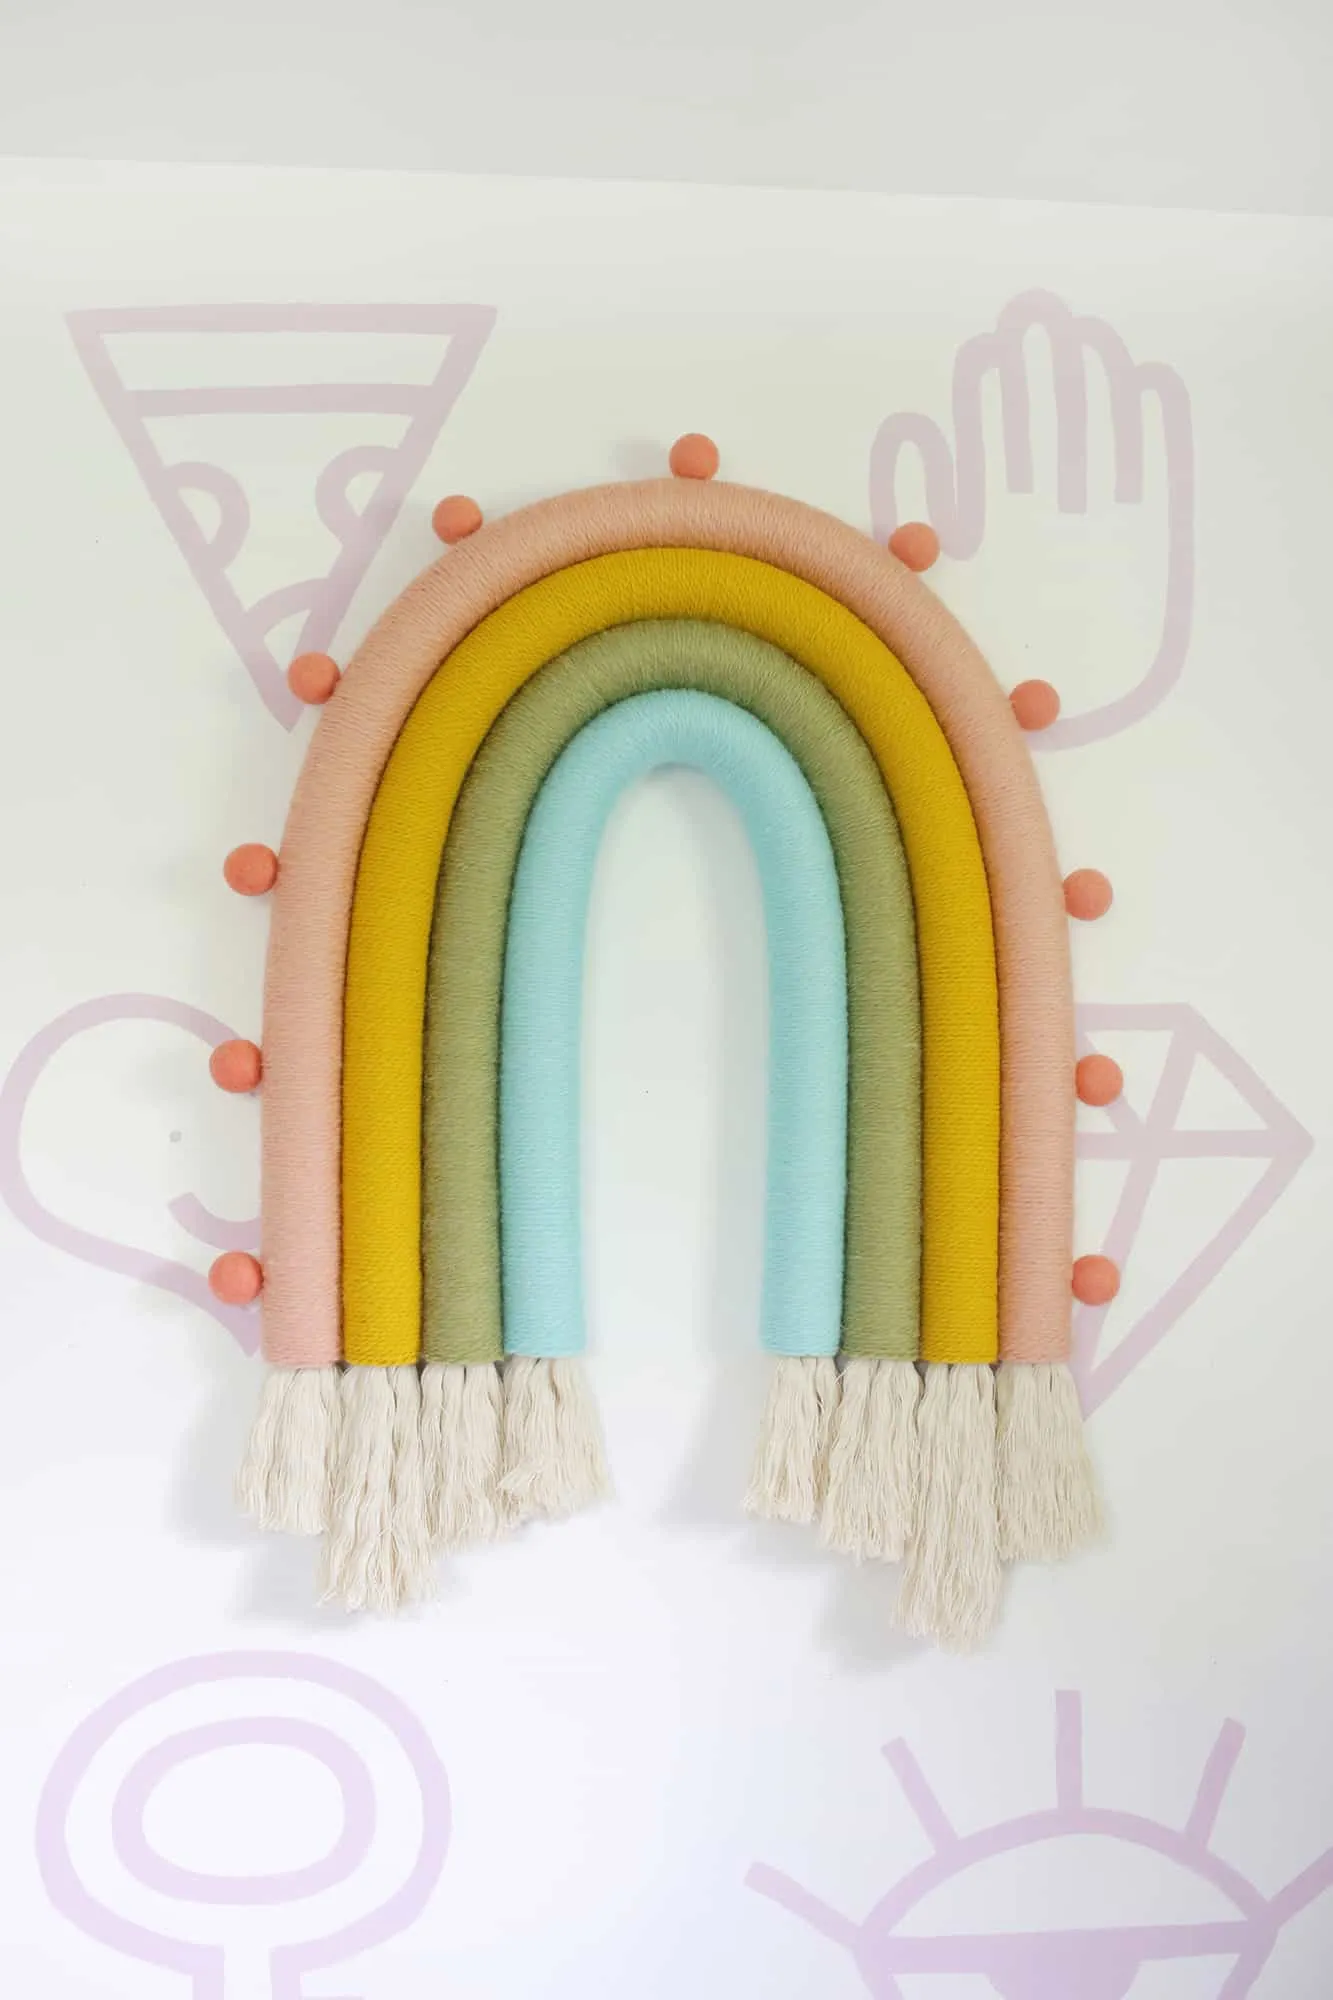
I absolutely love how this turned out, and I’m sure you will too. It’s even fun just to look at it randomly during the day. It makes me so happy!
A quick safety note: If you have little ones, make sure to use larger felt balls that aren’t choking hazards. This project can also be great for any room, not just a kid’s room.