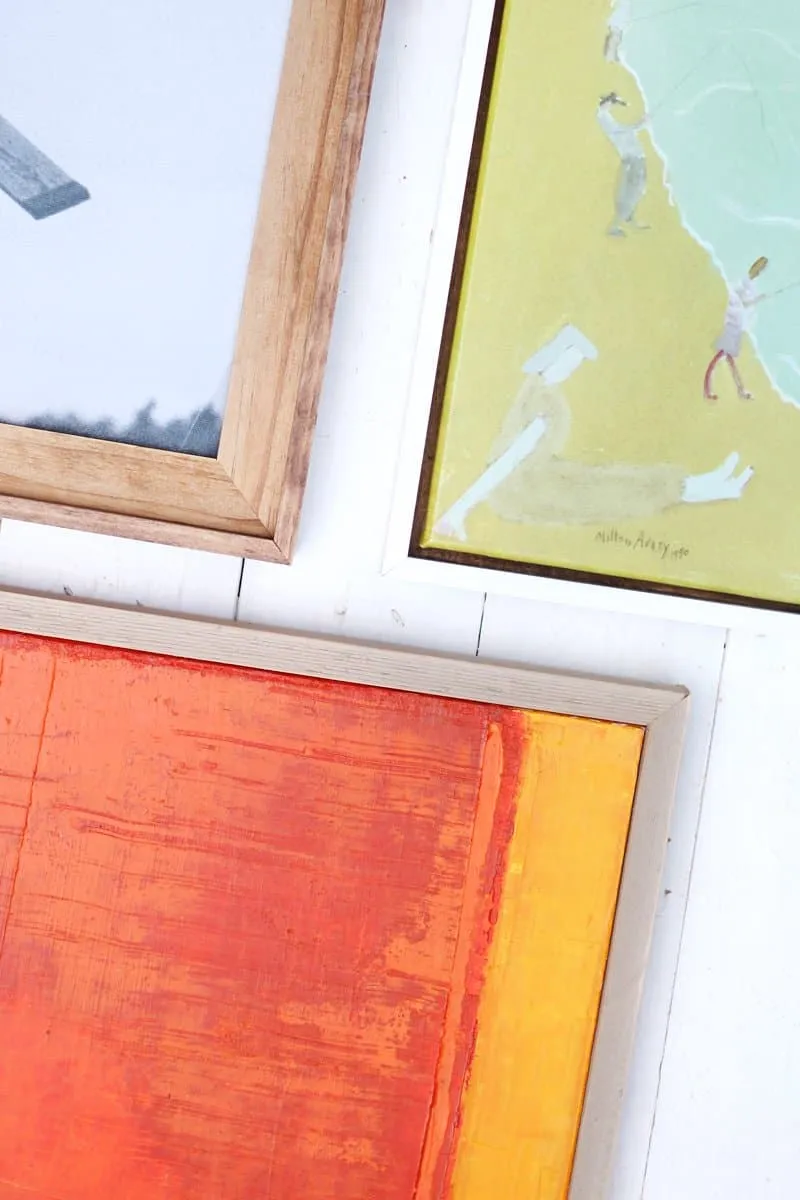
Hey friends! Mandi here. So, you know how custom framing can be crazy pricey, especially for those odd-sized art pieces or deep canvases? I had a few canvases lying around at home that I really wanted to frame, but instead of splurging on custom framing, I decided to tackle it myself in just an afternoon!
I came up with three different styles of canvas frames, each with its own mounting technique, and they’re all super easy to make. You’ll just need some wood and basic tools—no power tools required!
Supplies
- Various pieces of wood
- Wood glue
- Finishing nails or wire brads (size depends on wood depth)
- Paint or wood stain
- Sandpaper
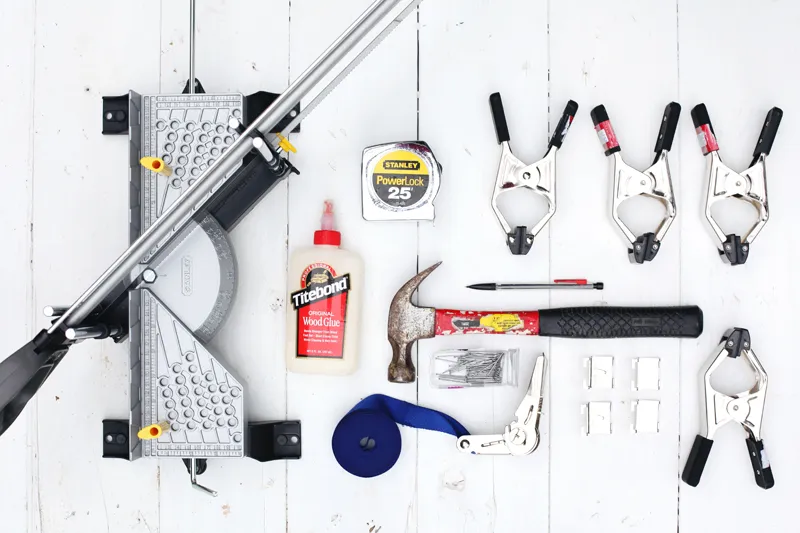
Tools
- Miter box saw
- Band clamp
- Various clamps
- Hammer
- Tape measure
- Pencil
- Paint brush or rags
Let’s dive into the different styles and how you can create them at home.
Choosing Your Frame Style
First, you need to decide on your frame style. Will it be wide and chunky or slim and sleek? For a thicker frame, you’ll need spacer wood between the canvas and the frame’s edge. Take your art to the lumber yard (or just the dimensions if you’re shy) and play around with different wood pieces to get your desired look.
Mounting Techniques
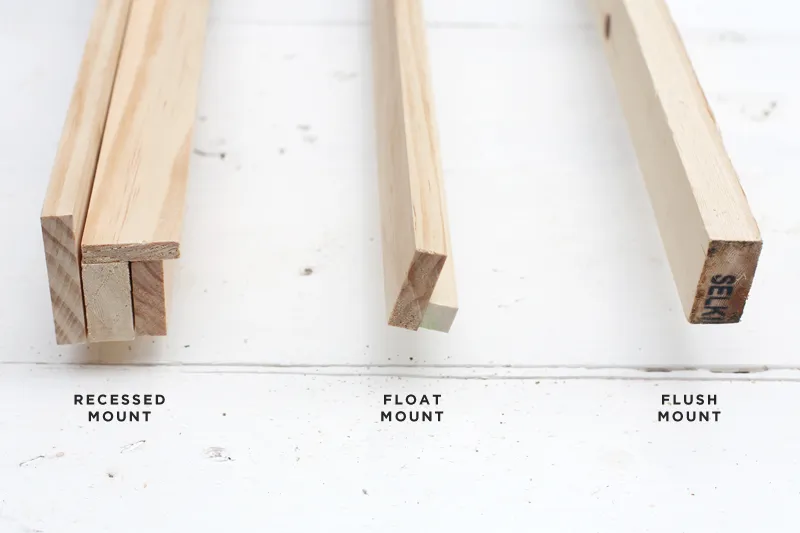
Recessed Mount
This is the traditional style where the art sits behind the frame, with the edge of the art slightly covered.
Float Mount
A bit trickier to make, this style adds dimension by creating a decorative gap between the canvas and the frame.
Flush Mount
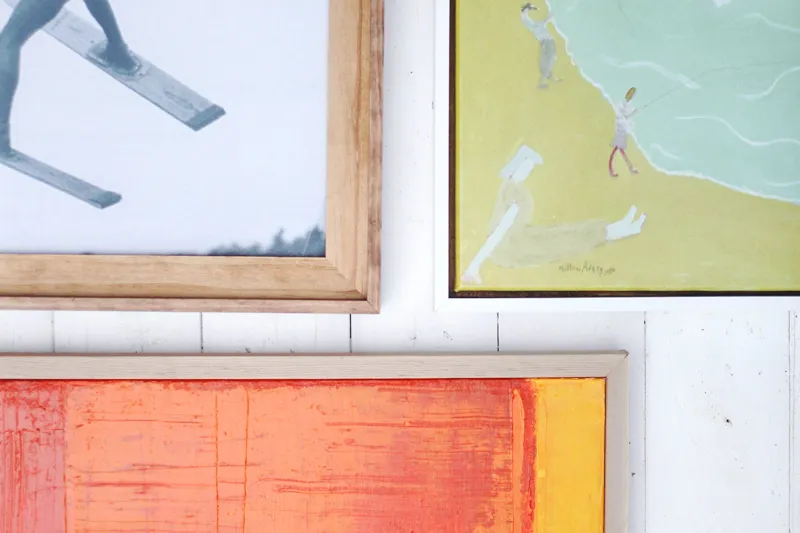
For larger pieces, the flush mount has the frame attached directly to the edge of the canvas with no lip at the front or back. It’s the easiest to make and looks great with bigger artworks.
How to Make a Flush Mount Frame
Step 1: Get two 8’ long cedar 1x2s, lightly sand them, and stain with a mix of Rustoleum Driftwood, Rustoleum Willow, and Minwax Golden Oak.
Step 2: Instead of measuring, lay your 1x2 against the frame and mark the length directly onto the wood.
Step 3: Cut the wood slightly longer than needed using a miter box saw. Sand the corners if they splinter.
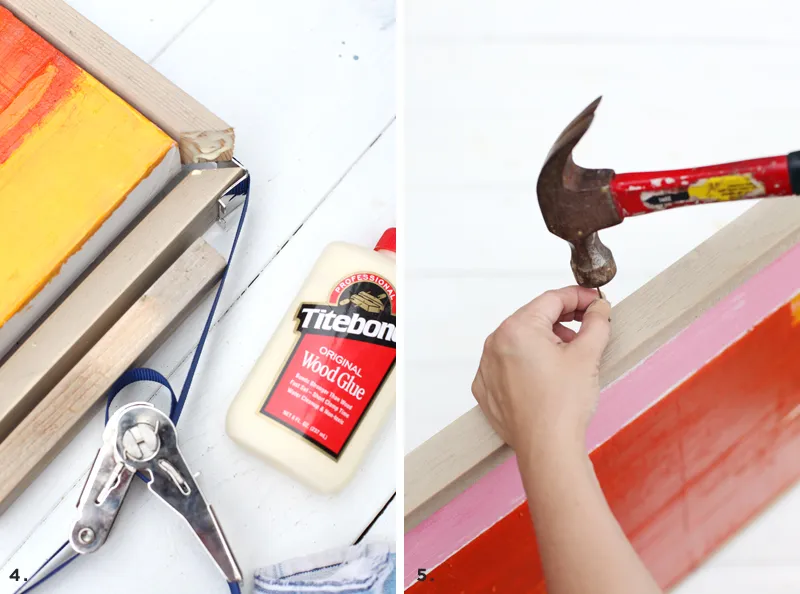
Step 4: Do a dry fit using a band clamp. Adjust lengths if needed. Once fitting snugly, add glue to the corners and clamp again. Wipe away excess glue.
Step 5: Attach the frame to the canvas stretcher with finishing nails, making sure they go through the mitered joints for extra strength.
How to Make a Recessed Mount Frame
You’ll need:
- ½×3″ outside edge lumber
- ½×2″ middle piece
- ½″ inside edge piece
- 3/8×2″ top edge piece
Step 1: Glue the 1/2×3″ piece to the middle and inside edge pieces. Use clamps and wipe off excess glue.
Step 2: Attach the top piece to create an overlapping lip. Glue, clamp, and let dry.
Step 3: Measure your art, adding an 1/8″ buffer.
Step 4: Cut wood lengths with the miter box saw. Ensure they’re slightly longer than needed.
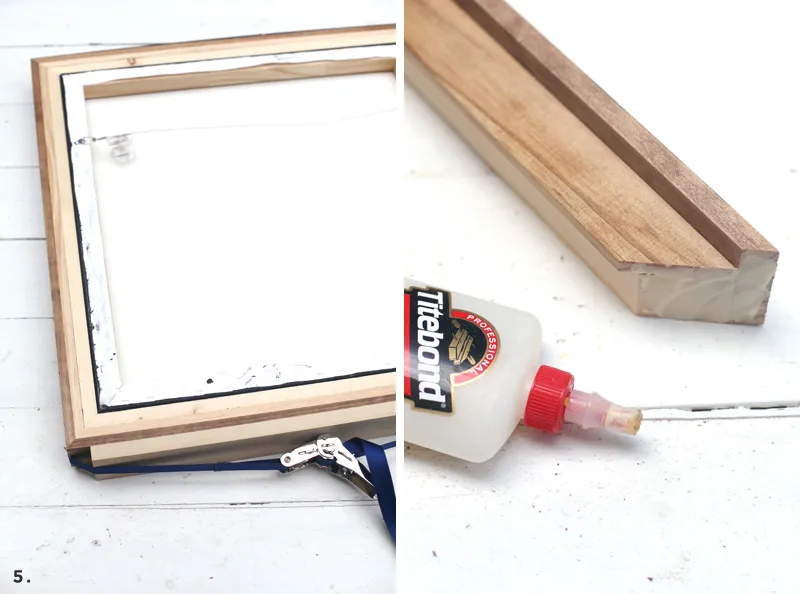
Step 5: Dry fit with a band clamp. Adjust if necessary. Glue and clamp together.
Step 6: Drive finishing nails into the joints. Attach the canvas by driving longer nails through the back of the frame.
How to Make a Float Mount Frame
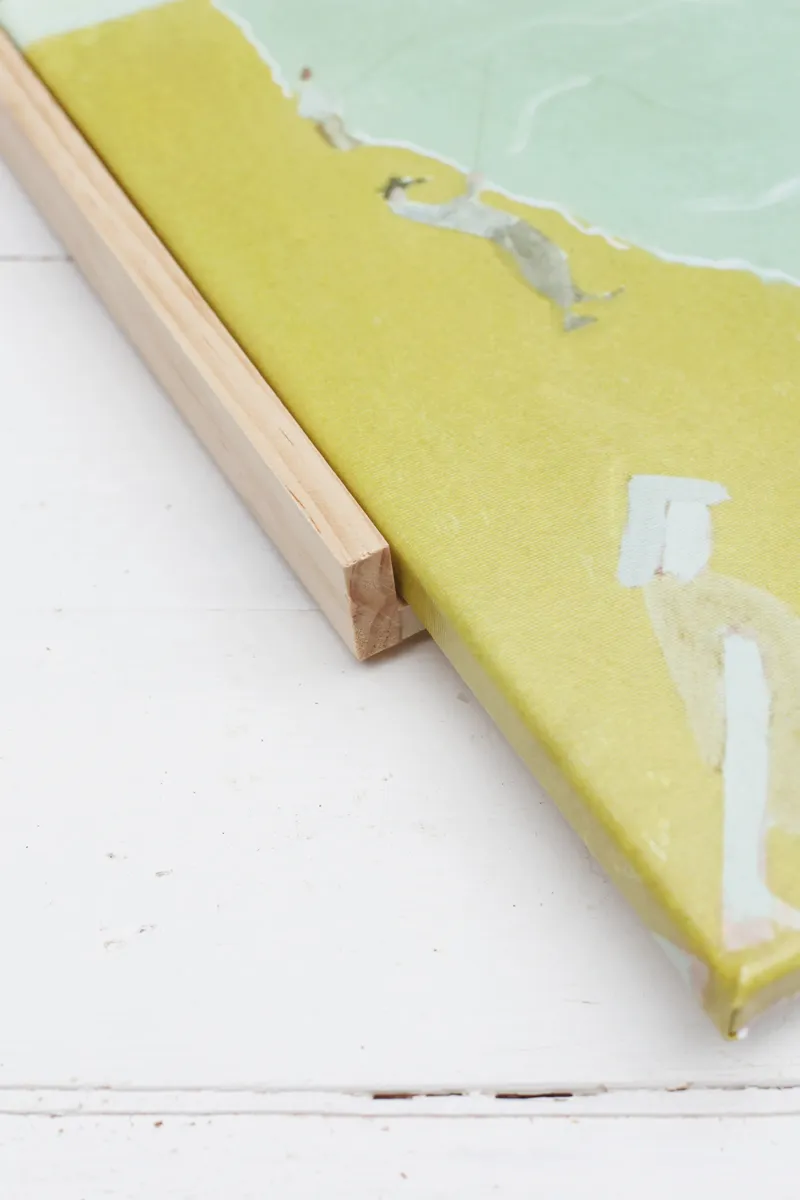
For this, you’ll need 1/2×2″ white-painted lumber and a 1/2″ square dowel (or a 1/2×1″ piece for easier attachment).
Step 1: Glue the bottom piece to the side piece and clamp. Wipe away excess glue.
Steps 2-5: Follow the steps for the recessed mount above, but add a 1/4″ gap for the float space.
Step 6: Nail the frame to the canvas stretcher from behind. Ensure even gaps around the canvas while clamping.
Final Thoughts
I’m so happy with how my custom frames turned out—I’ll definitely be DIY framing more in the future. Maybe next time, I’ll try combining different molding styles for a more intricate look.
Thinking of all the possibilities makes me excited! Happy framing!