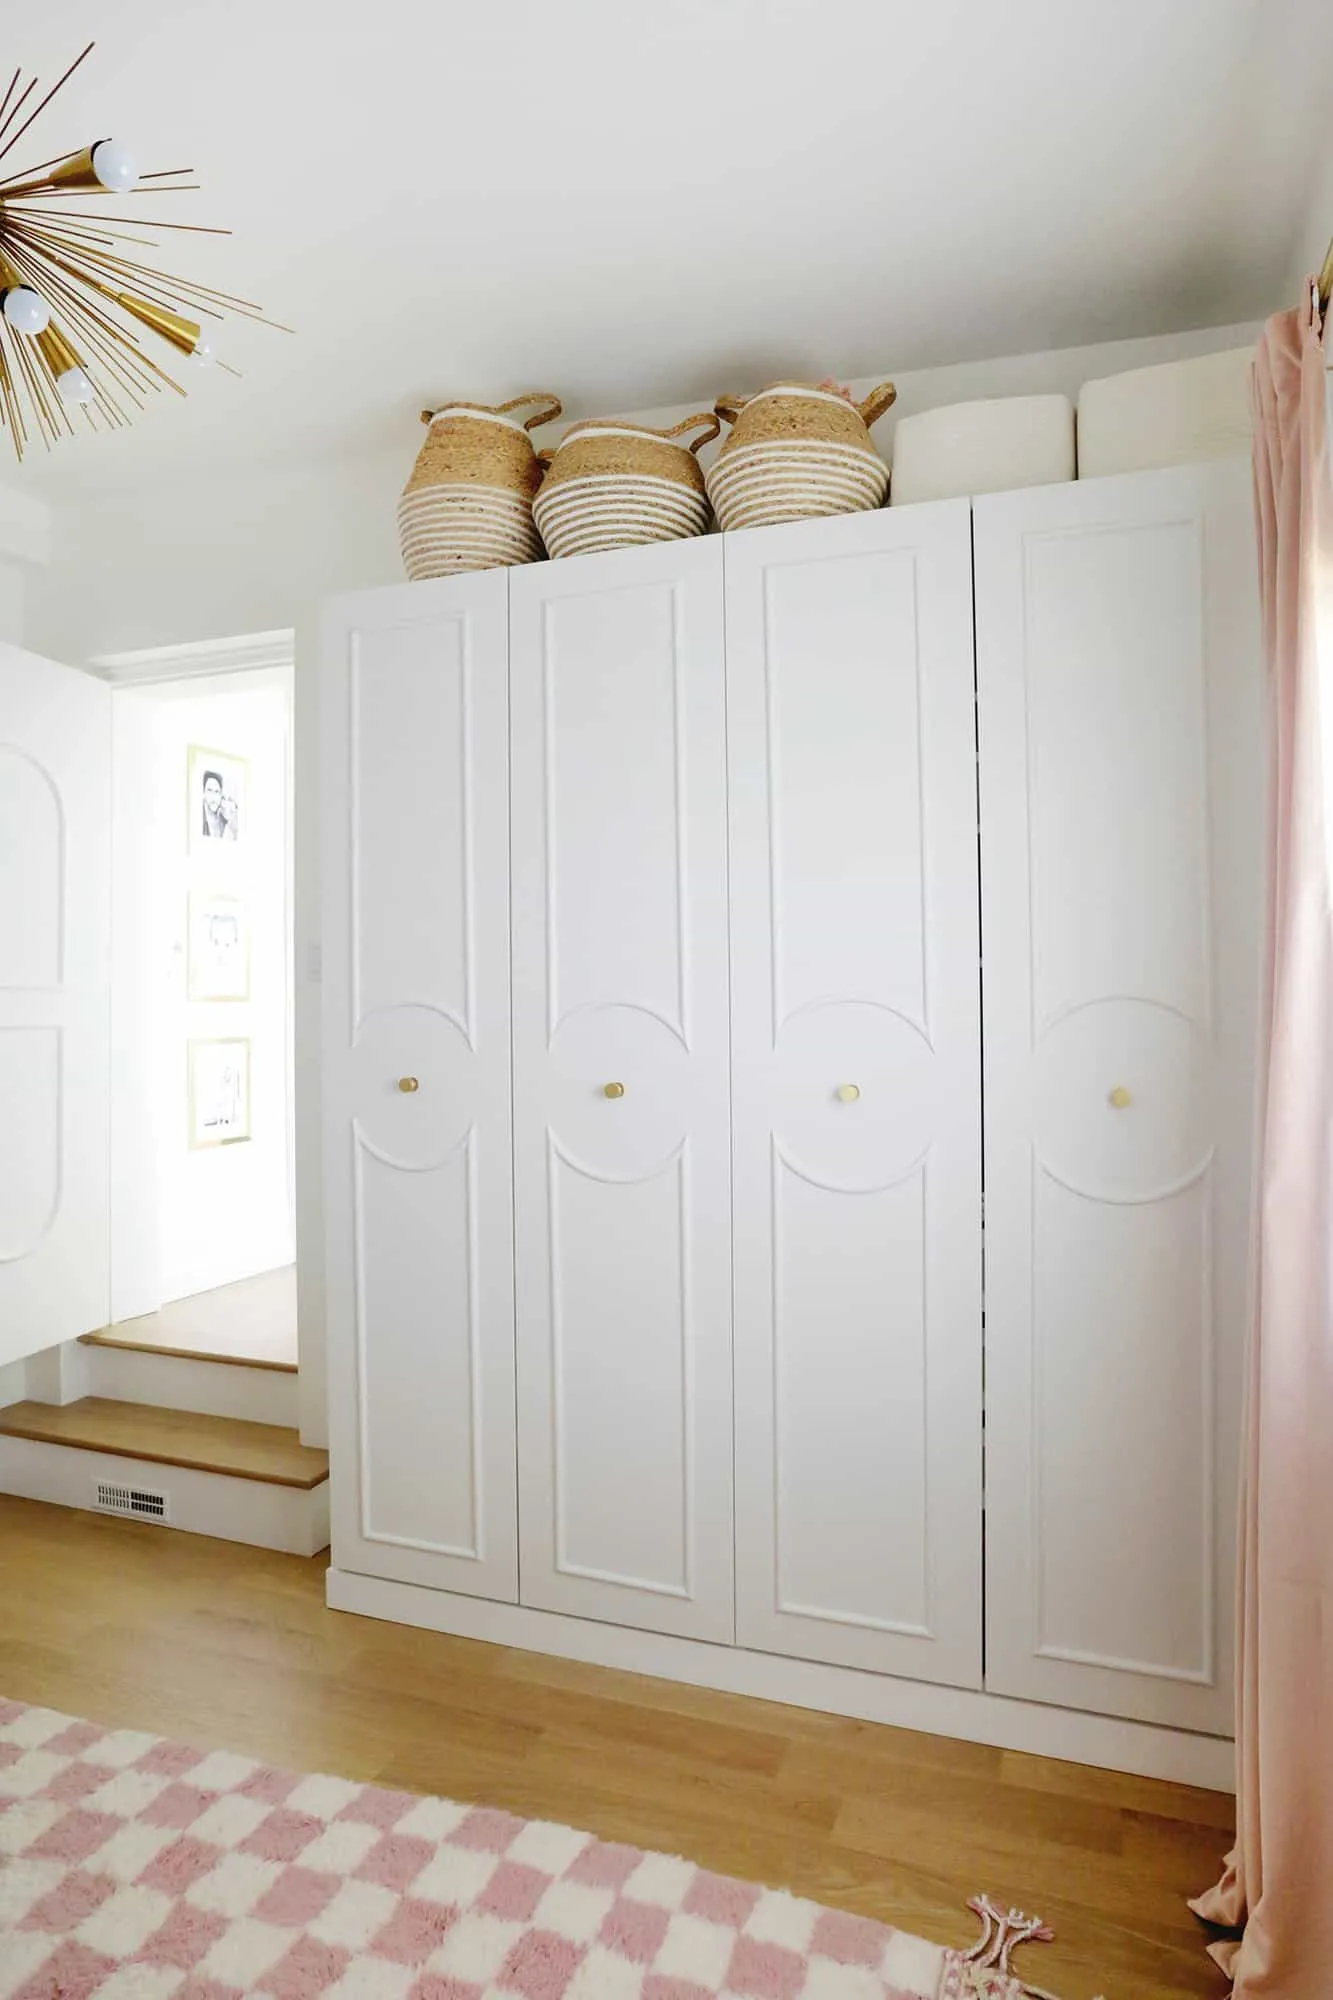
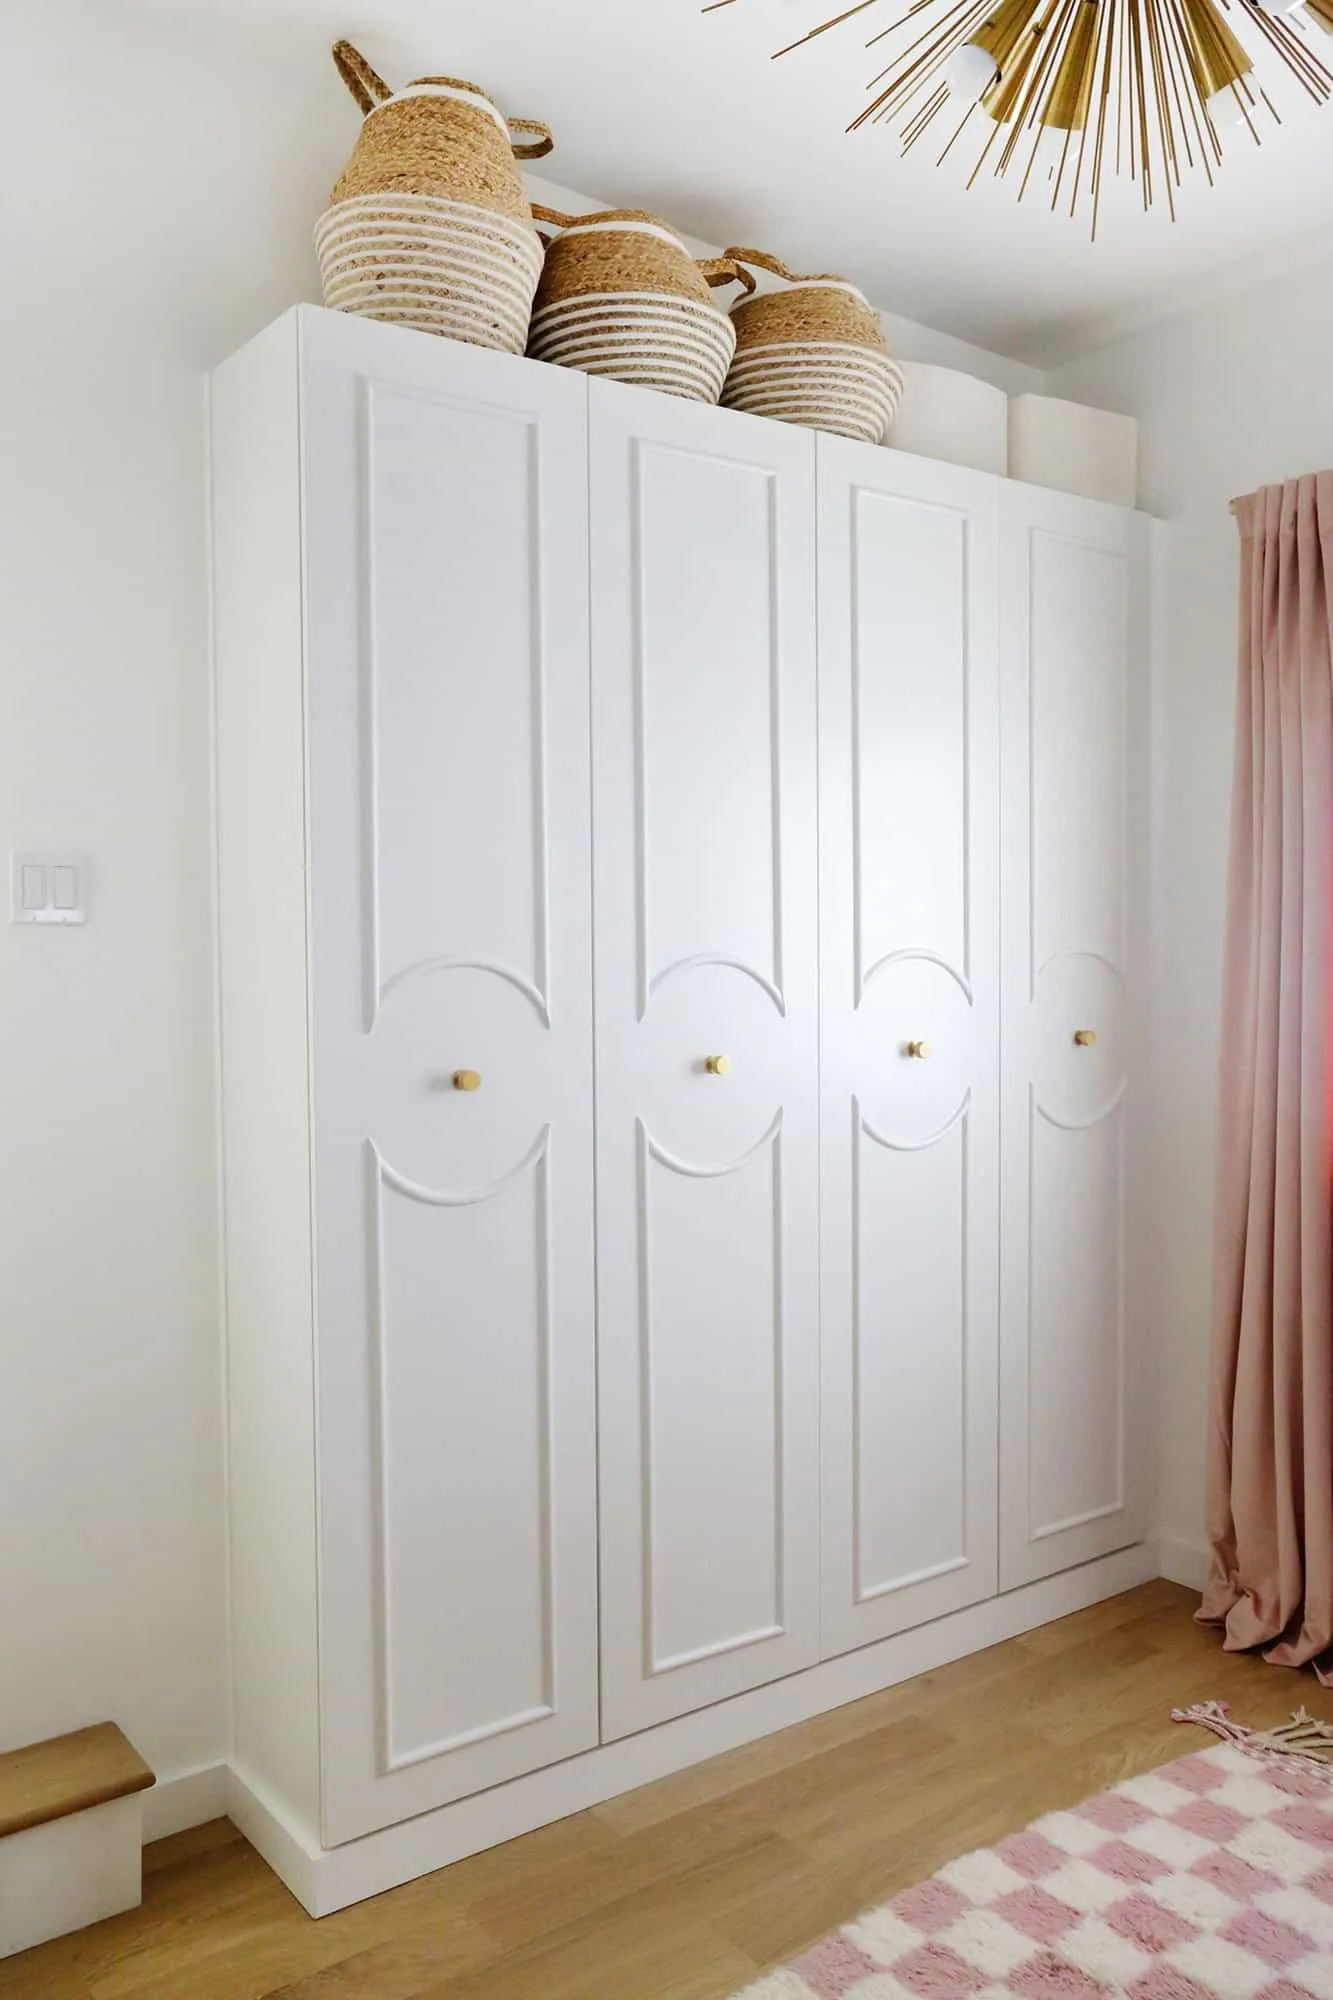
I’m obsessed with IKEA hacks. When we needed a closet in a room that used to be a porch (yeah, no closet there!), I thought about building some custom shelving. But then I realized an inexpensive IKEA Pax wardrobe built into the wall would be the fastest, easiest, and best-looking solution.
If you’re wondering, “How do you make IKEA Pax wardrobes look built-in?”—it’s pretty simple, and I was surprised how quickly it came together. Let me walk you through what I did!
Supplies
- IKEA Pax wardrobes (I did a double set and added plain doors)
- 2 1/2” or 3” construction screws
- Drill
- Miter saw or hand saw with a miter box
- 2x4s or 2x2s for the base
- Finishing nail gun or small finish nails, a hammer, and a nail setter
- Baseboard to match your current baseboard
- Wood filler and caulk
- Paint in your current baseboard color and/or IKEA Pax Wardrobe color
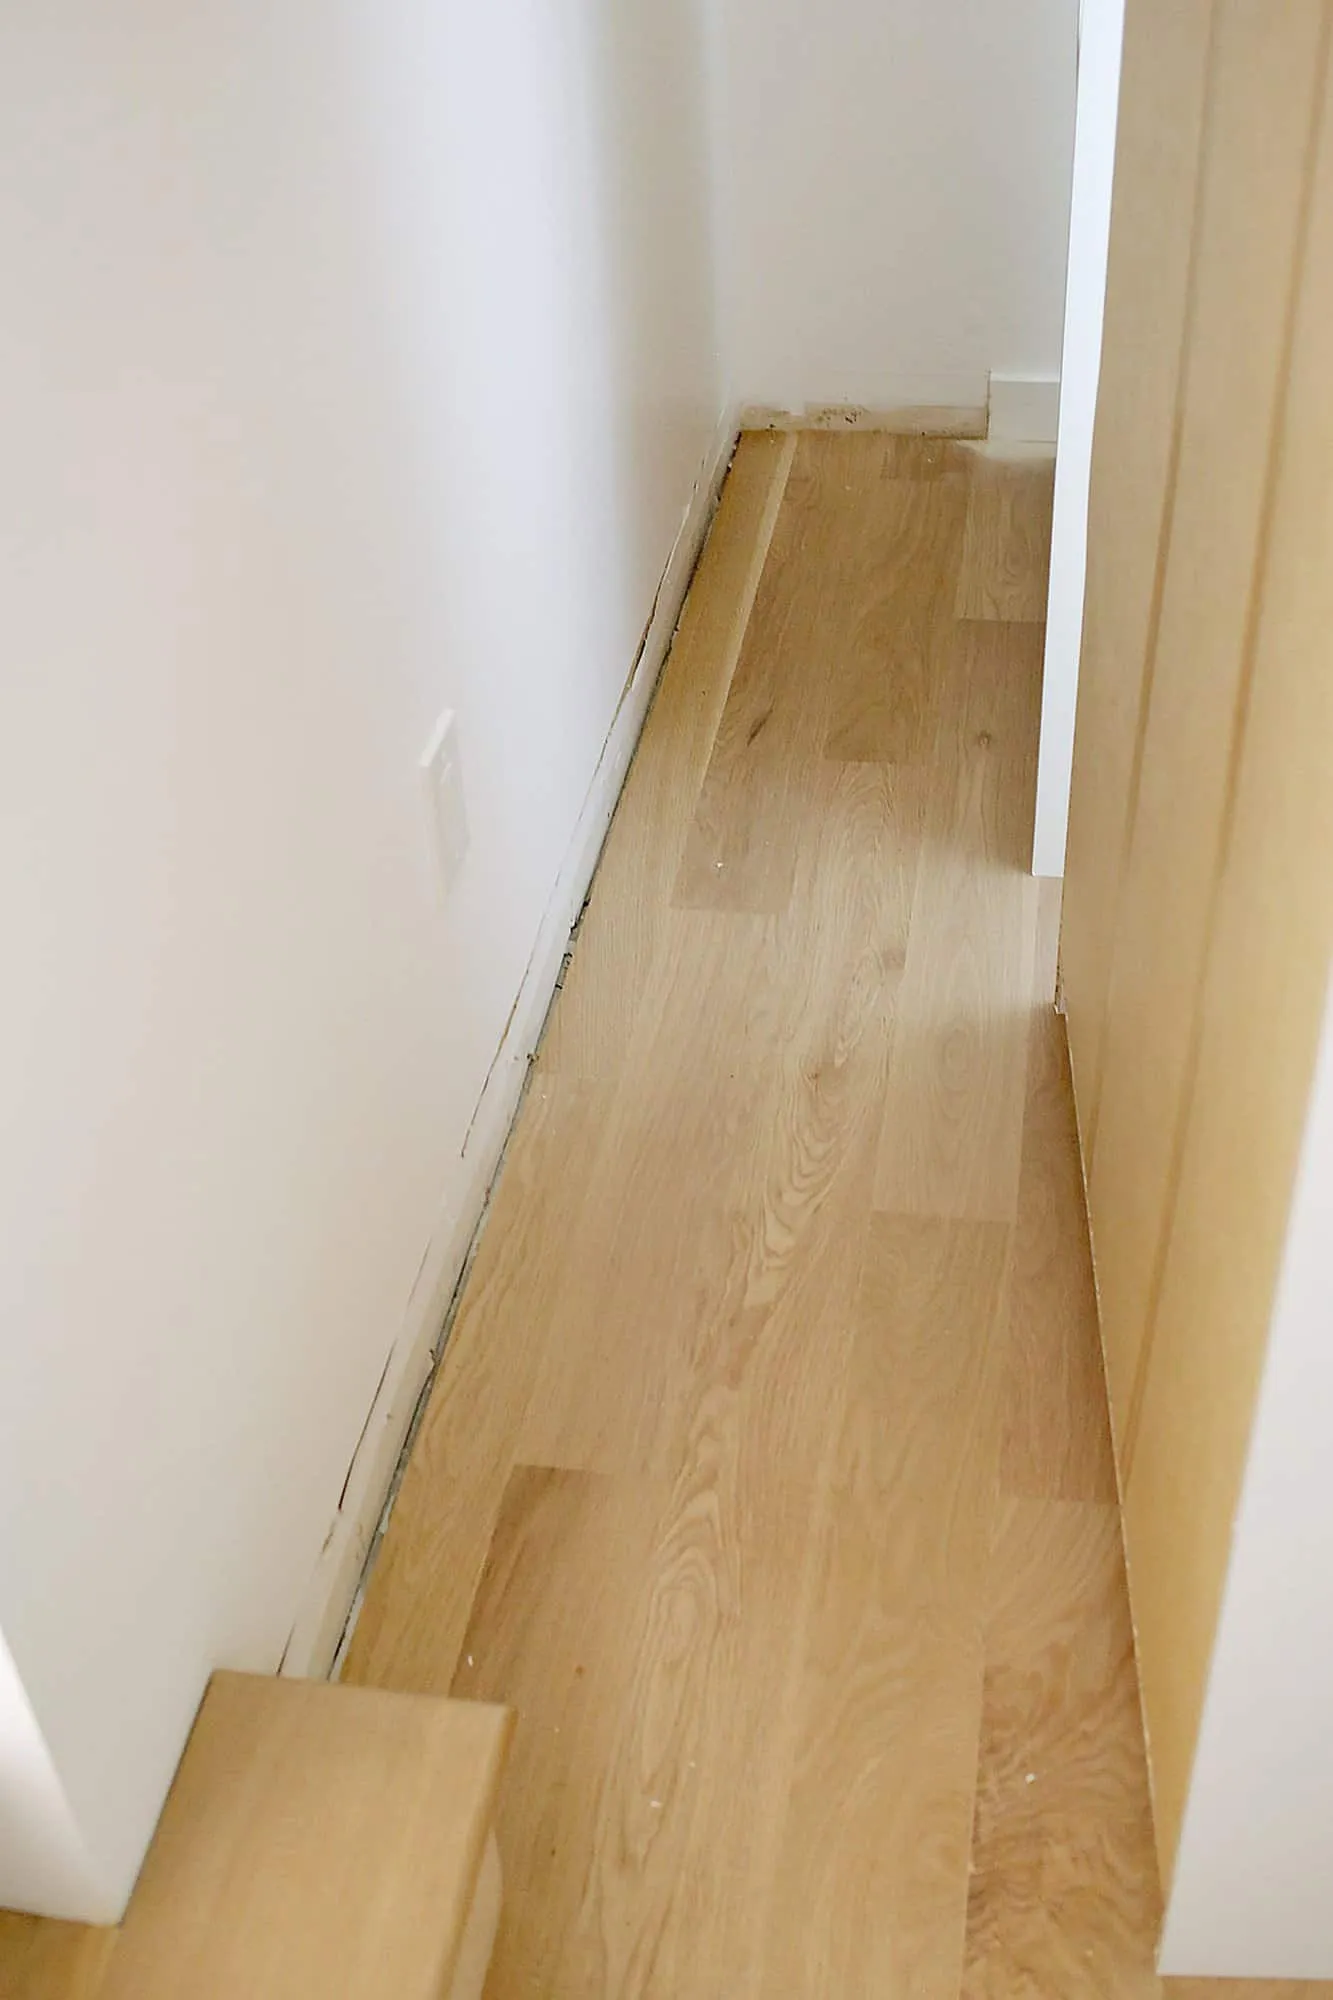
Step 1: Remove the baseboard
First, remove the baseboard where you’re placing your wardrobe so it can sit flush against the wall. Use a box cutter or razor to cut the bead of caulk between the top of the baseboard and the wall. Then, gently pry the baseboard off with a crowbar.
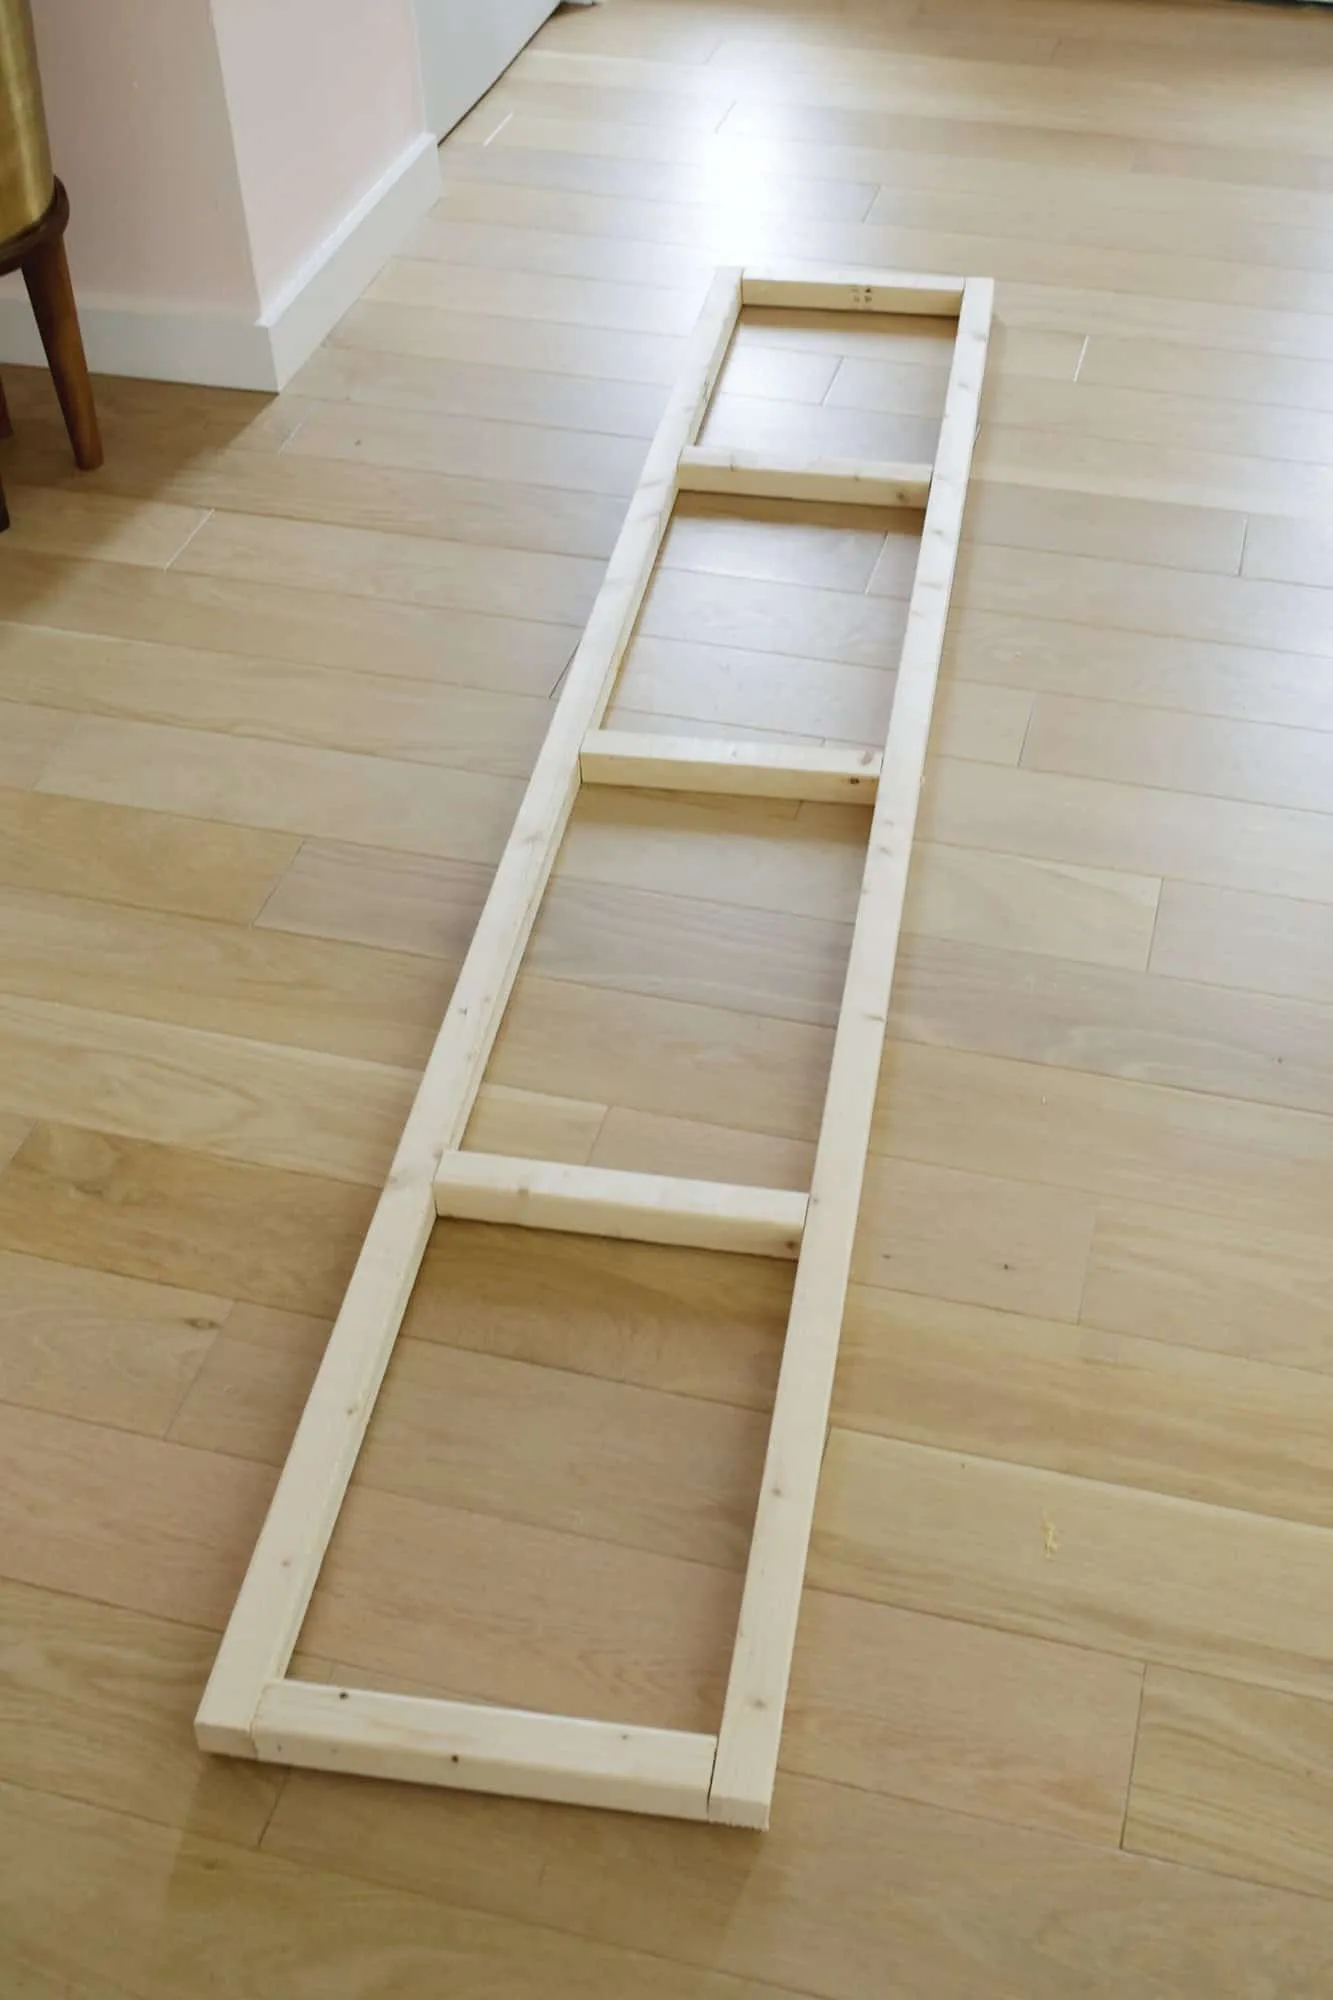
Step 2: Build a simple rectangle platform
Start by building a base with 2x4s or 2x2s, the same size as your wardrobe dimensions. For instance, if your closet measures 24” wide and 80” long, build a base of the same size. Use a miter saw or a hand saw with a miter box to cut the boards.
Add support boards in the middle and screw them in place from the outside edges.
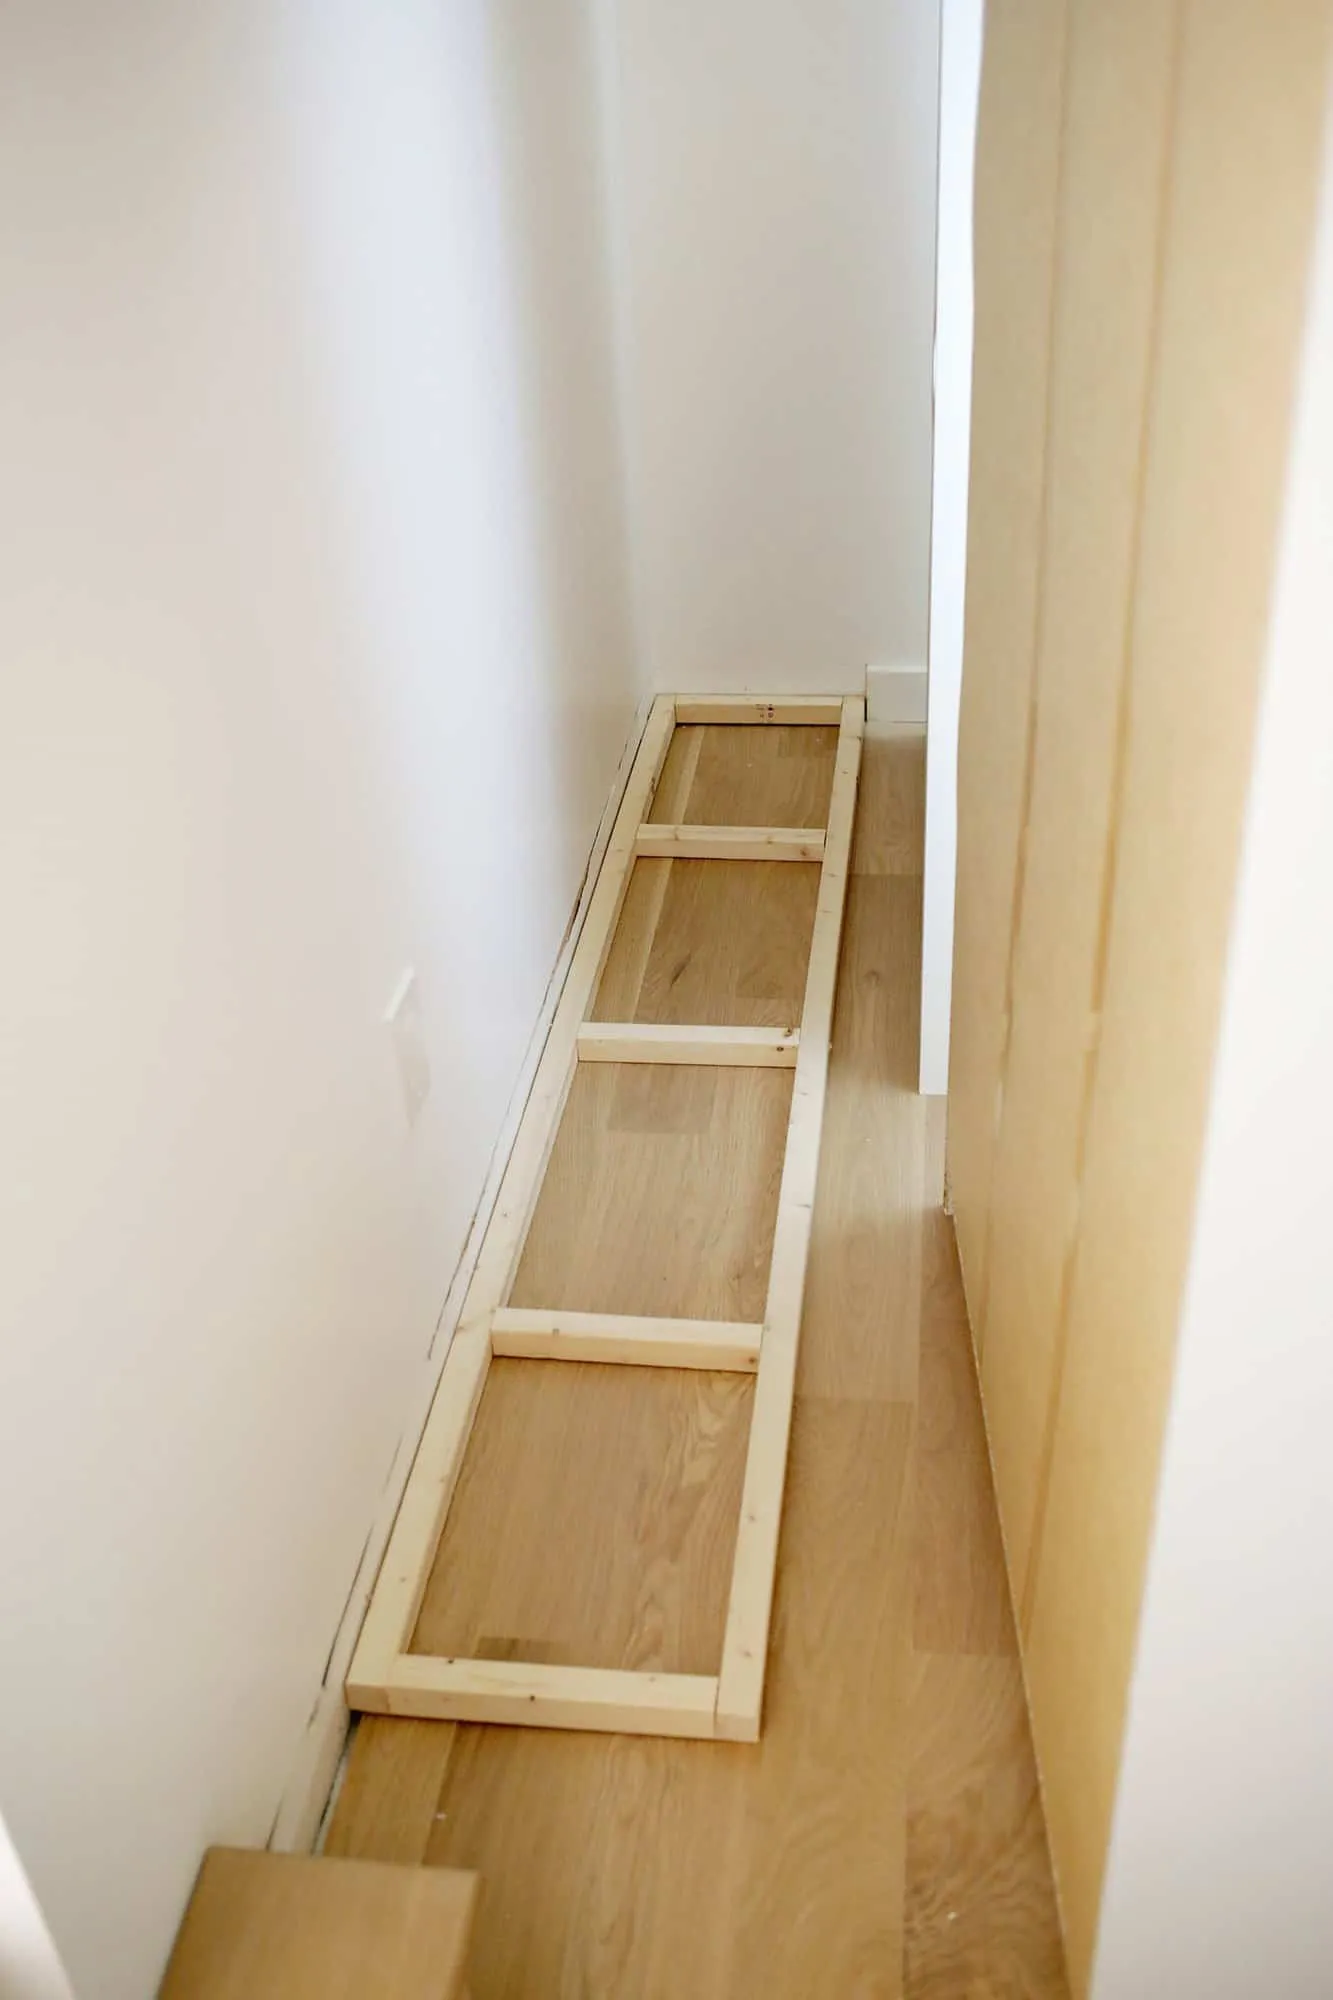
Step 3: Attach the platform to the wall
Use all-purpose screws to fasten the back edge of your base to the wall every 12 inches or so. If you don’t care about the flooring, you could also secure the front edge to the floor, but it might not be necessary.
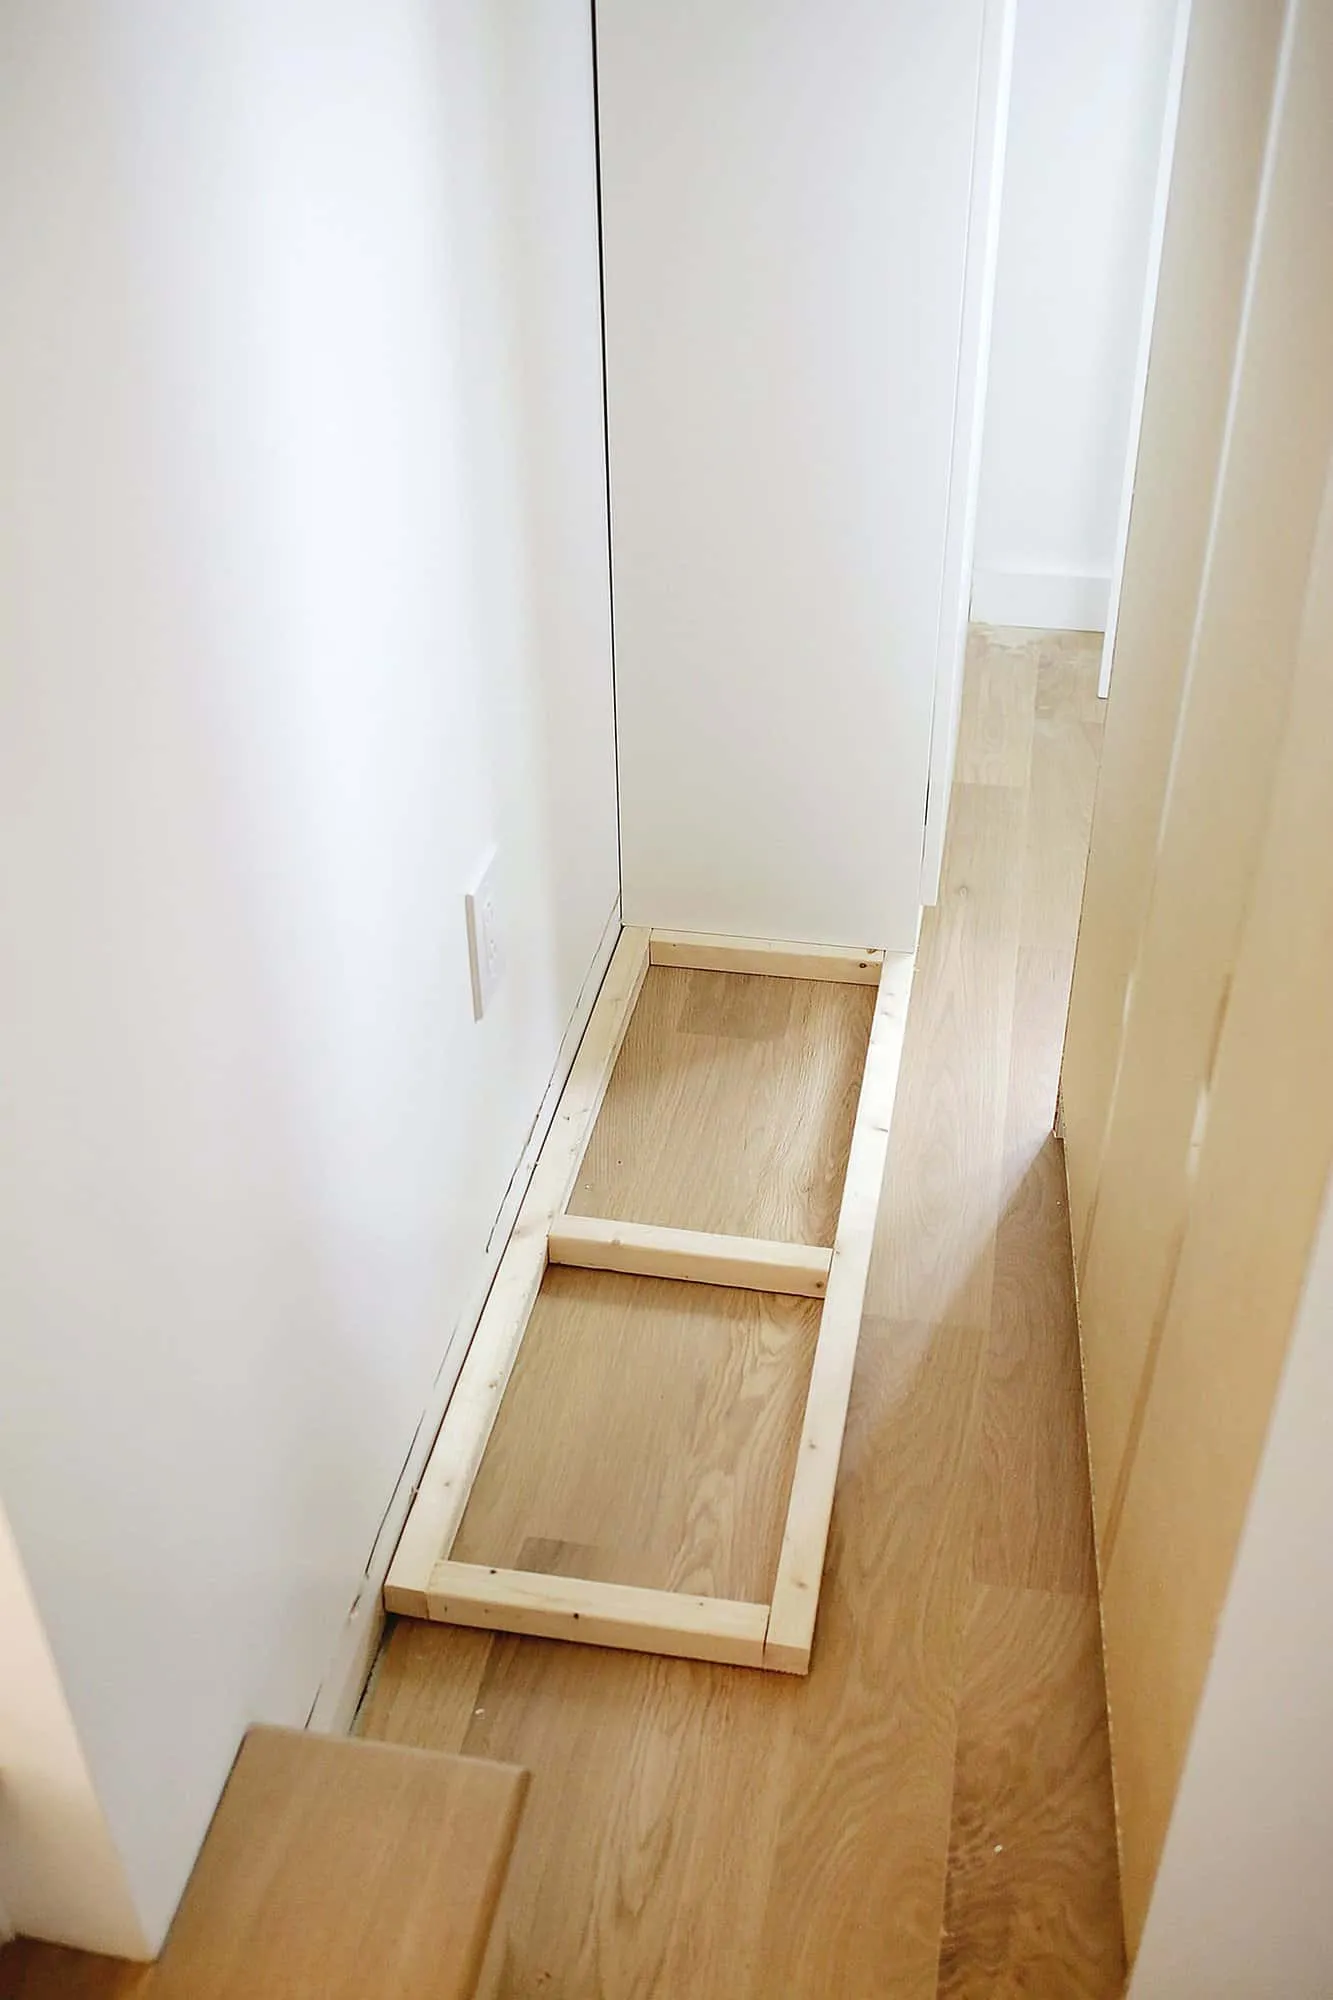
Step 4: Add your wardrobes on top (one at a time)
Place the wardrobe sections on the platform one at a time, making sure they’re snug against the wall. Follow the IKEA instructions to connect the sections and attach them to the wall.
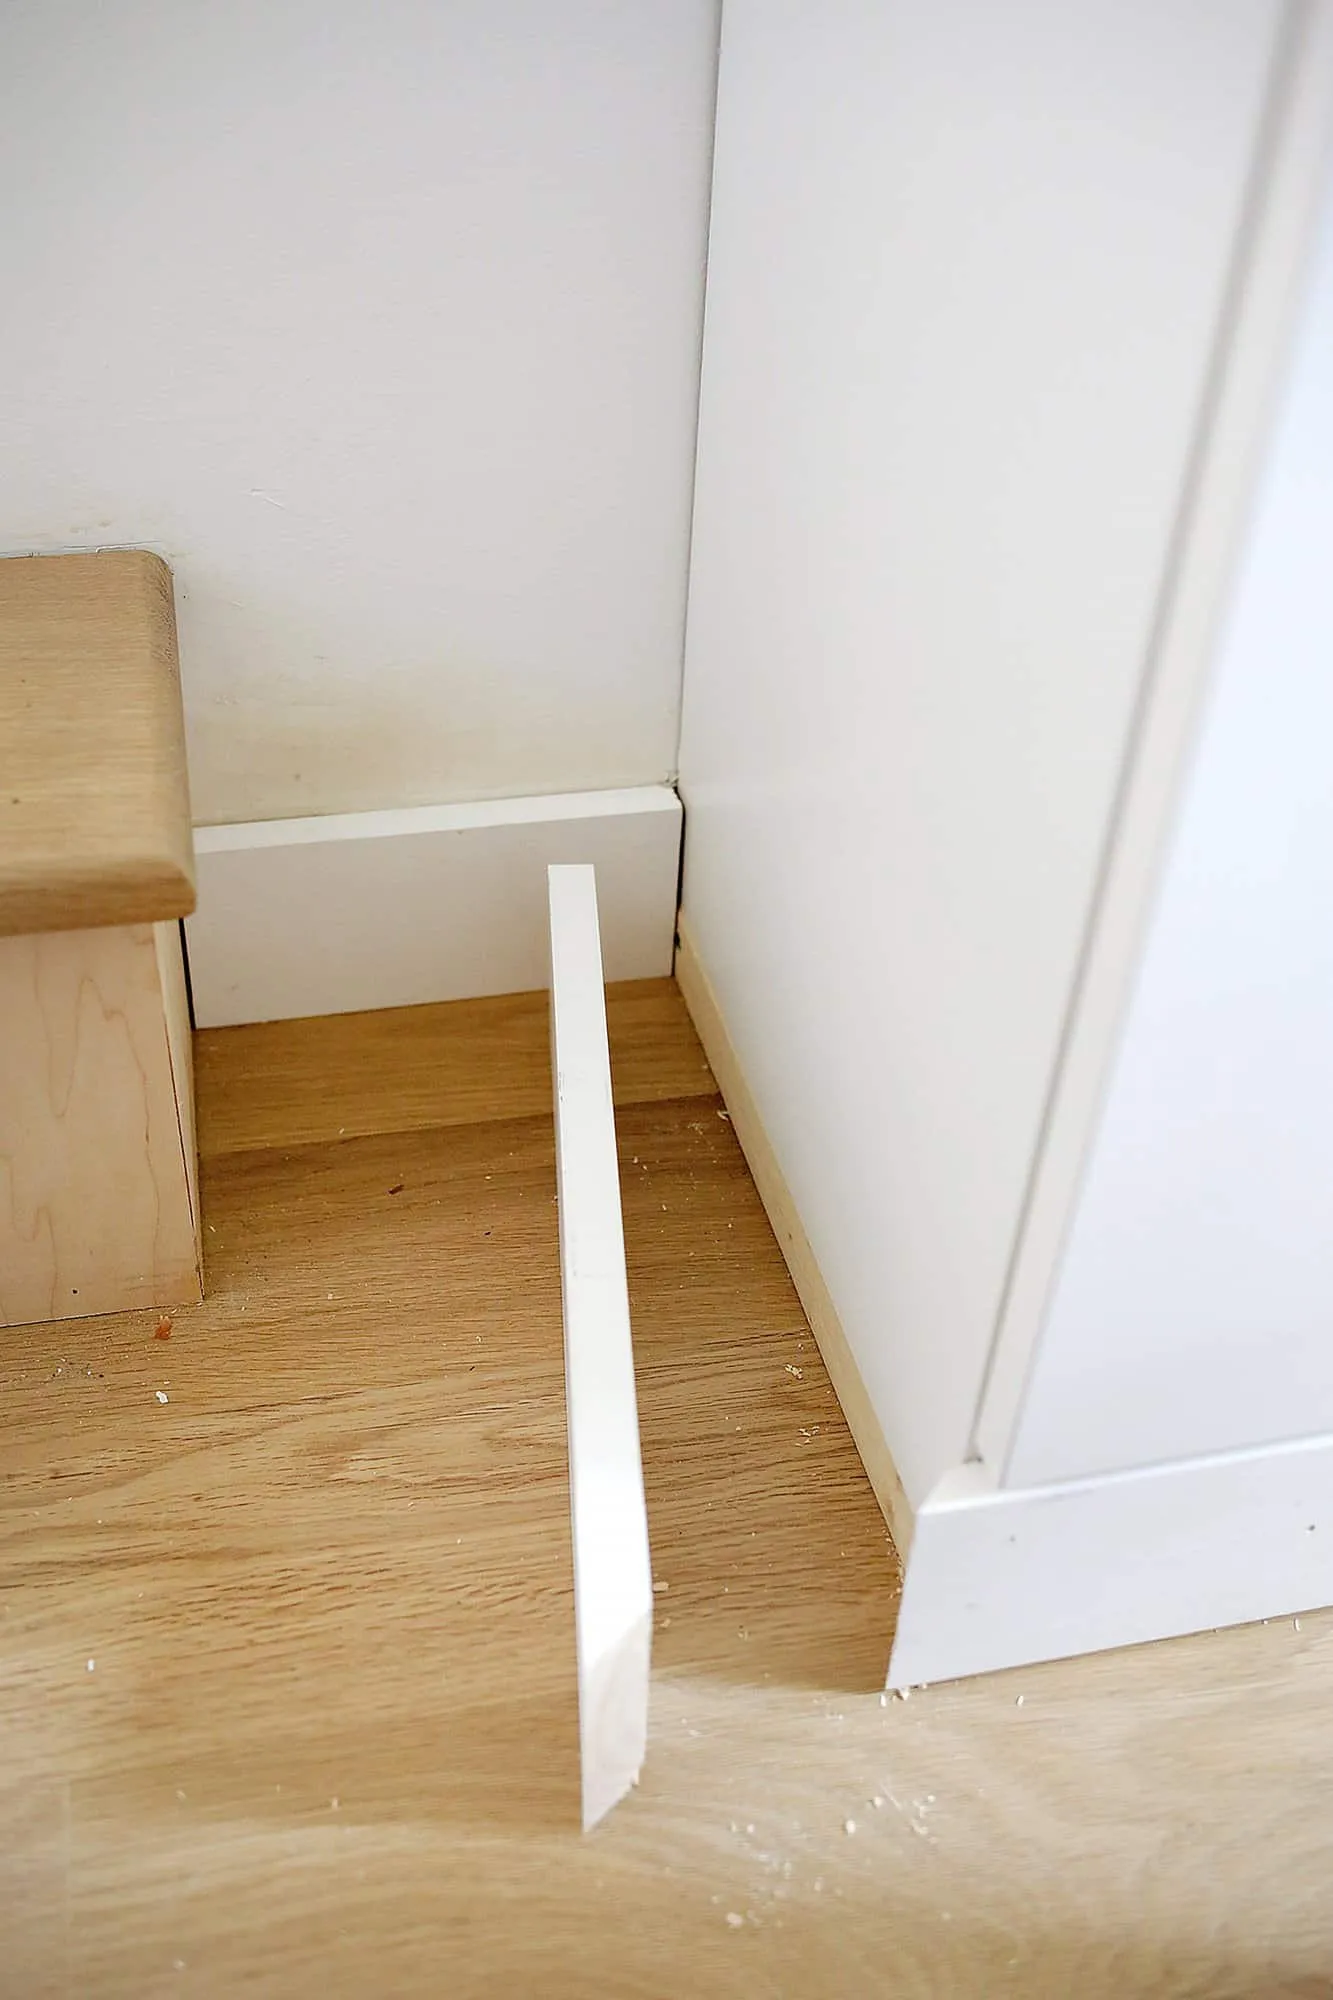
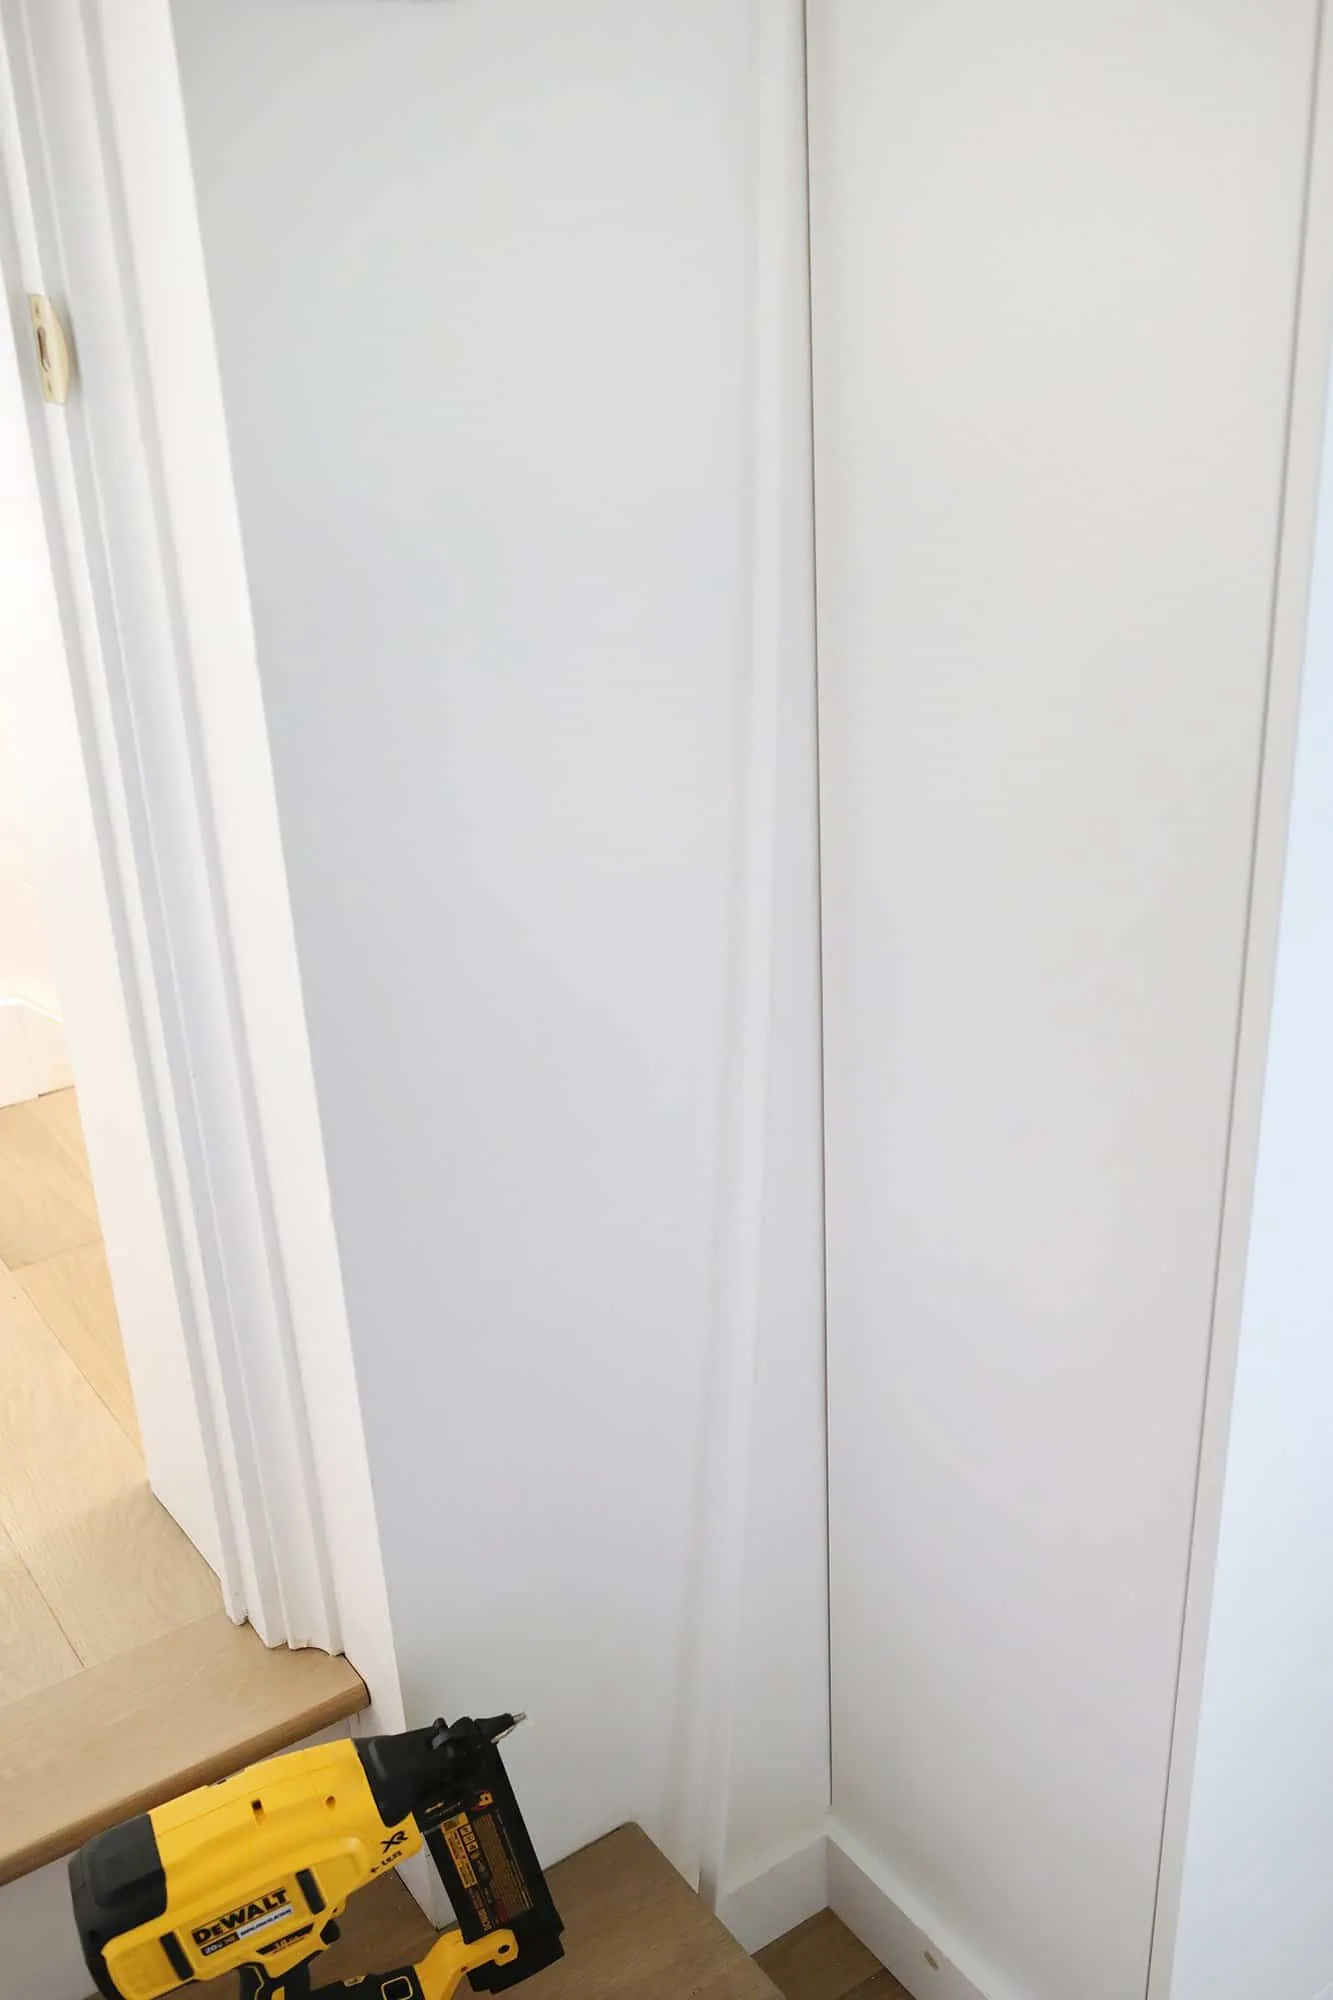
Step 5: Add your trim
With the units on the platform and attached to the wall, it’s time to re-attach your baseboard. Use a miter saw to cut your baseboard to fit around your closet (I used a 45° angle for the corners) or a hand saw if you don’t have a power saw. Attach with a nail gun or small finish nails and a hammer.
Also, add a small piece of cabinet trim to close any vertical side gaps between the wall and the cabinet.
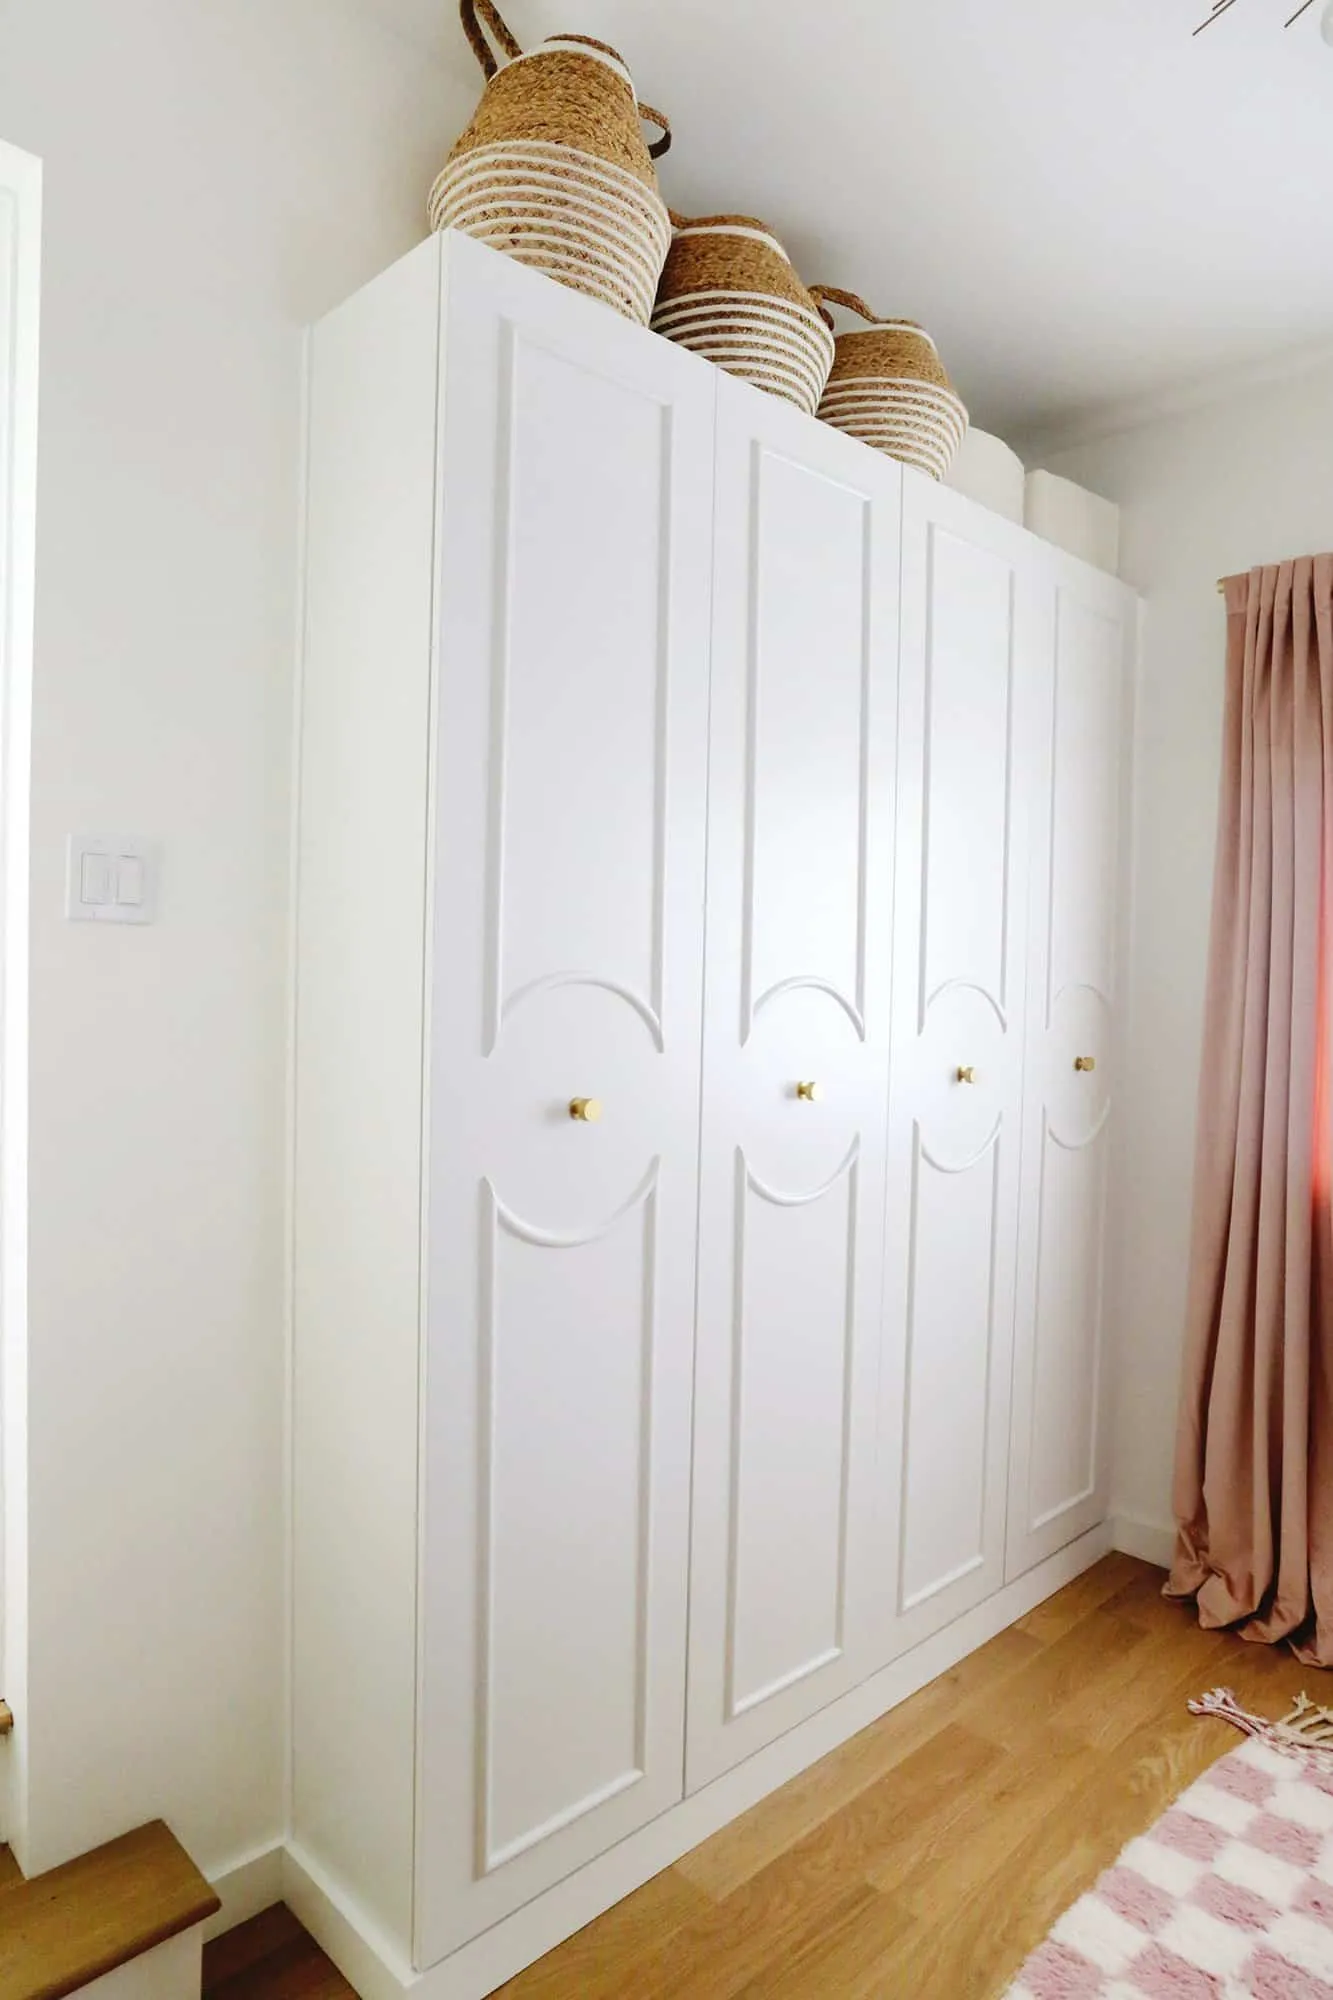
Step 6: Caulk and Paint
Fill any nail holes with wood filler and caulk between the baseboard and the wall or closet for a seamless look. Once the filler and caulk are dry, paint your baseboards to match the cabinet or the rest of the room.
And there you have it! Your new closet system is ready to use. I used Melting Icicles by Behr to match IKEA Pax white, and it’s a great color match.
Optional: Side Trim/Spacer Step
If you need to add some length to one side to get the wardrobe door further from the wall or center it in a recessed area, scribe the wall’s curves onto a board and attach it with a finish nailer from inside the wardrobe. Caulk and paint to match.
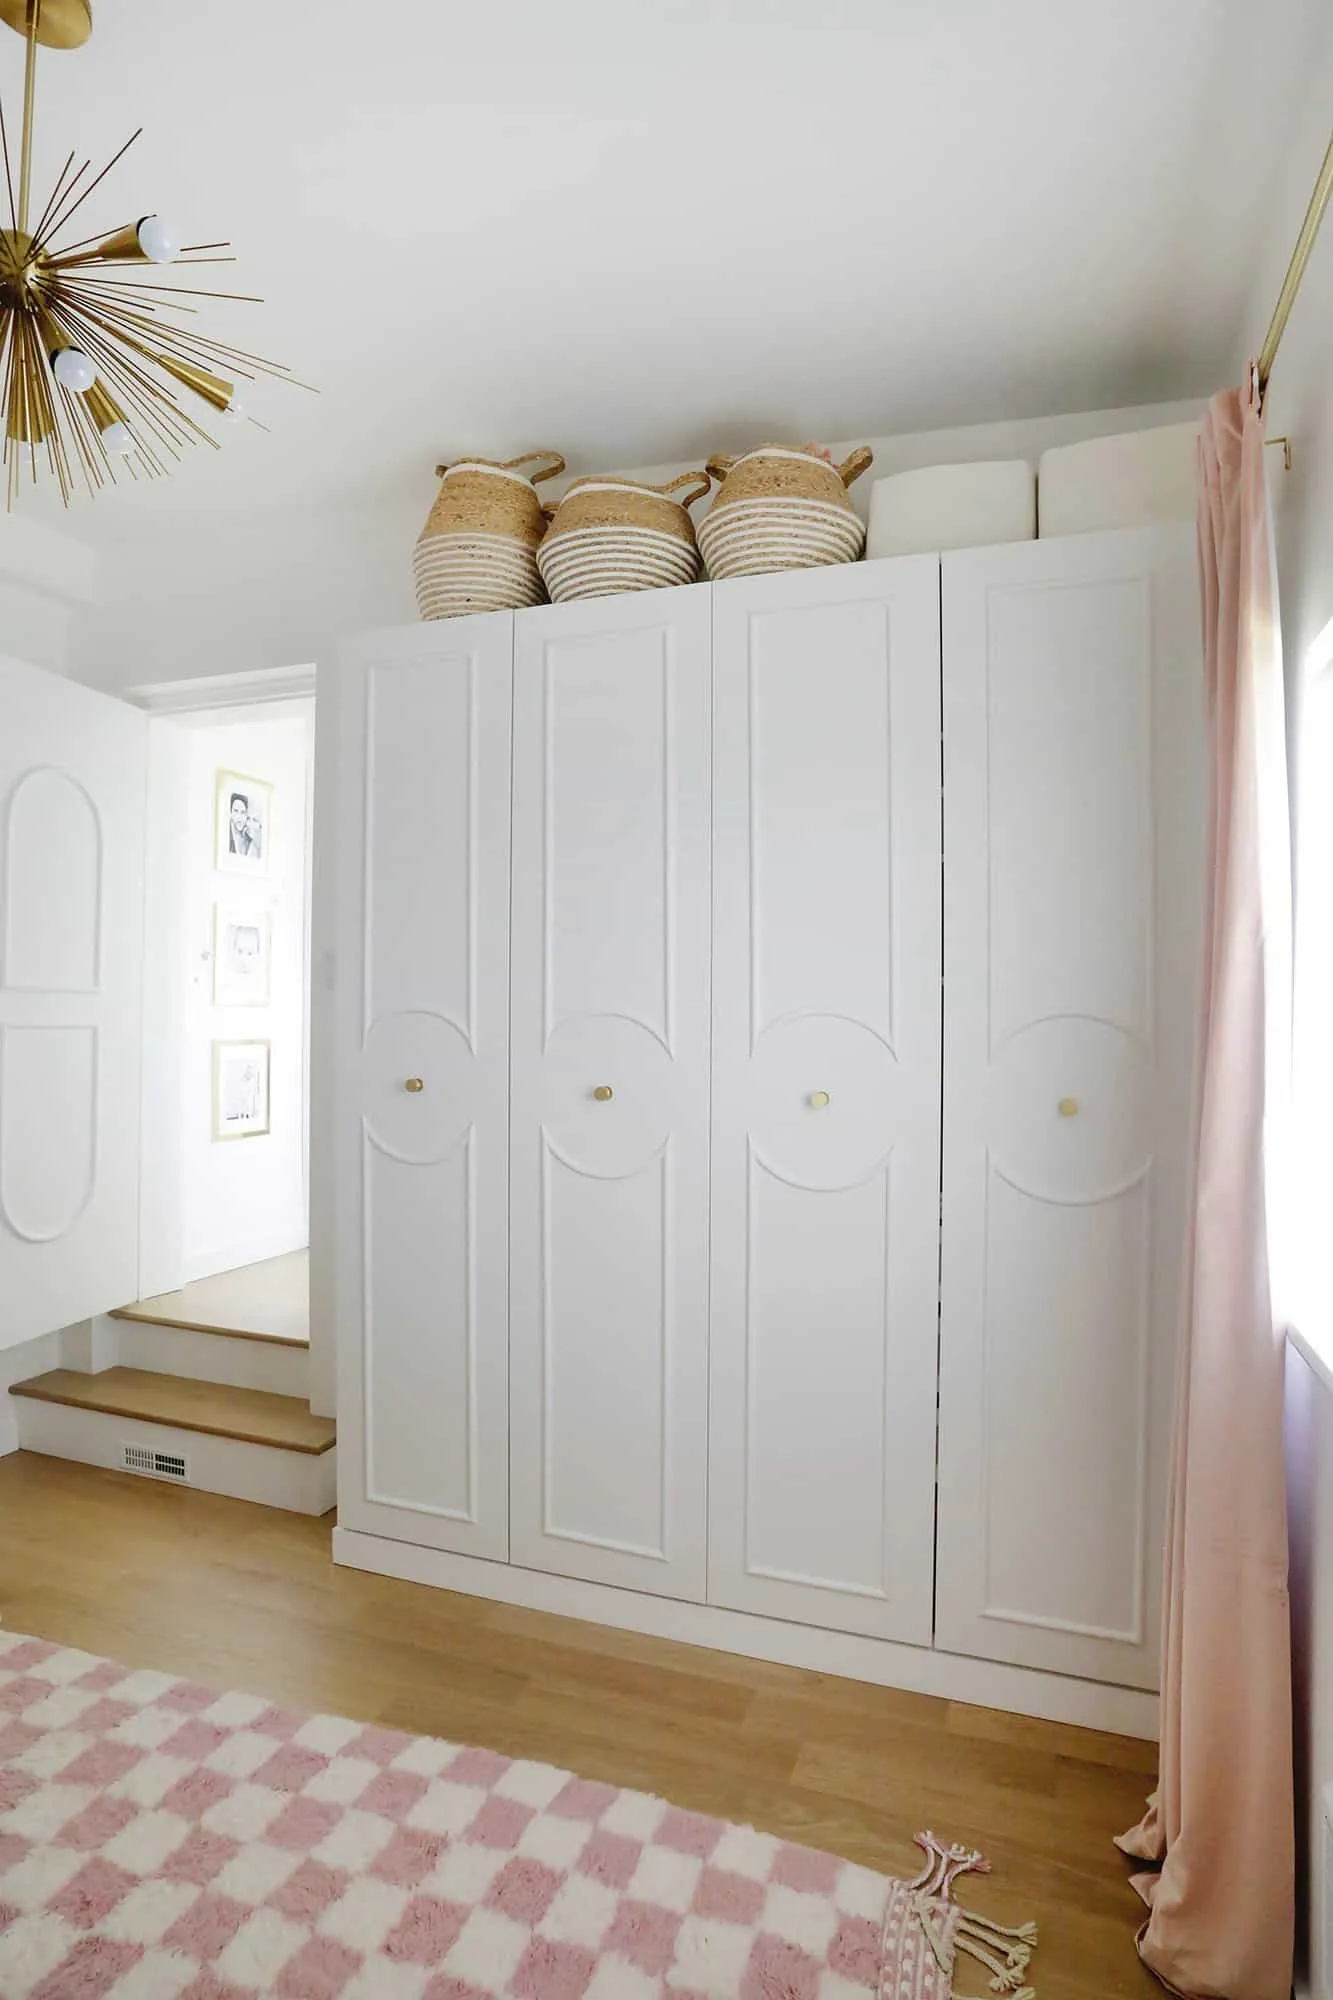
Making your IKEA Pax wardrobe look built-in is a fantastic way to add customized storage to your home. This method is affordable and looks amazing. If you’re ready to tackle the project, go for it, and enjoy your new wardrobe!