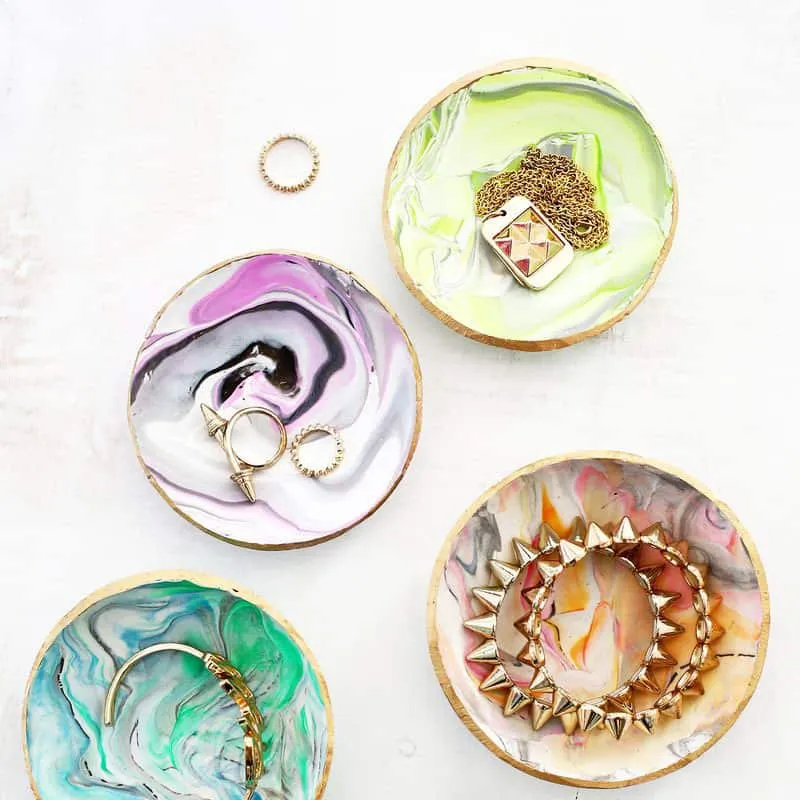
Guess what? I have a bit of a confession to make—I’m a ring litterer! Yep, my stacking rings are scattered all across the house. So, I had this lightbulb moment: why not make cute little ring dishes to place in different rooms?
And what’s super easy and affordable for this? Clay, of course!

Here’s a quick video tutorial for making your own Marbled Clay Jewelry Dishes. If you prefer, keep scrolling for the step-by-step guide with photos:

Supplies
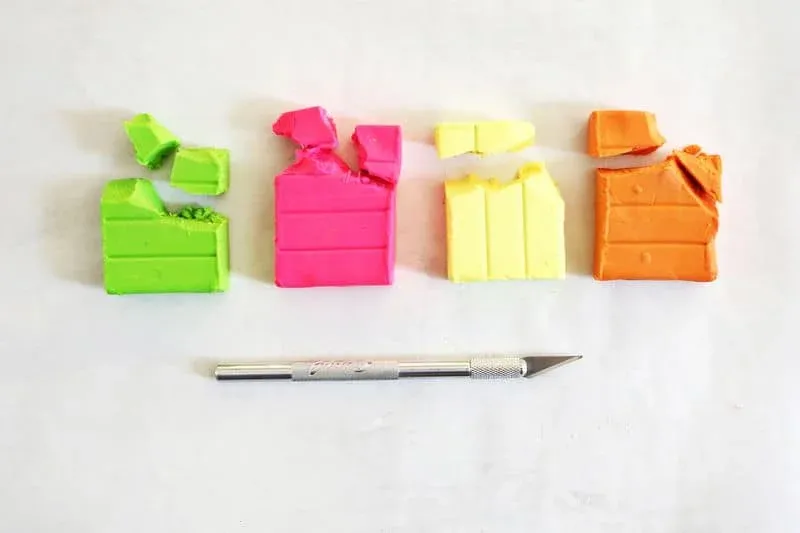
- Oven-bake clay (white, gray, black, and any colors you like)
- A few ounces of colored clay and 1.75 pounds of white clay will make several dishes!
- X-Acto knife or a plastic clay knife
- Small bowl or baking ramekin (make sure they’re oven-safe)
- Gold paint and small brush
- Silicone rolling pin or a large round jar
- Large can or jar to trace around
- Glaze to seal the dish (optional)

Instructions
-
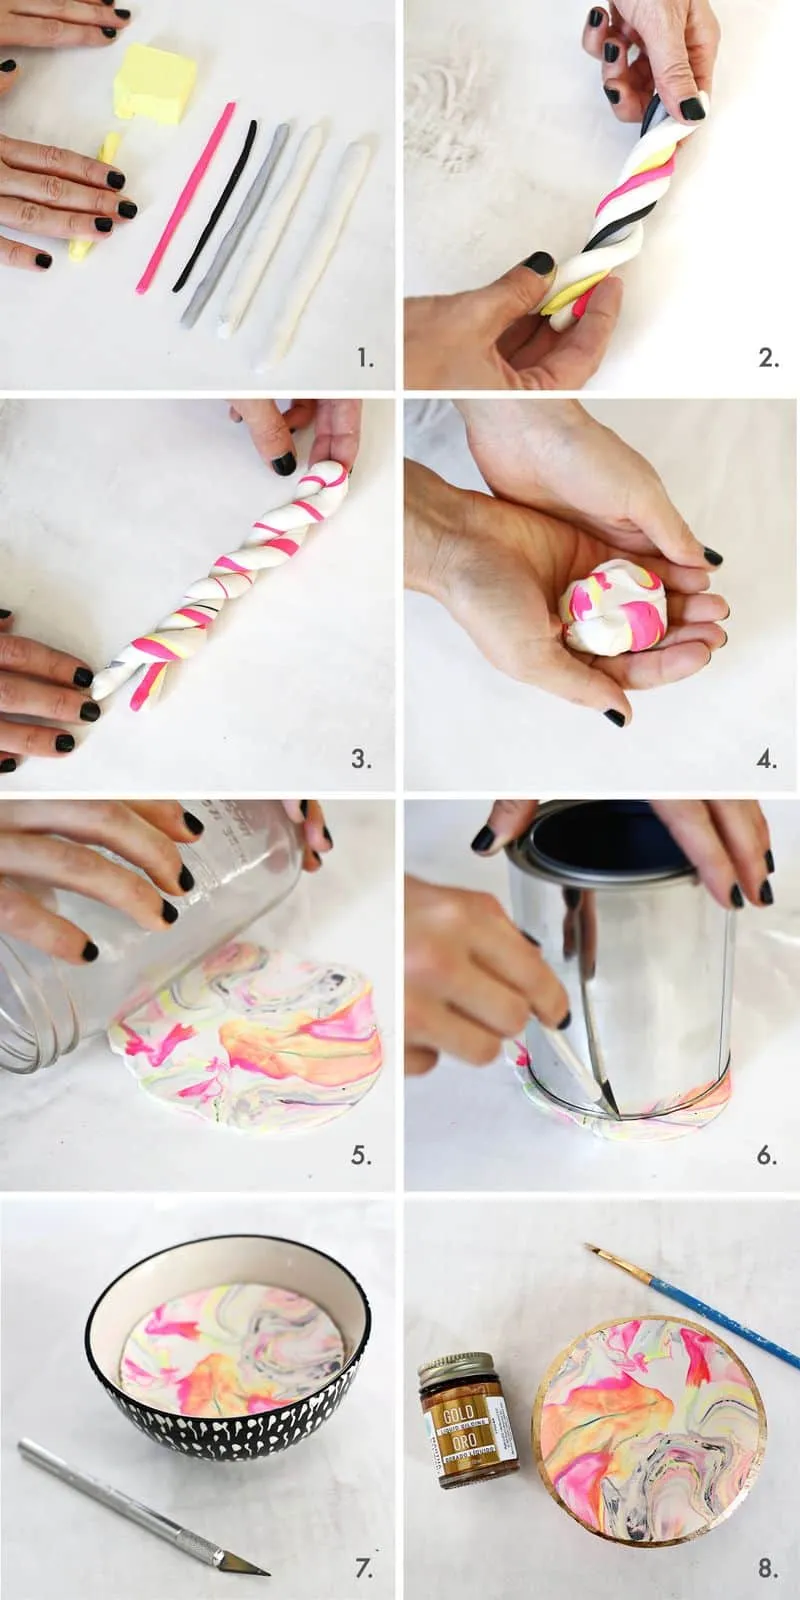
Roll each color of clay you want to use into a snake (about 5″ long). Typically, I make two larger rolls of white, a medium roll of gray, a small roll of color, and an extra-small roll of black.
-
Combine the small rolls into one big roll and twist them together.
-
Roll this large twist into a longer snake (about twice the original length). Twist the ends opposite ways now and then to give it a candy cane look. Once it’s twice the length, fold it in half and twist the ends together. Repeat rolling, folding, twisting, and rolling 2-3 times.
-
Smoosh all the clay into a ball. Make sure most colors are visible on the surface. If not, pull the ball apart and smoosh it together again.
-
Use a silicone rolling pin or a glass jar to roll out your marbled ball. I like using a glass jar because I can see how the colors blend as I roll. Aim for a 1/4” thickness.
-
Use something round, about 6″ wide, to cut out your dish circle with an X-Acto or clay knife.
-
Gently place your circle into an oven-safe bowl or ramekin a bit smaller than the circle to create a dish shape. Bake according to your clay’s instructions (mine was 15 minutes at 275°F). Let it cool, then turn the bowl upside down and tap lightly for the clay dish to fall out.
-
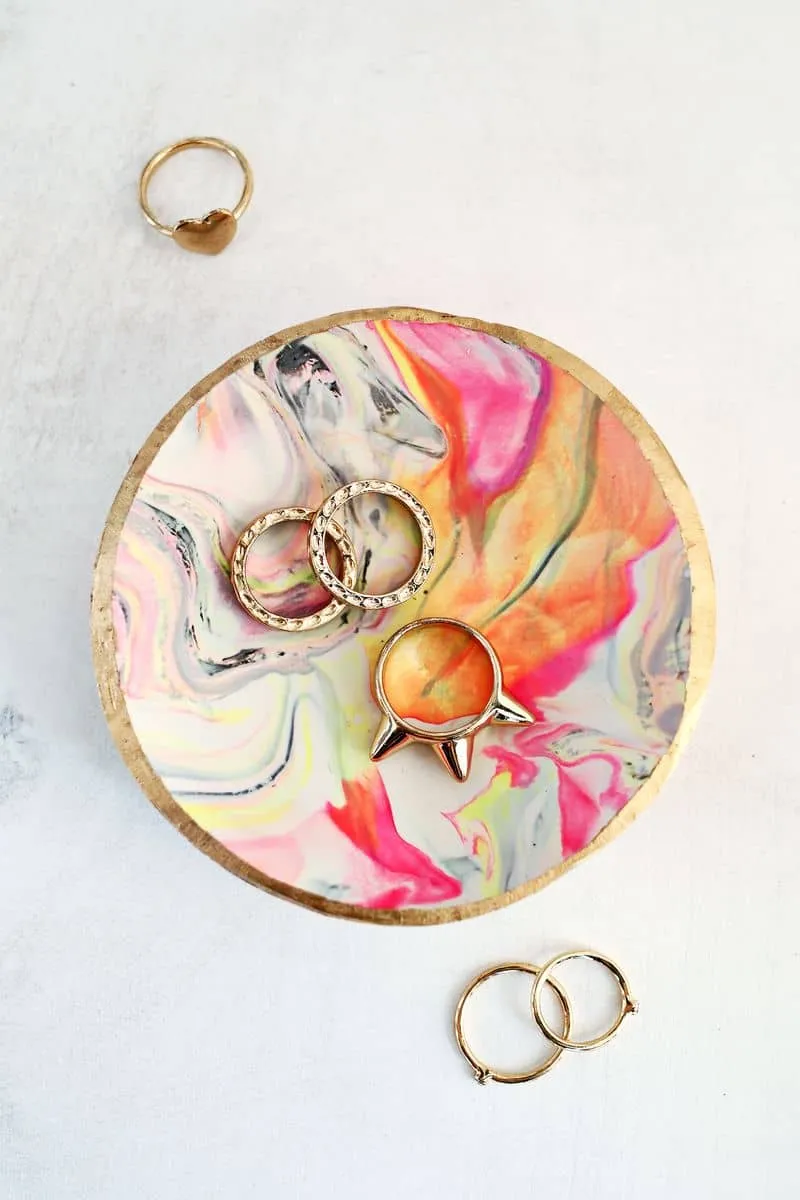
Once the clay has completely cooled, use a small brush to paint the rim of the dish, then let the paint dry. Optionally, you can seal it with a glaze for a glossy finish. Note: The glaze won’t make it food-safe or totally waterproof, but it will look shiny!

Once cooled, your dish might feel a bit flexible, more like hard rubber than porcelain, but that’s totally fine! It should still hold its shape and your rings perfectly.
The color possibilities with this project are endless! My favorites include white, gray, black, and a couple of bright colors for a pretty mix. I suggest using a soft oven-bake clay like Sculpey to save time and effort.
If DIY isn’t your thing, you can always buy a handmade ring dish. But these turned out so cute that making them was worth it! I made enough to give some away as gifts—a sweet present with a cute ring or clay bead bracelet inside. Happy crafting!