Refreshing Kitchen Cabinets in One Afternoon
/ 4 min read
Last Updated: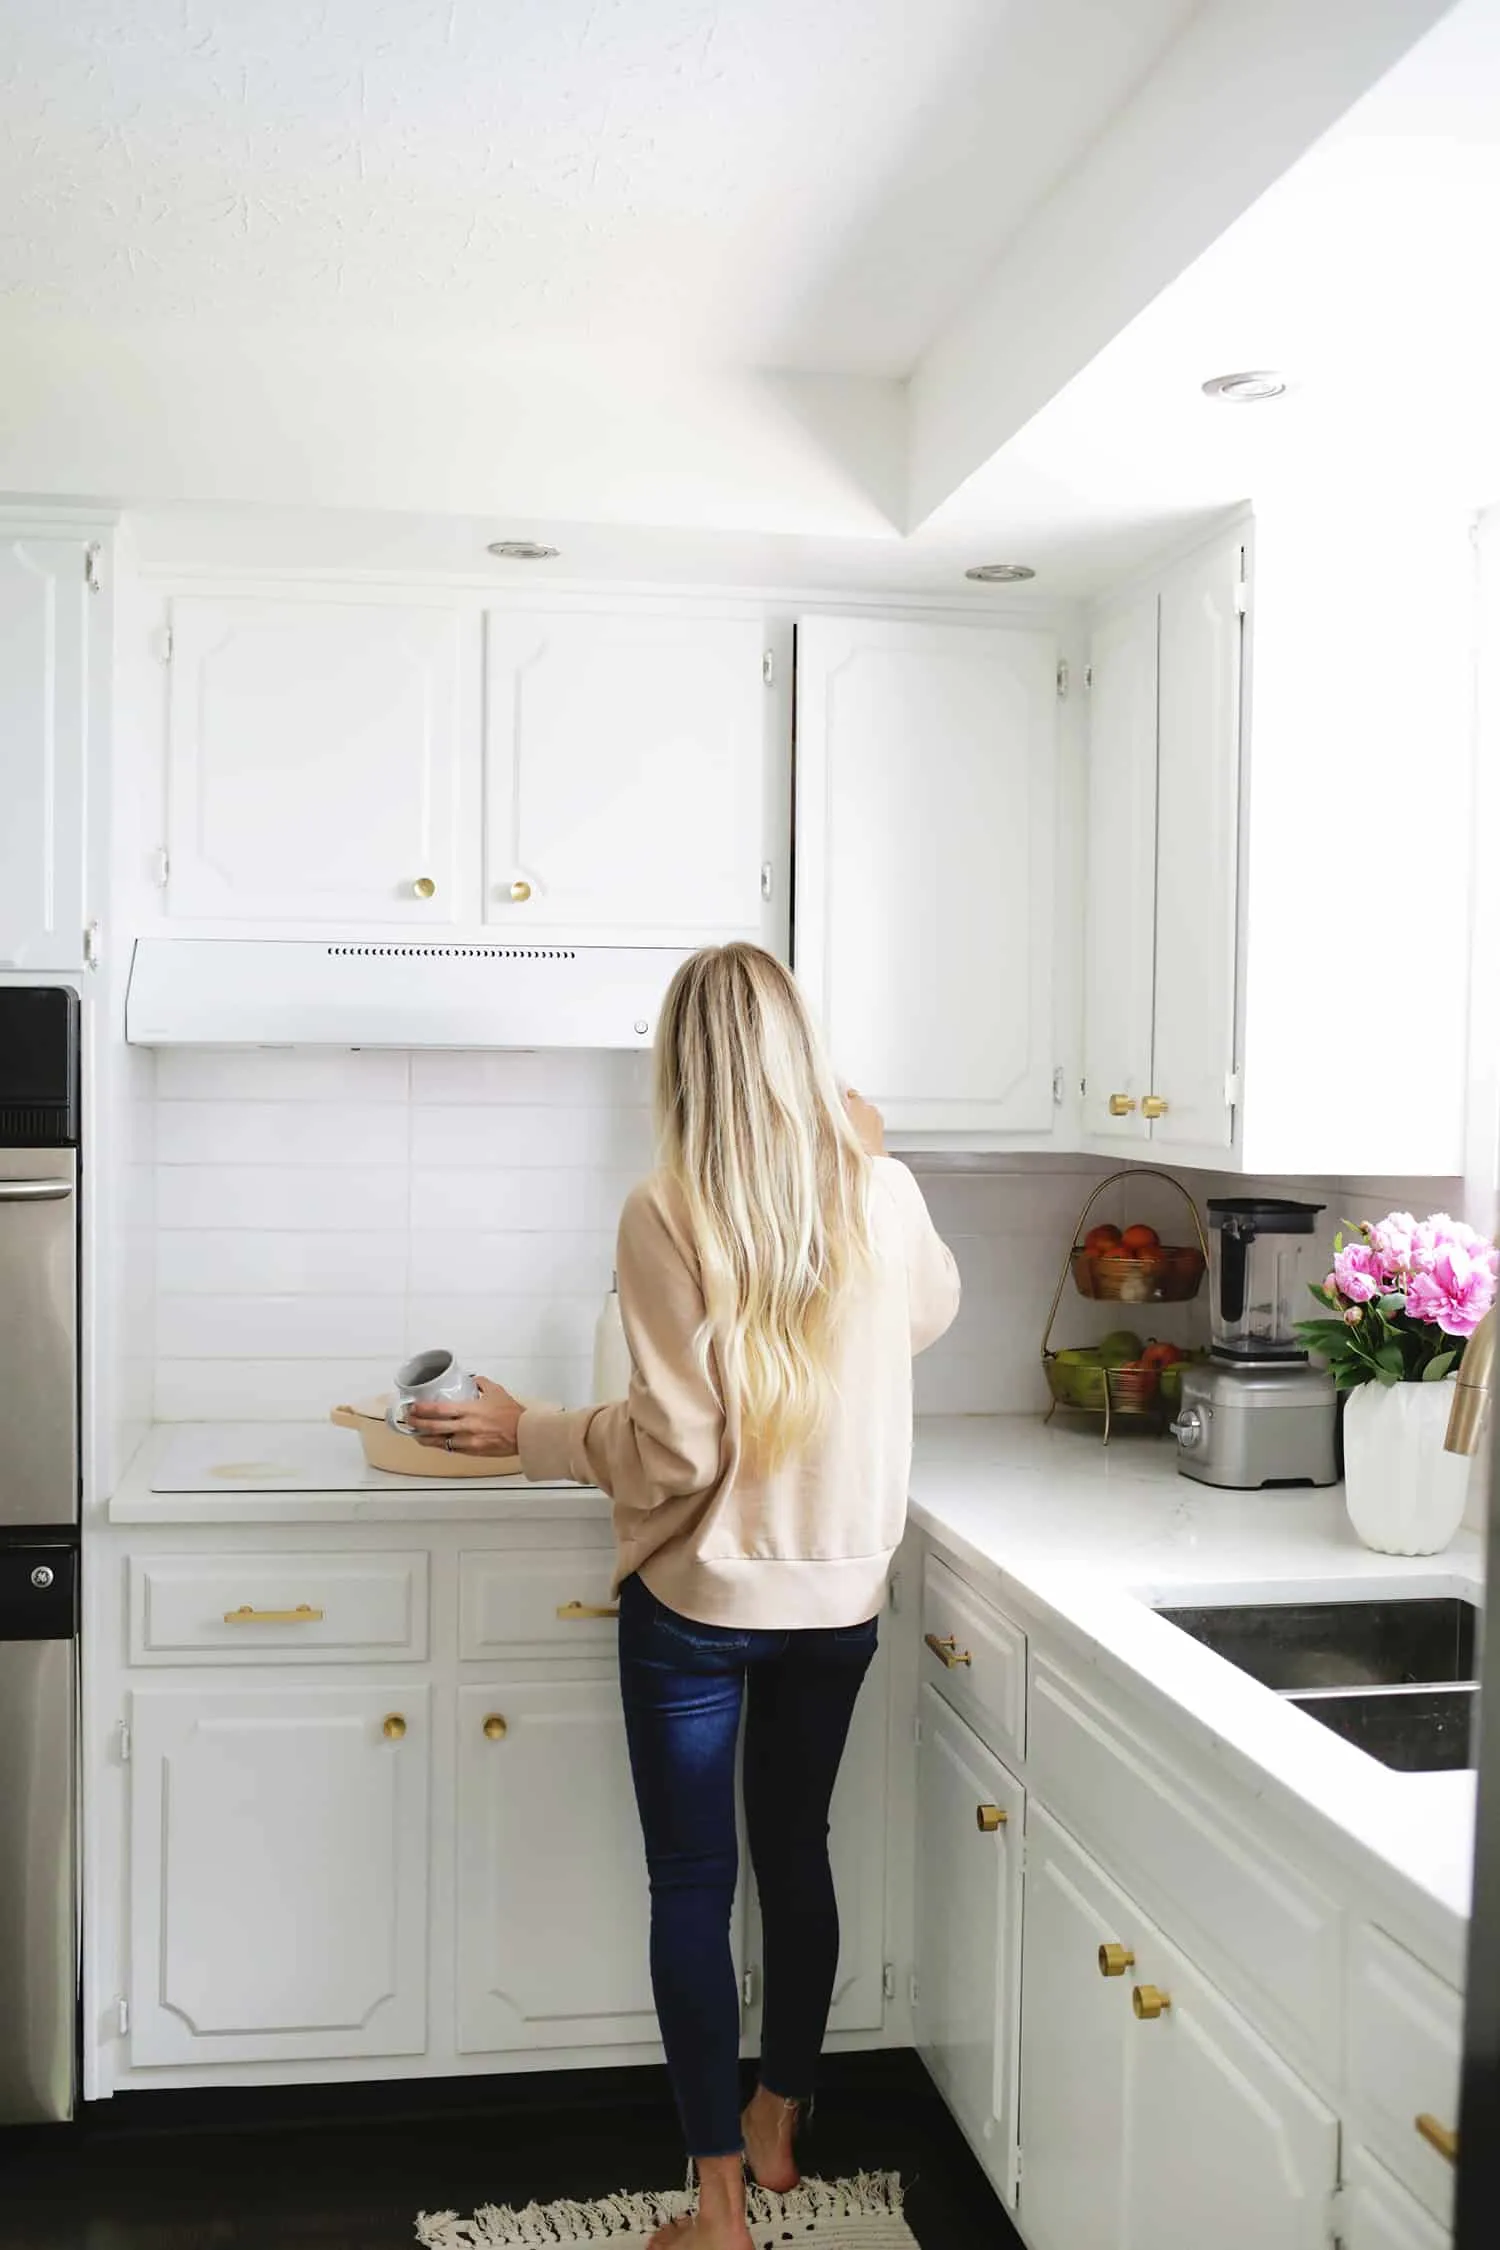
We moved into our Nashville home seven years ago (time really flies!) and the first thing we tackled was sanding and painting the dark wood kitchen cabinets white to brighten up the small space.
Fast forward a few years (and one toddler), the paint job was looking pretty worn, and I kept thinking about refreshing the cabinets. The initial painting was such a big project that I wondered when I’d ever have the time for a redo.
When I finally sat down to plan it out, I realized it wasn’t as daunting as I had thought. In fact, I could refresh the cabinets in just one afternoon!
That seemed way more manageable than dedicating a whole weekend—and the results were amazing. Here’s how I did it!
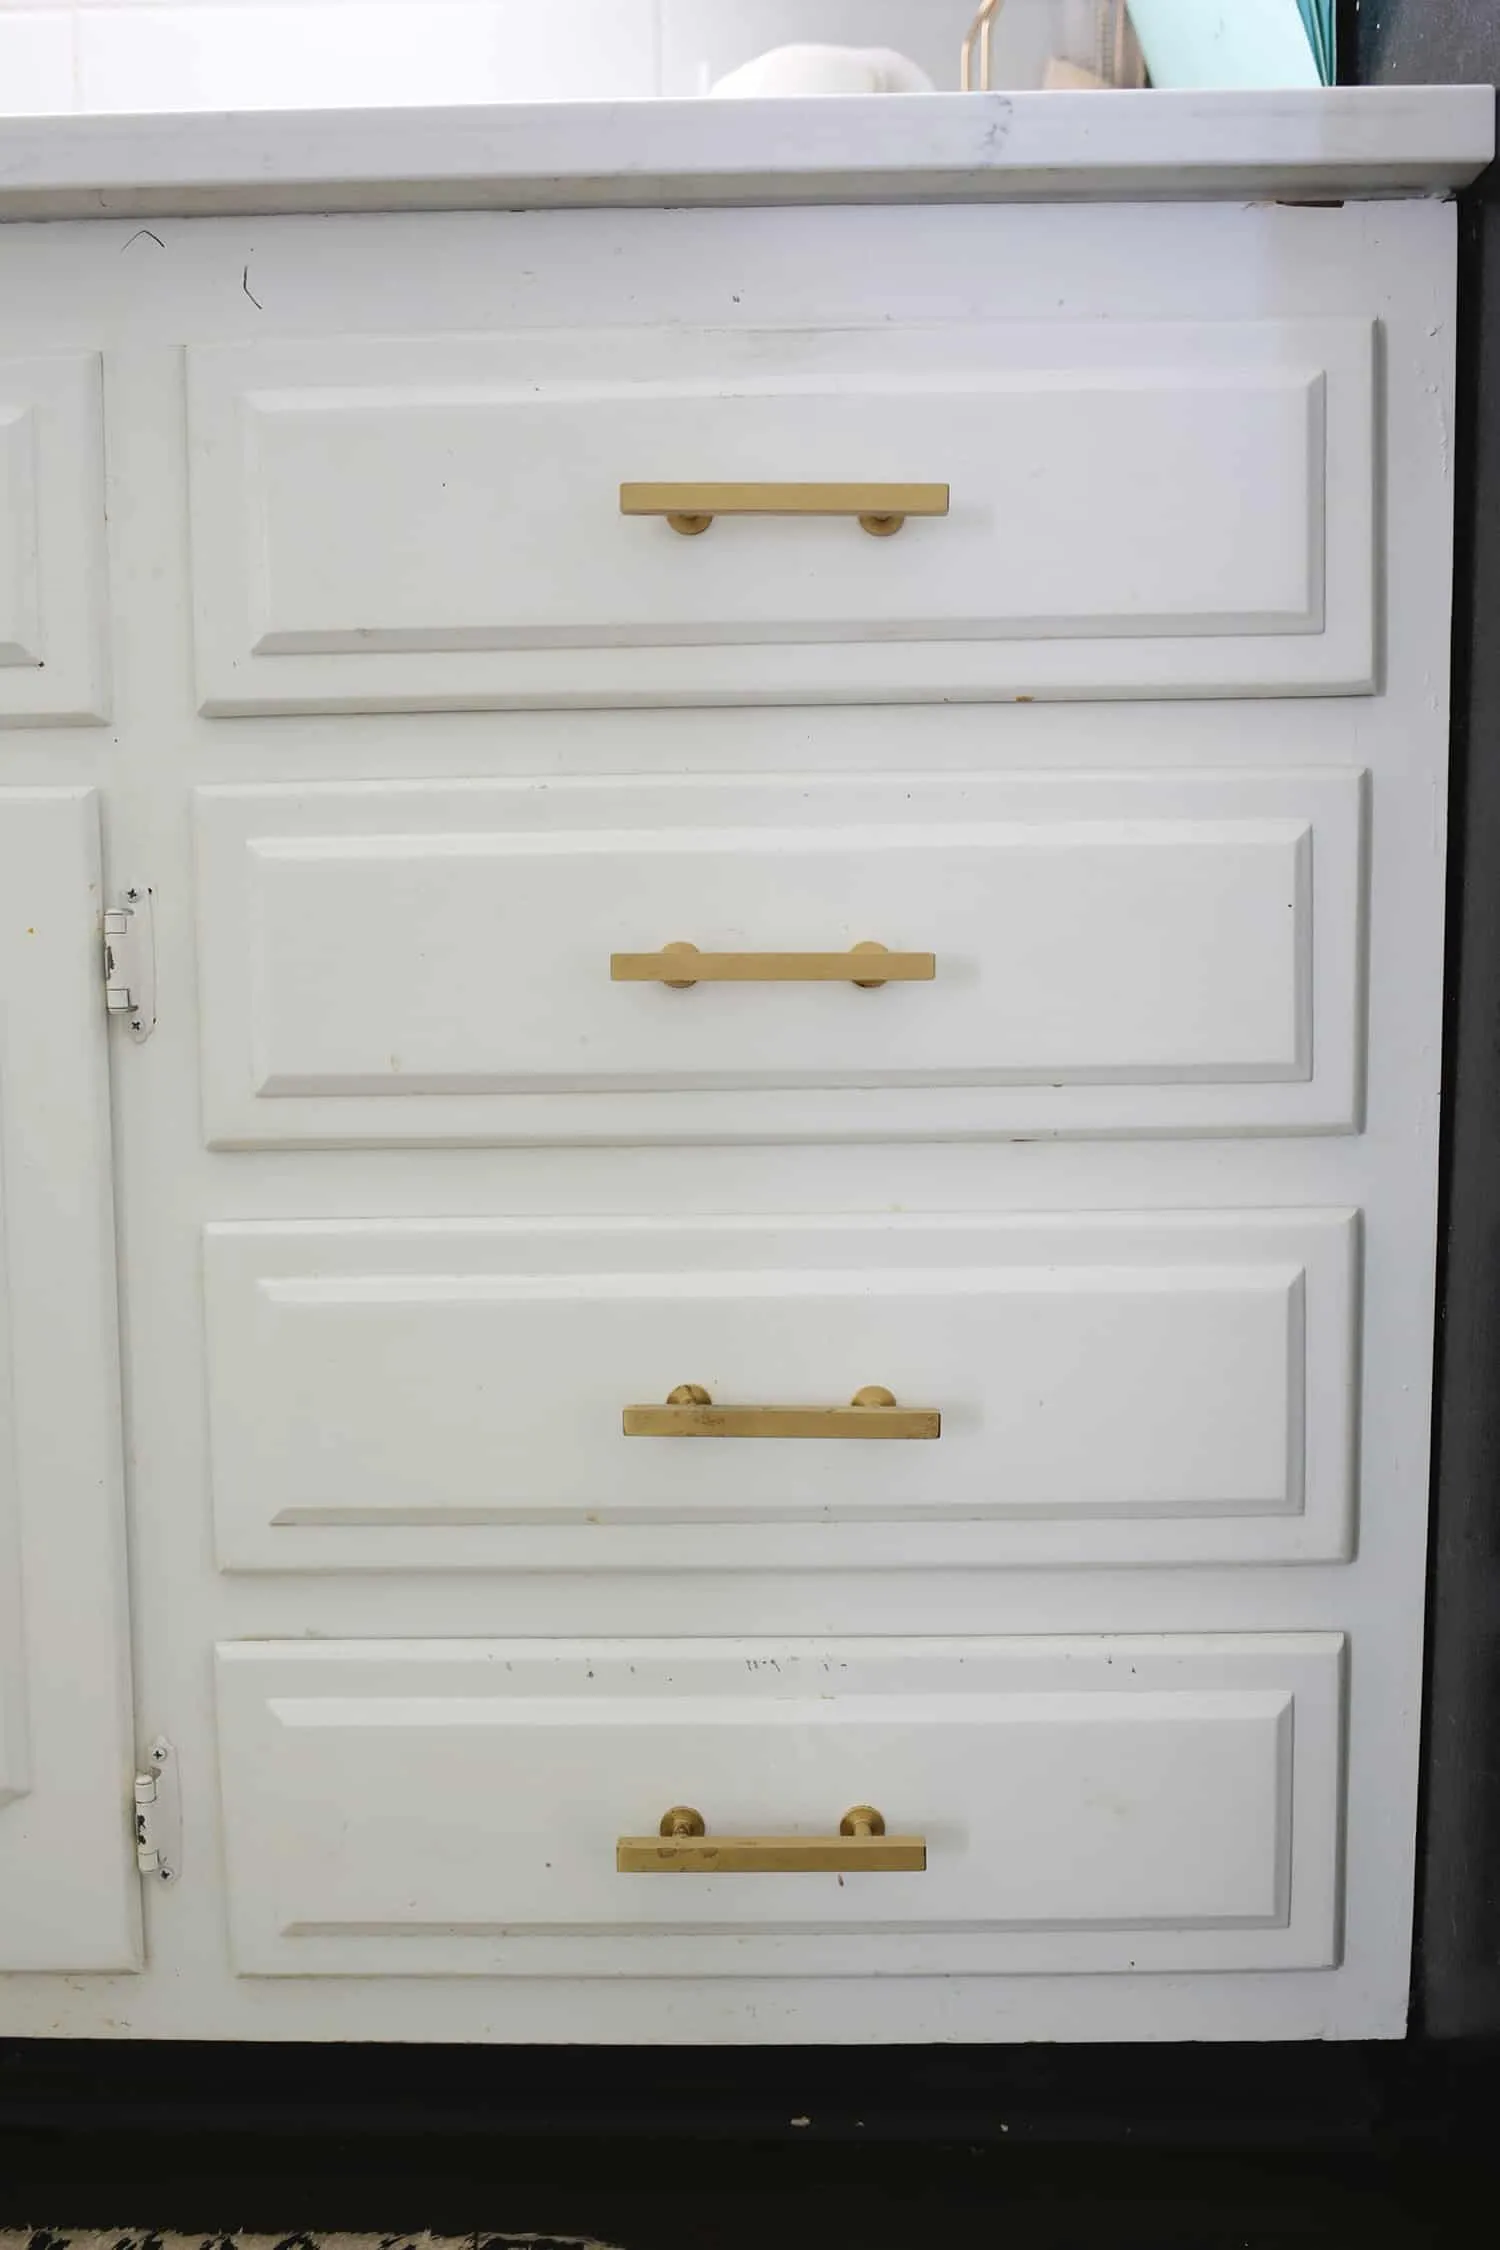
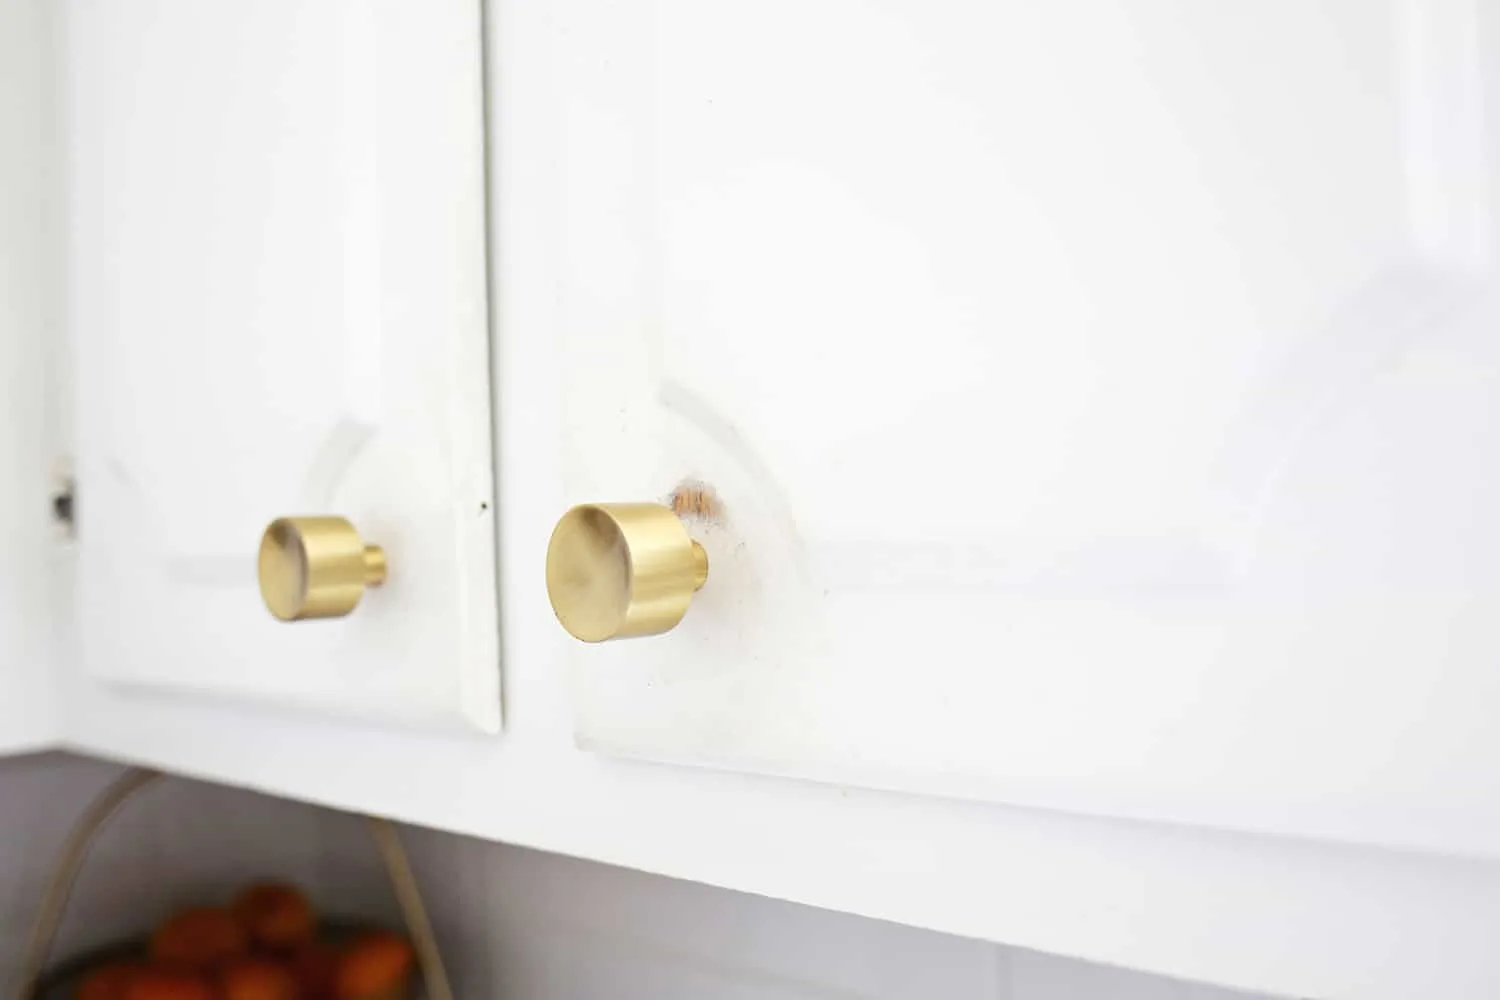
As you can see from the before pictures, those cabinets really needed some love. Years of daily use had definitely taken a toll.
Clean and De-Grime the Cabinets
This might sound like a prep step, but just cleaning the cabinets made a huge difference. I used a magic eraser to scrub them down, and it was amazing how much better they looked, even with some worn spots.
You could still see where the paint had worn off, but overall, they felt much cleaner. This also helped me identify areas where the paint was still in good shape, so if time ran out, I could skip repainting those parts.
A good tip is to use some dish soap and water to wipe down the areas before repainting. Any grease from cooking can prevent your new paint from adhering properly, so make sure to get it all off first. Those magic erasers with soap in them can tackle both jobs at once!
Give the Cabinets a Light Sanding
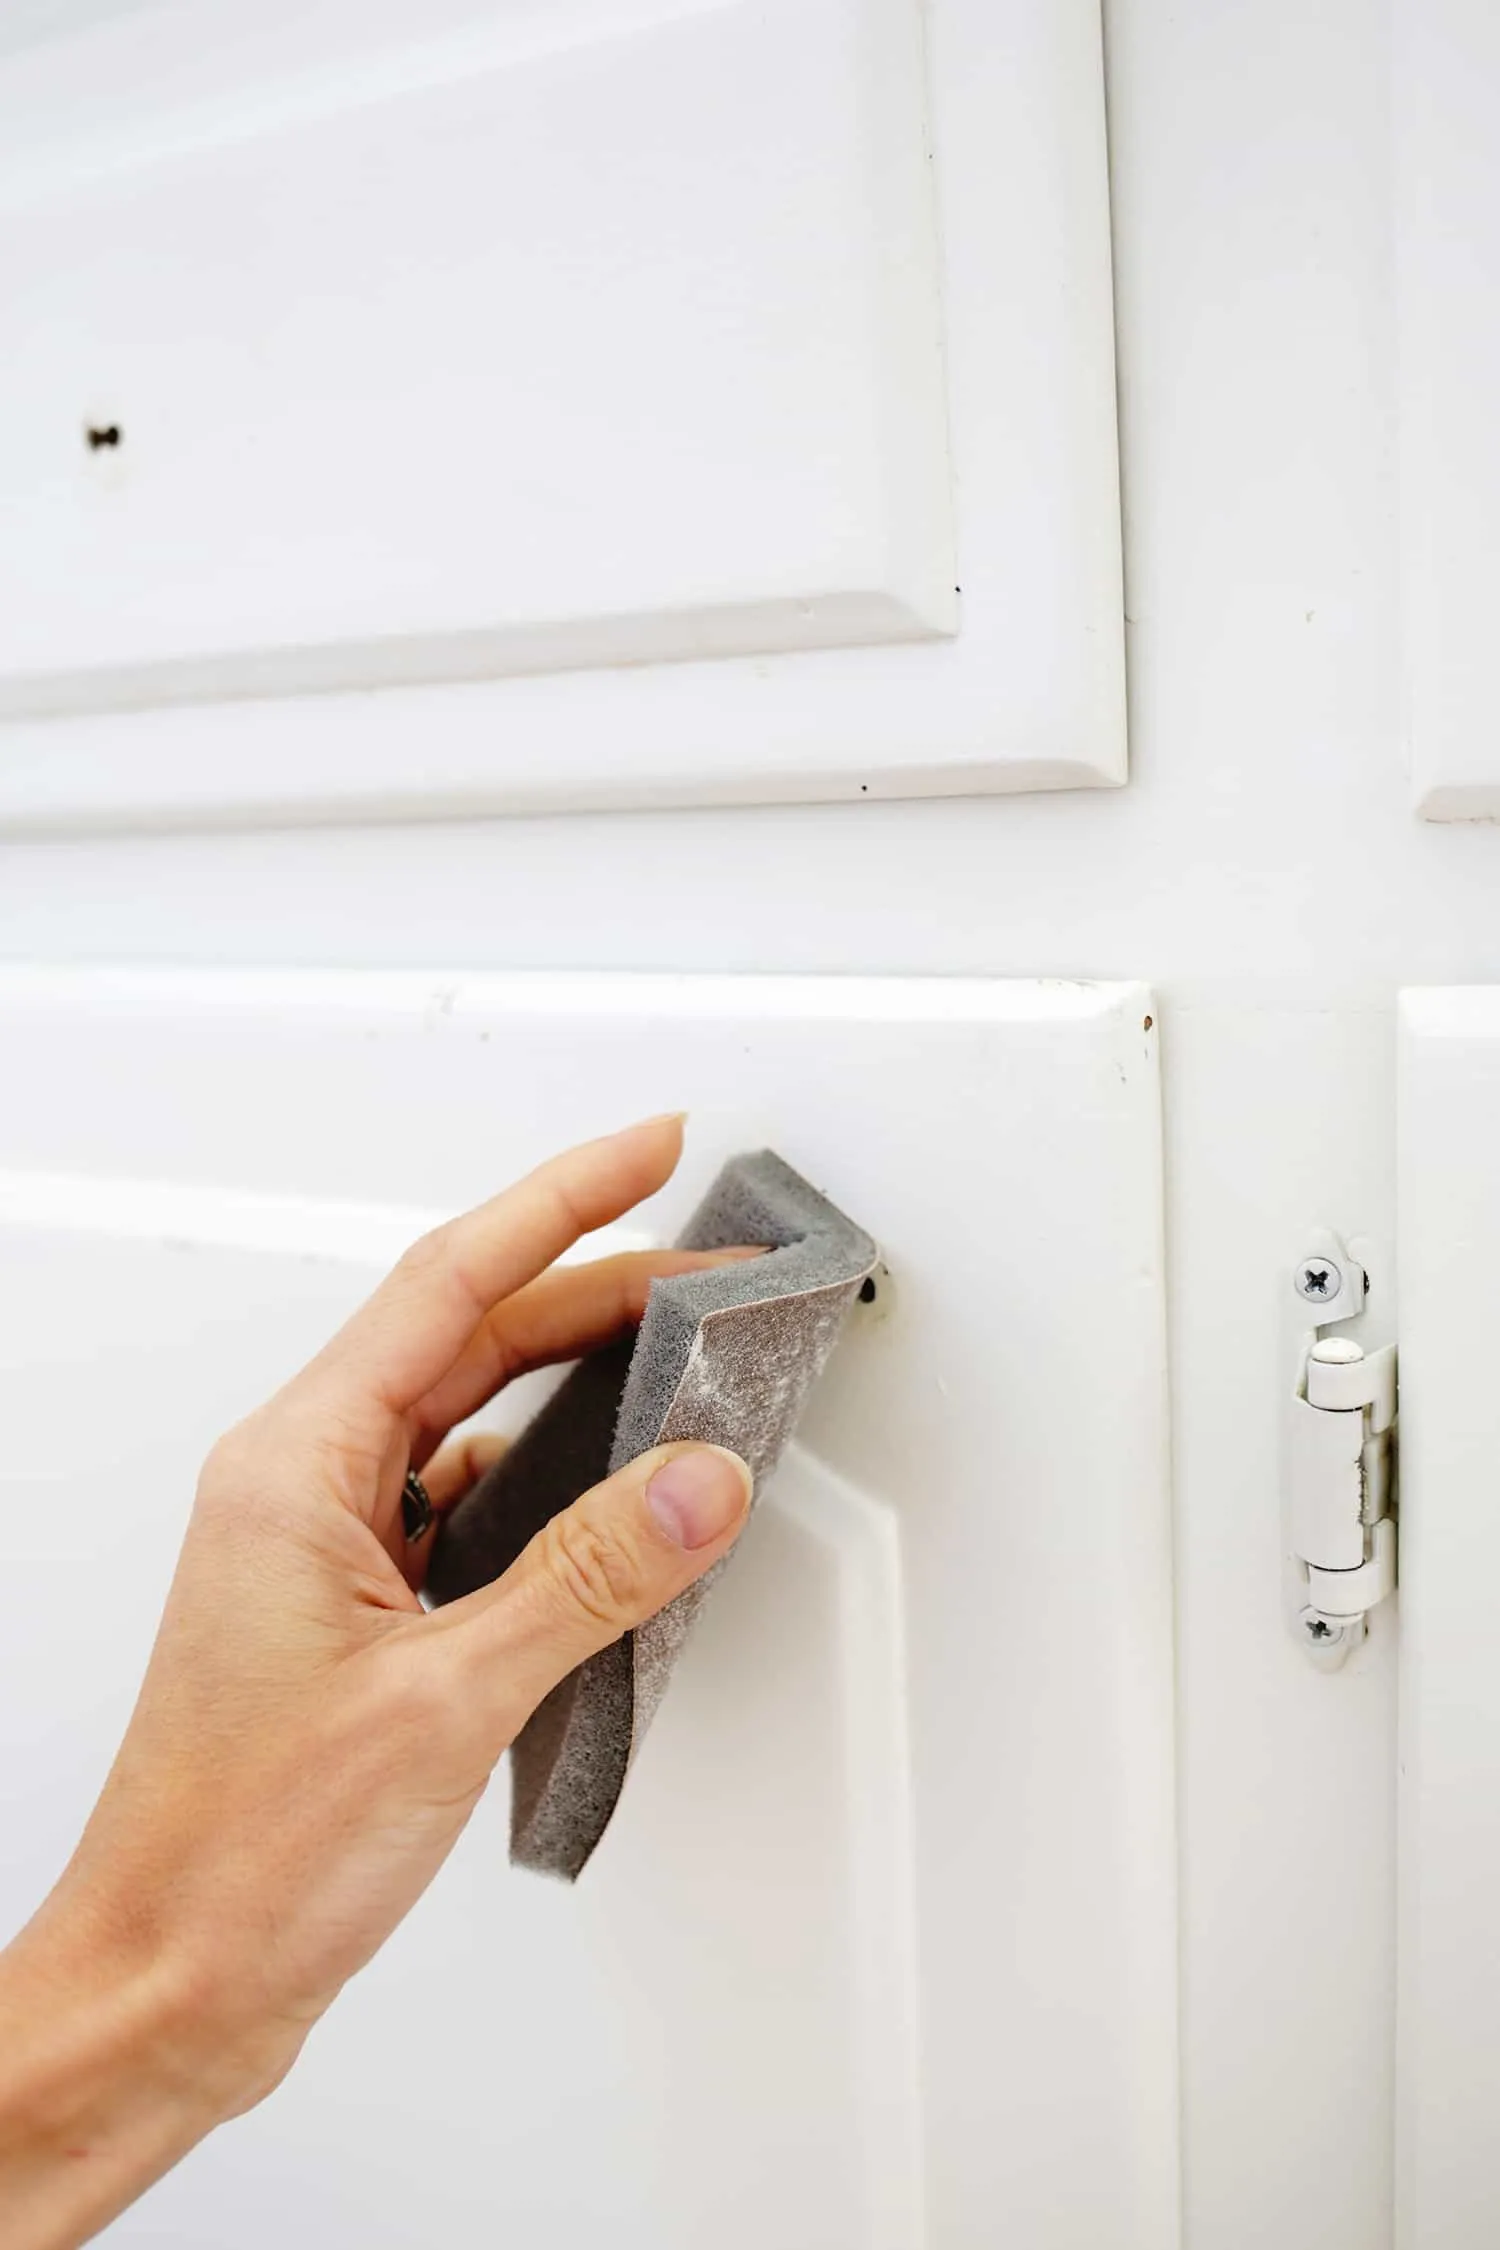
Once the cabinets were clean, I grabbed some fine sandpaper to gently rough up the paint where I planned to do touch-ups. Don’t worry, you don’t need to sand down to the bare wood—just a light scuffing to help the new paint stick.
I love using a sanding sponge with a foam back. The foam side helps to wipe off the dust after sanding, making cleanup a breeze.
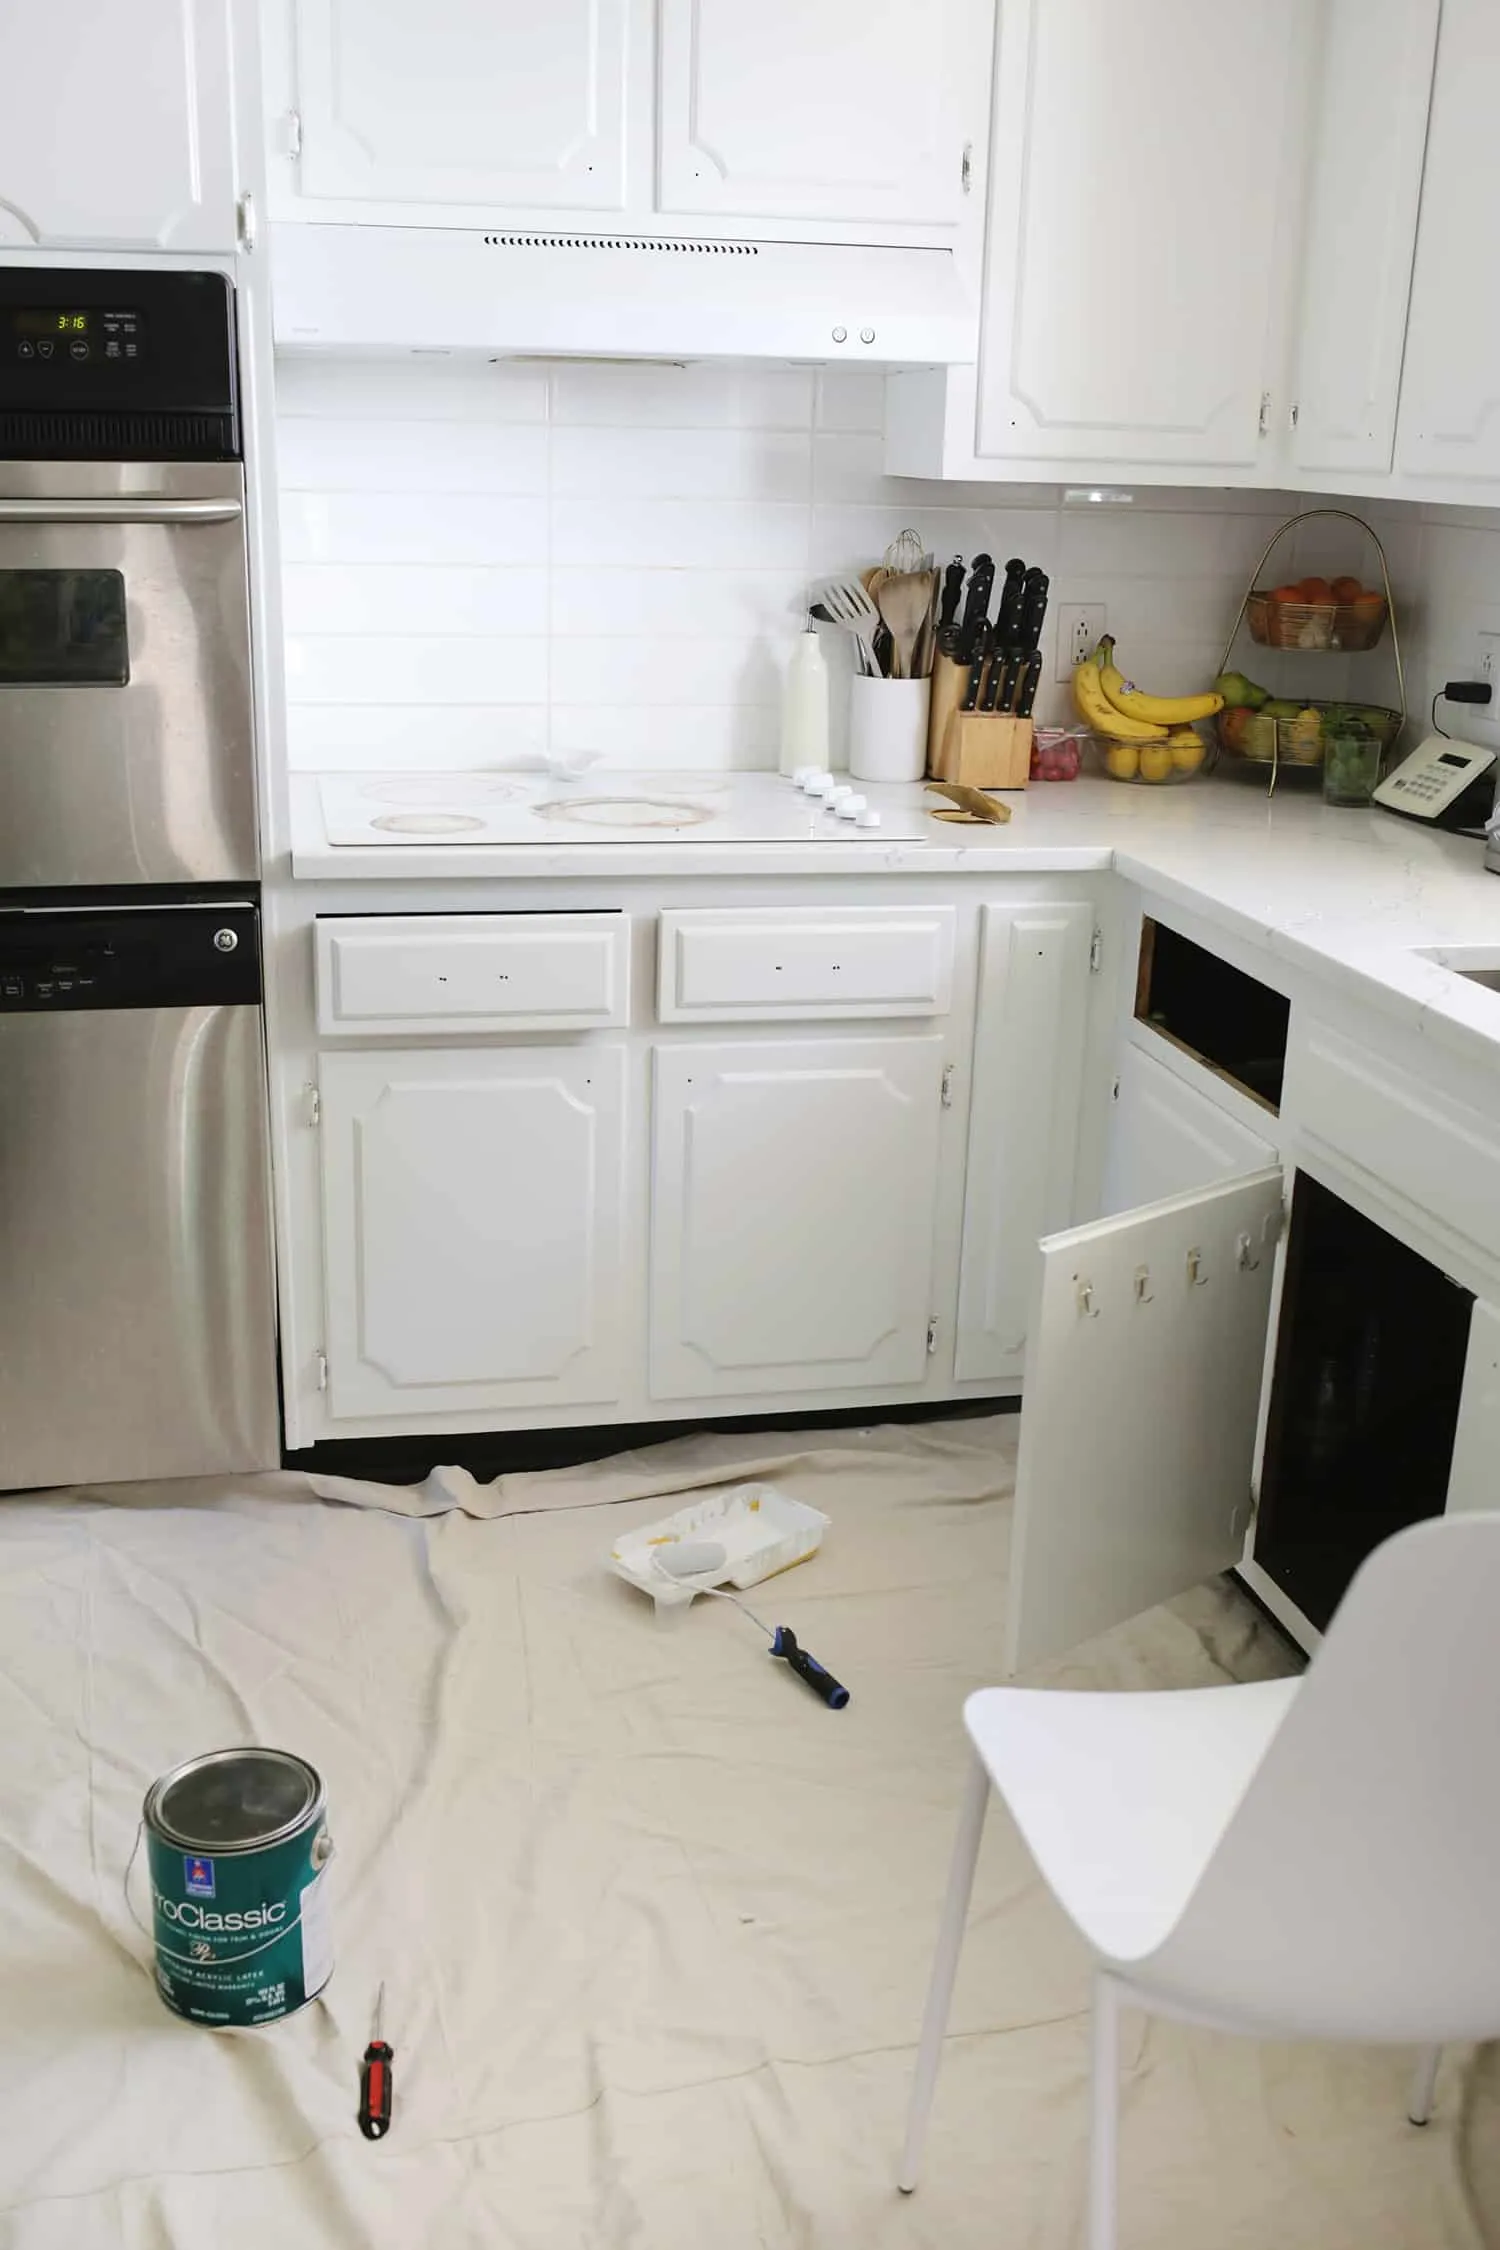
Add Some Touch-Up Paint to Bare Spots
For the touch-ups, I used a brush for tricky spots and a foam roller for the flat areas. Make sure to remove any cabinet knobs and pulls first.
Although I initially planned to just paint the most worn areas, I ended up doing the full doors and drawers since it was pretty quick. If you can, take out your drawers first to make them easier to paint.
Make sure you know what paint was used last time to get a perfect match. If you don’t remember, paint swatches can help, but you might need to paint the entire door for a seamless look if the color isn’t an exact match.
Don’t forget the “kick plate” area at the bottom of your cabinets—it gets scuffed a lot, but repainting it only takes a few minutes and makes a big difference.
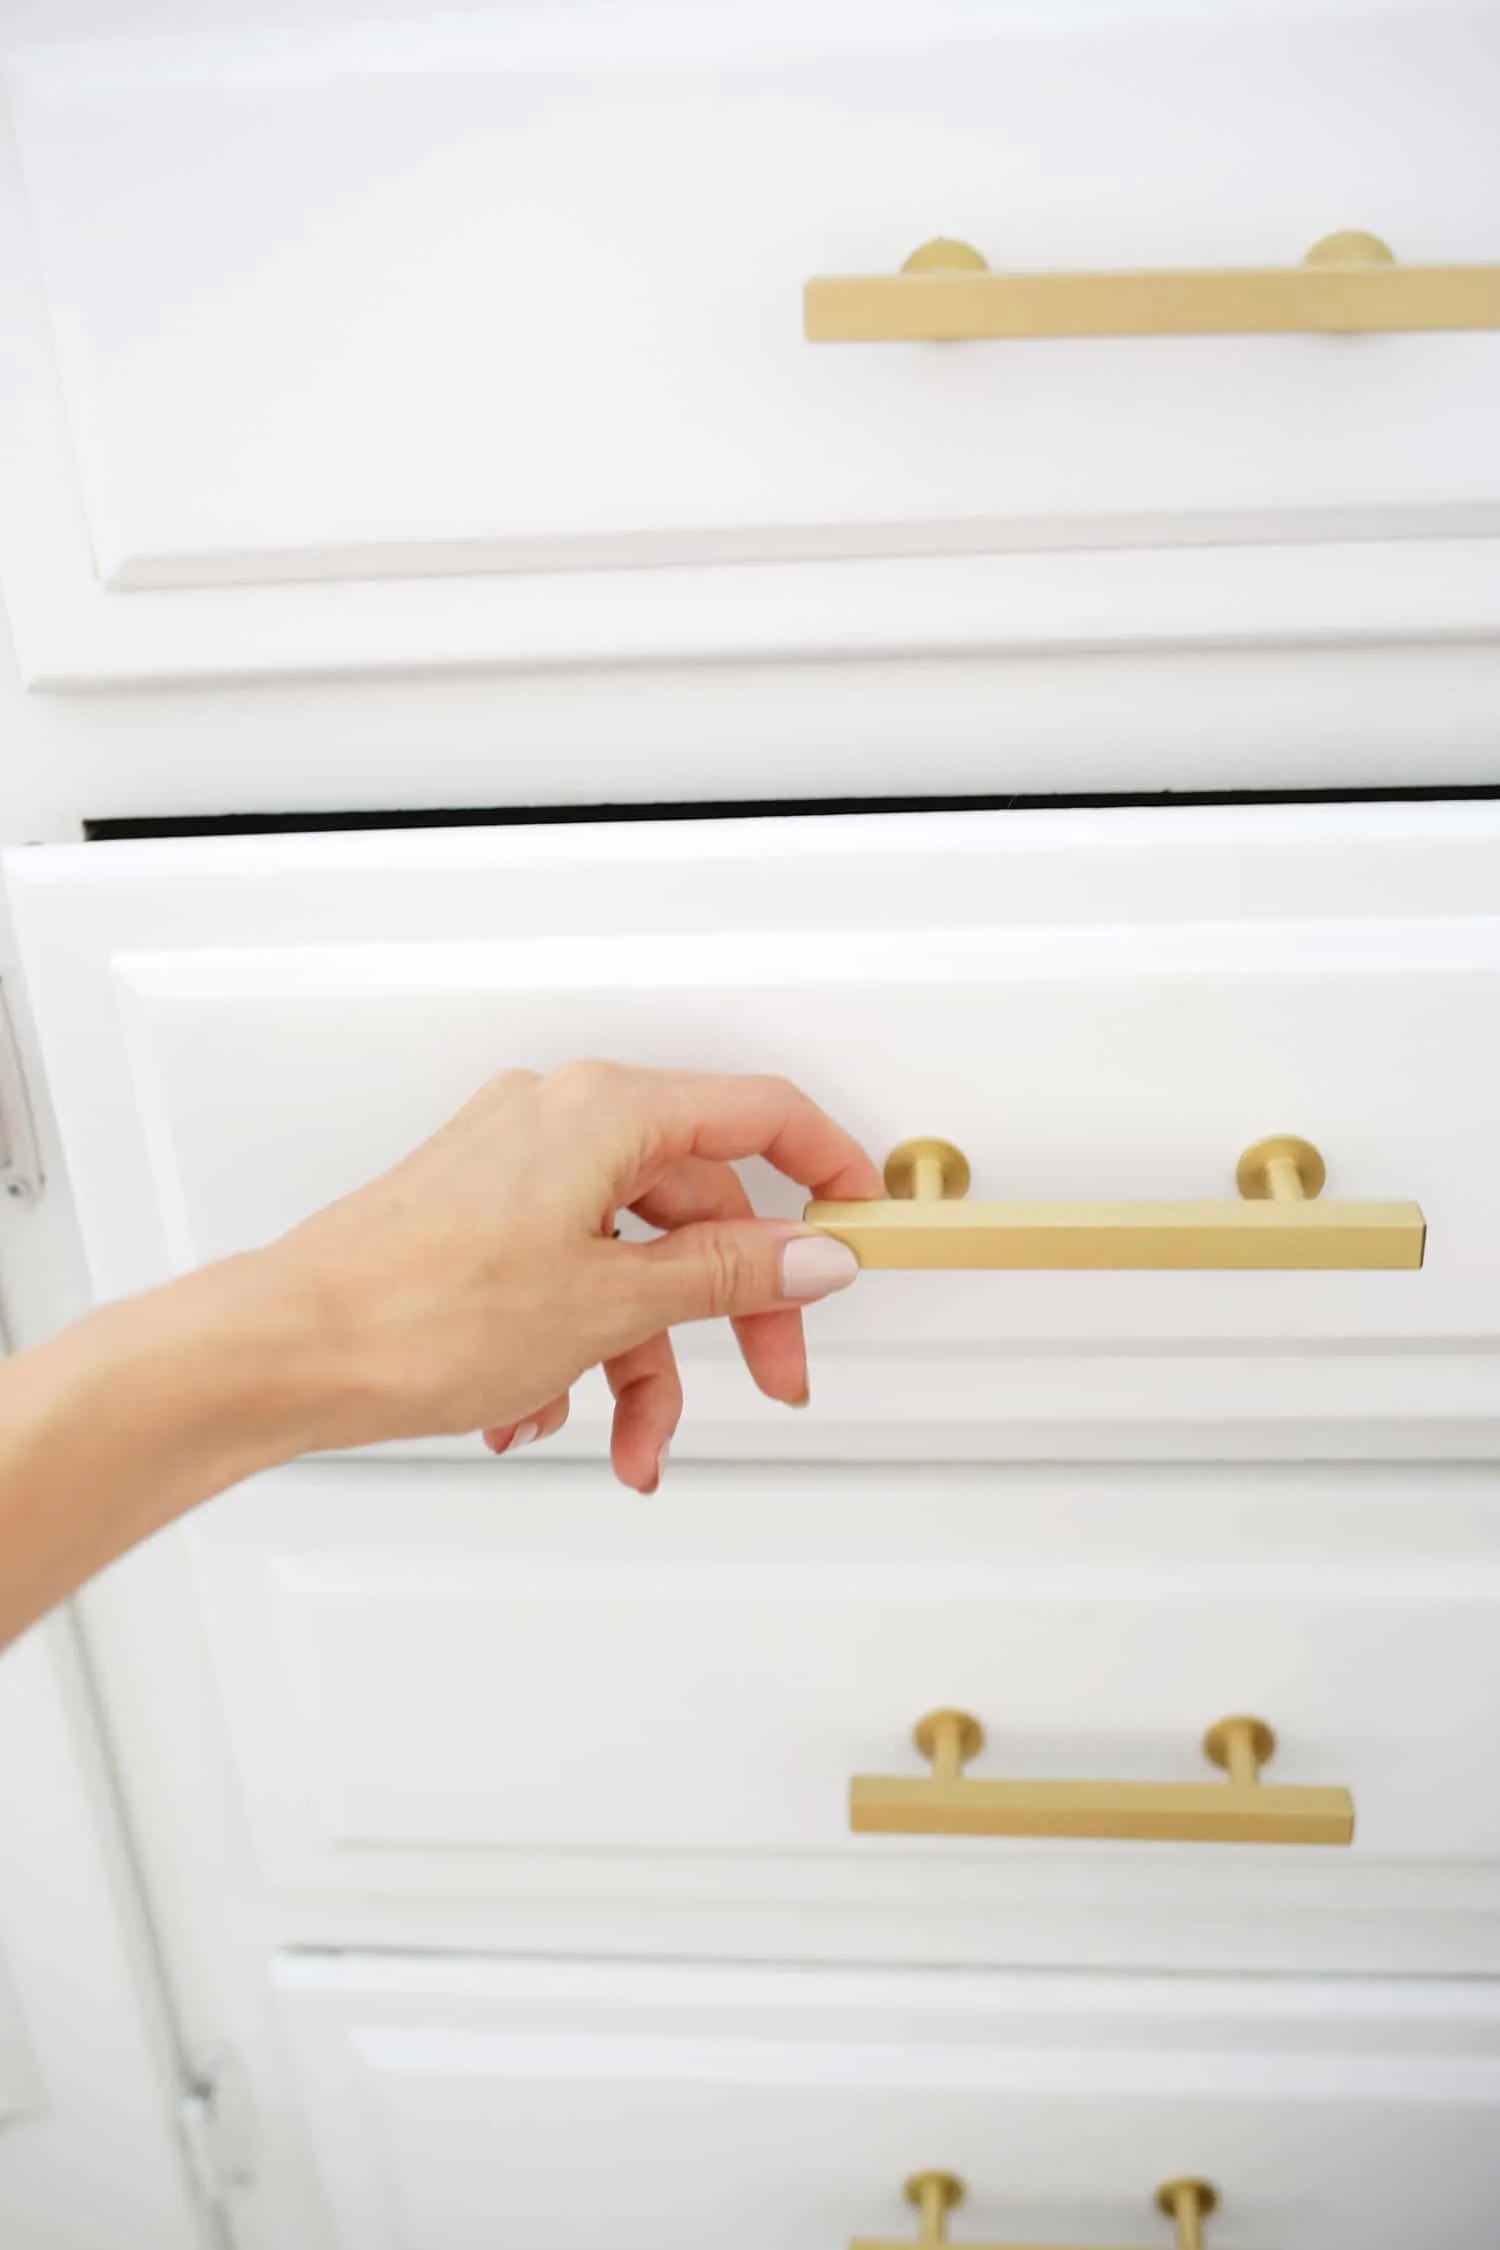
Replace Old/Worn Hardware (Or Clean It)
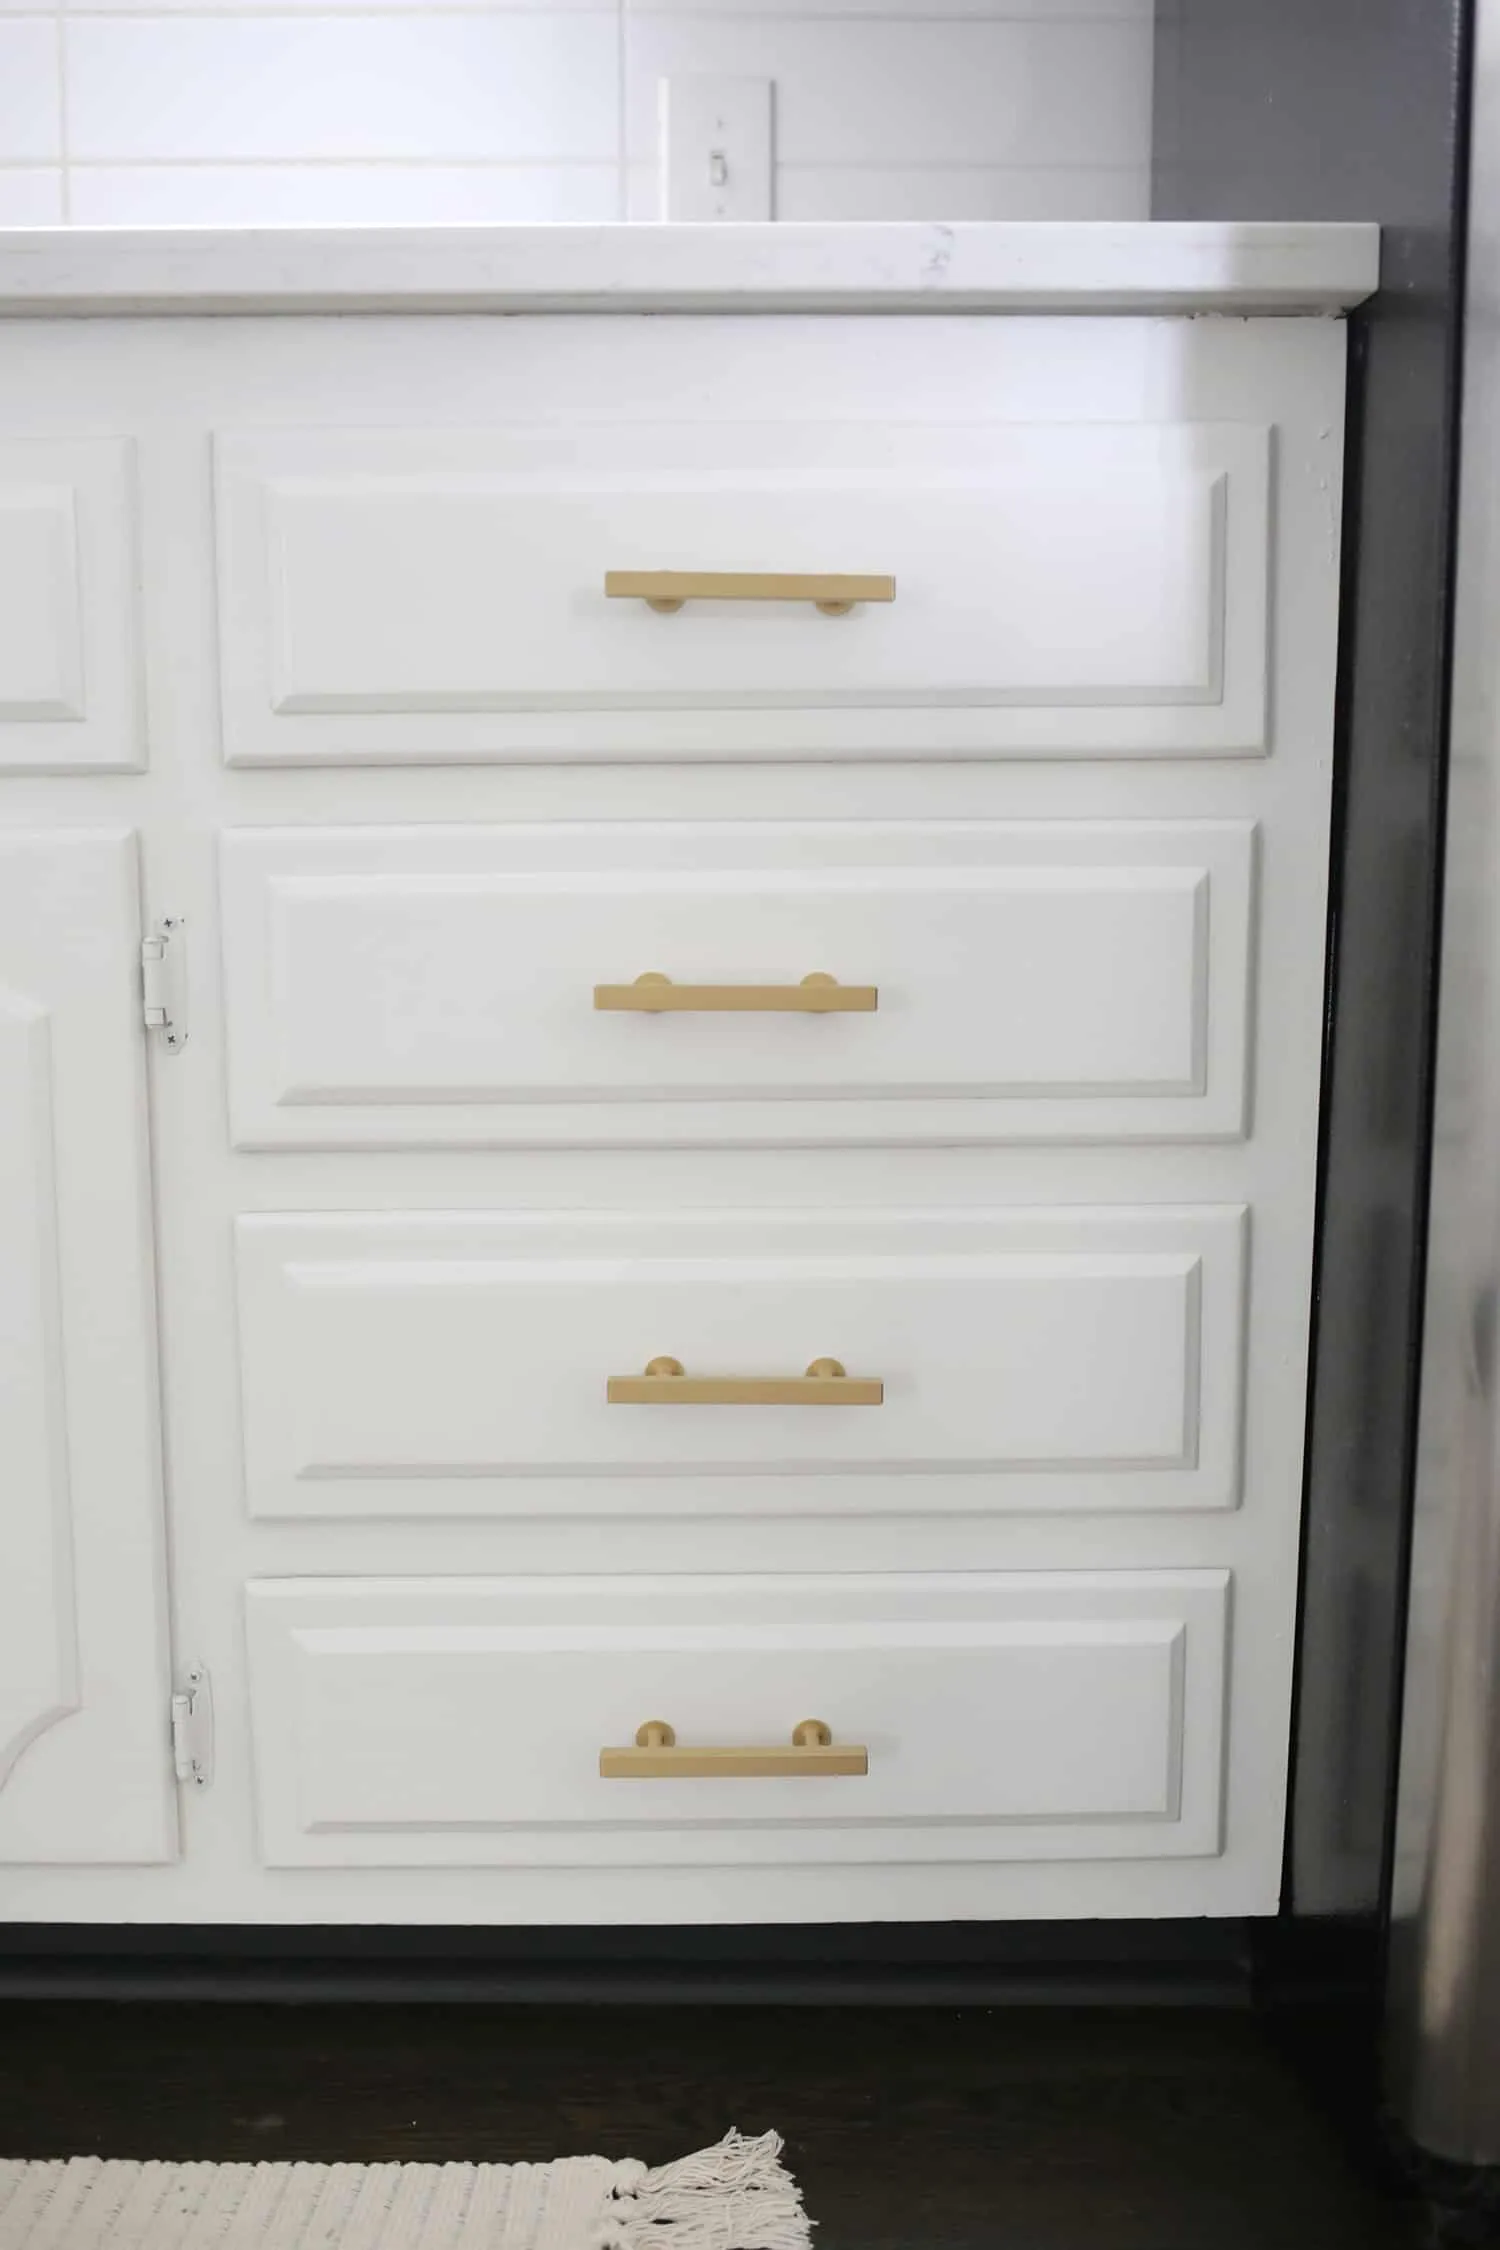
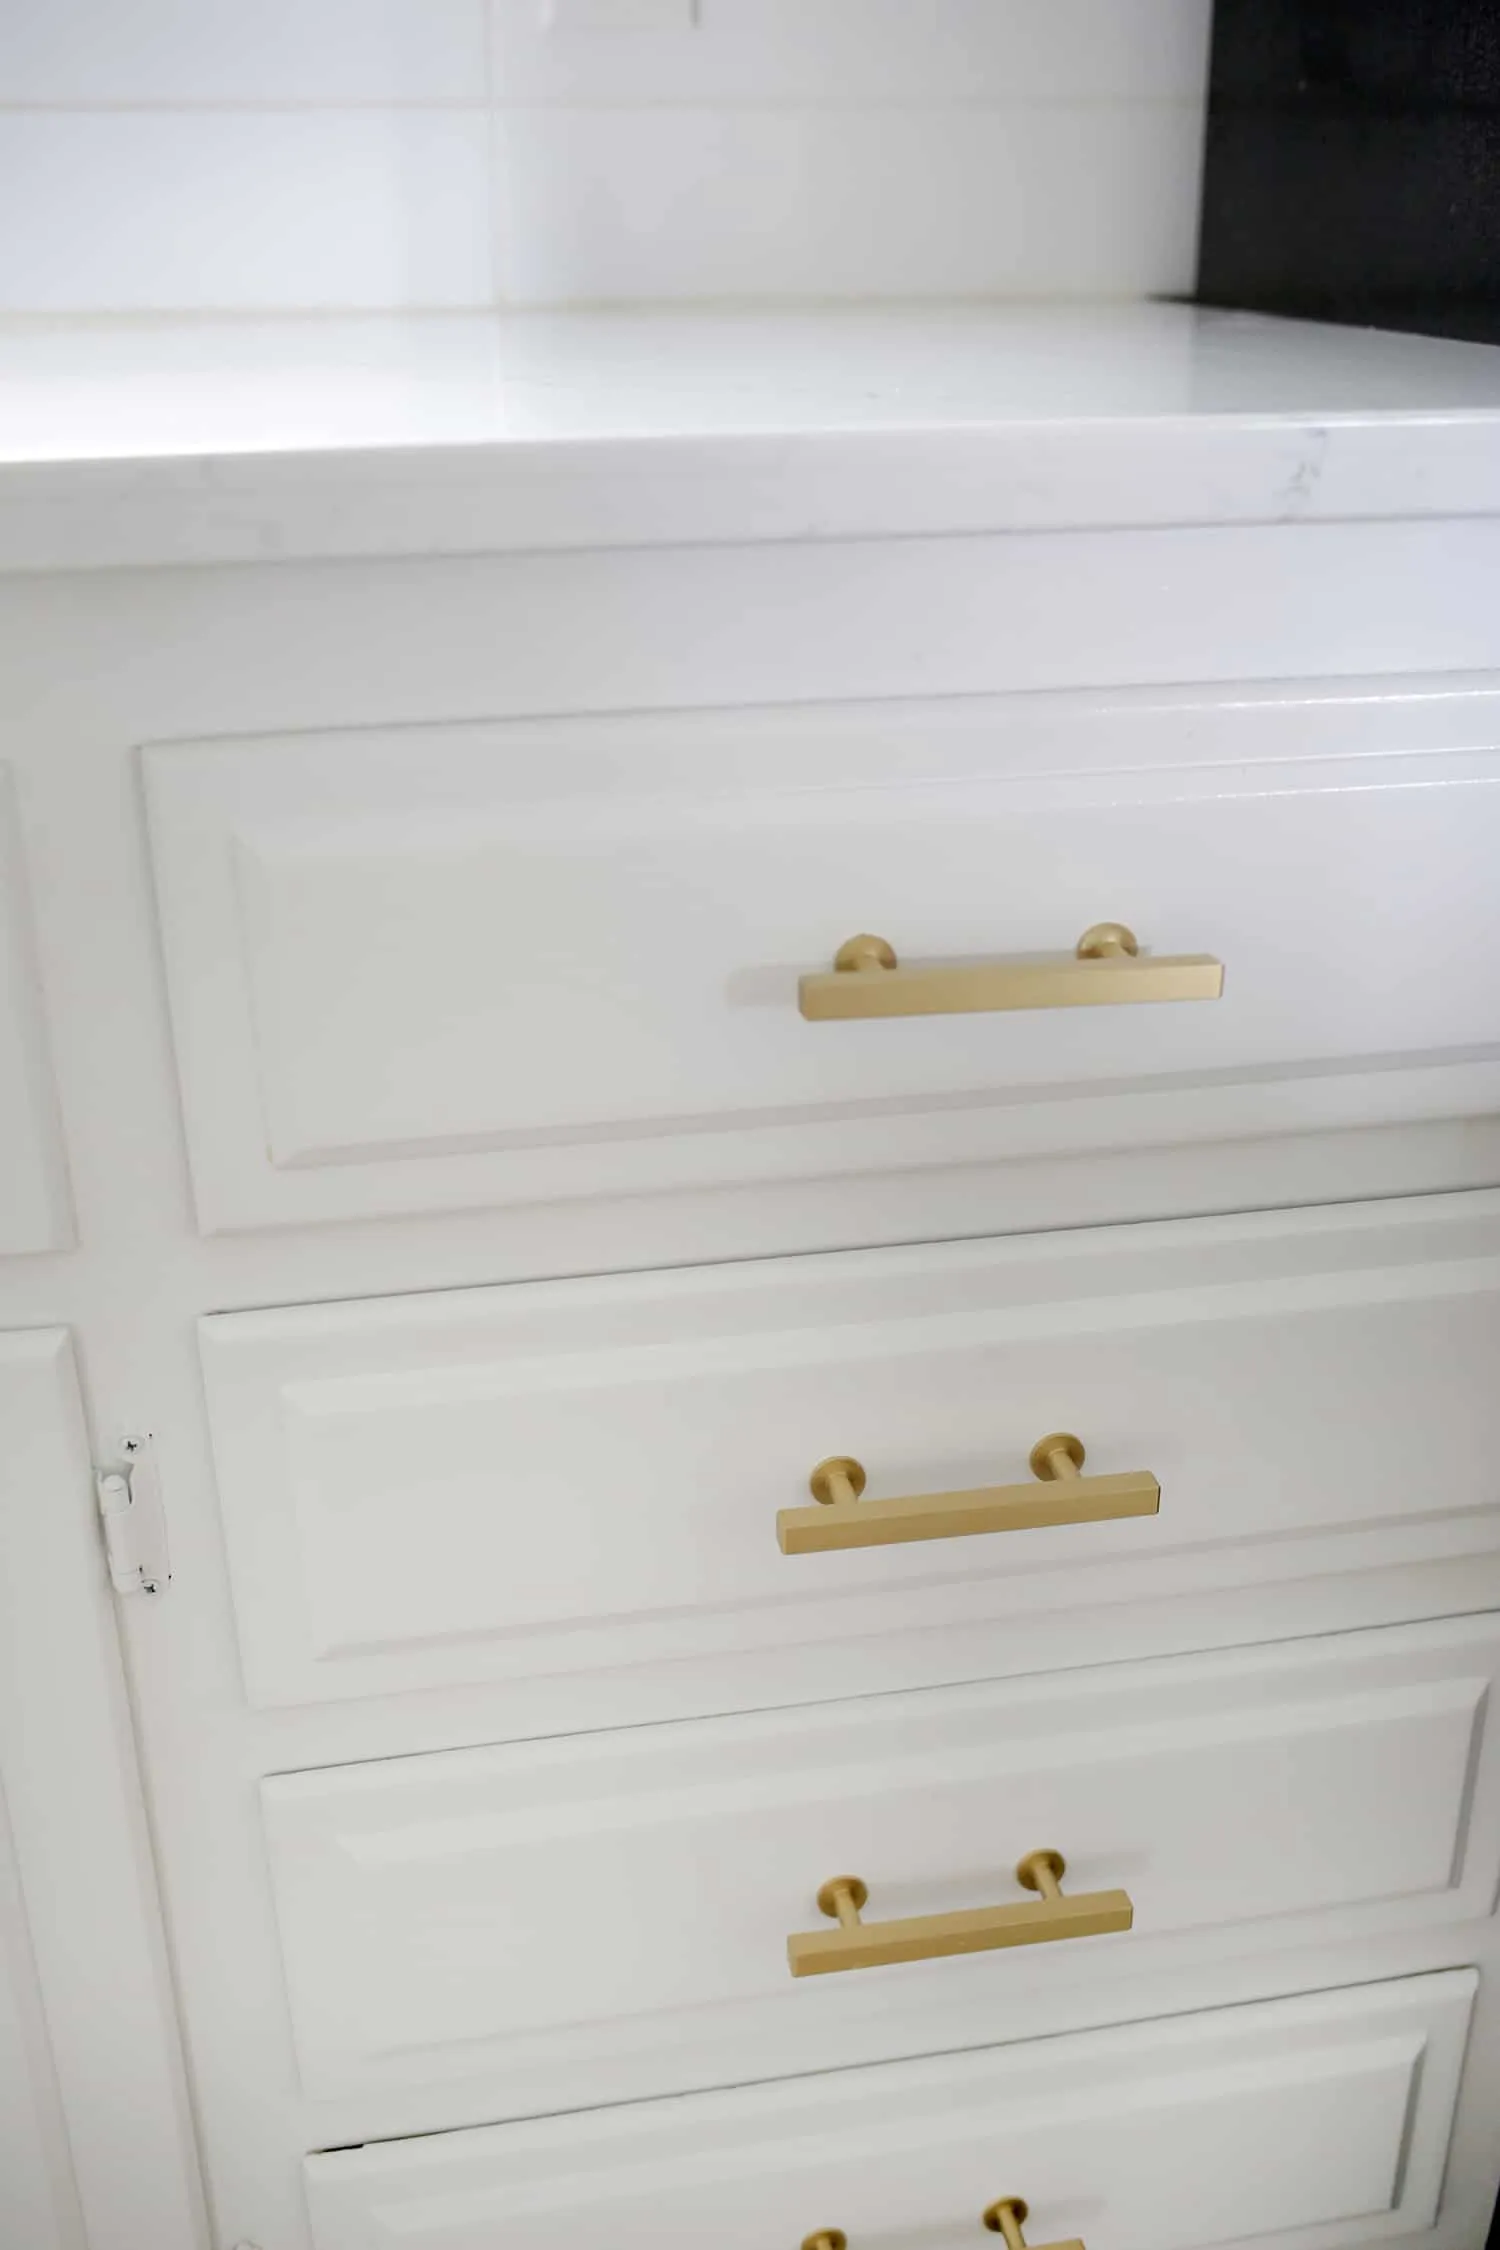
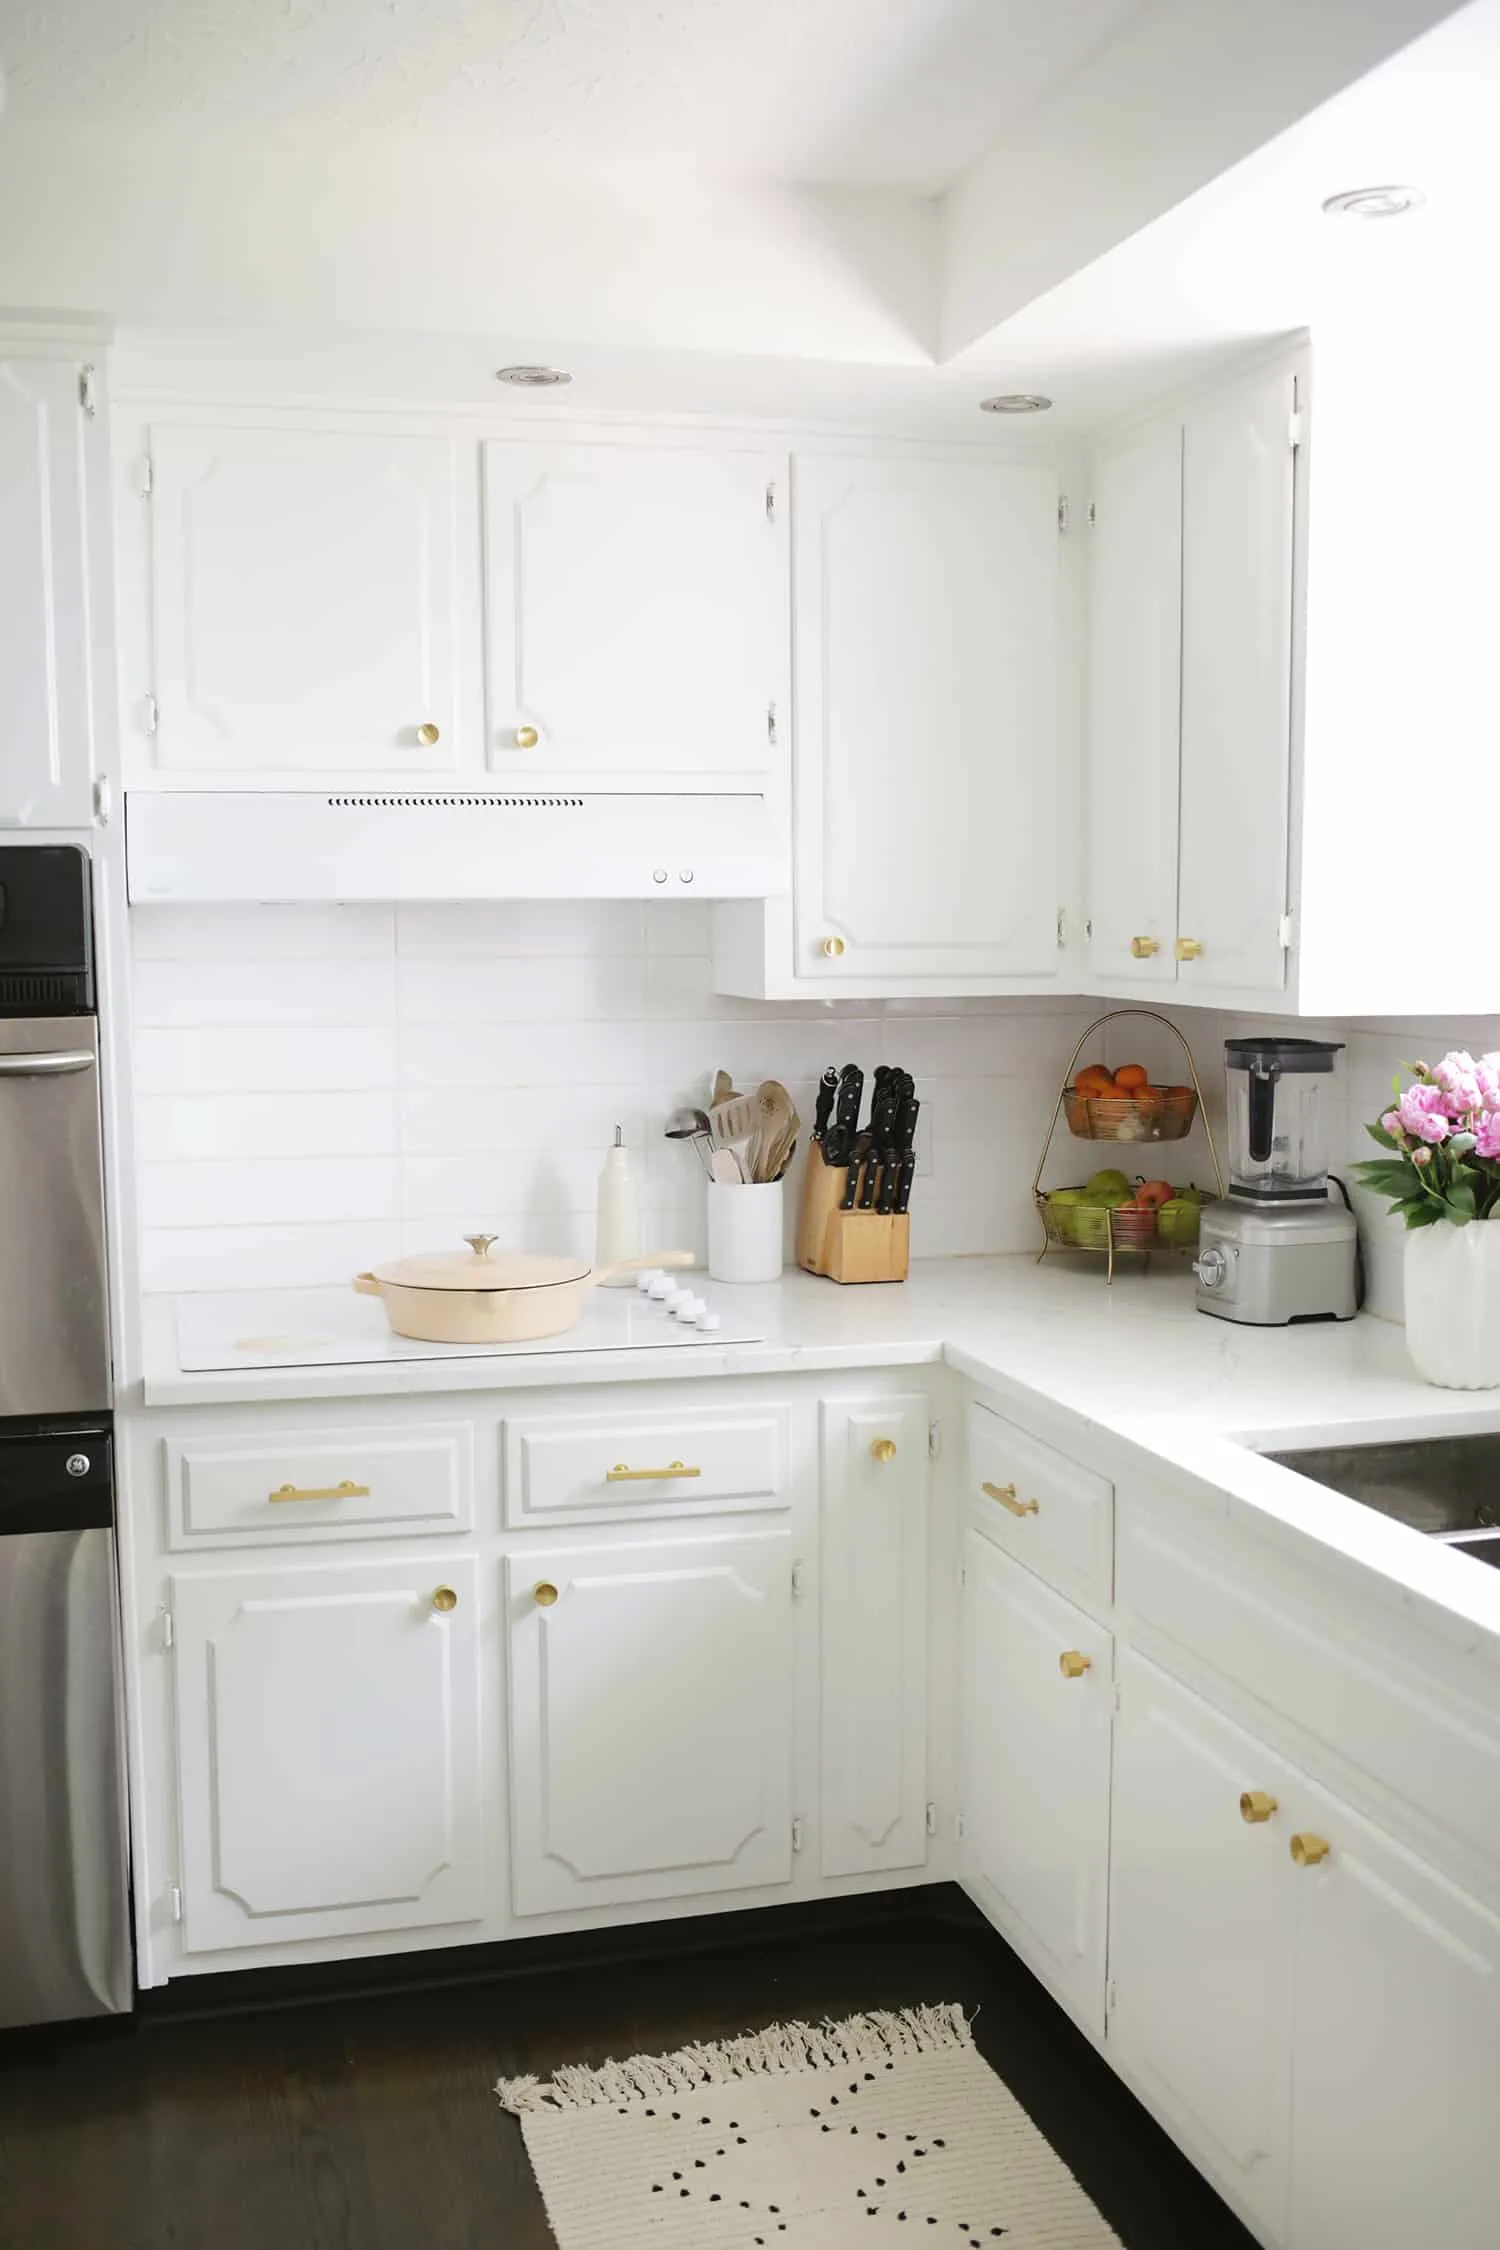
Tarnished hardware was making our kitchen look even more dated, so I gave it a good cleaning and polish. This is something you can do while the paint dries, so it doesn’t add extra time.
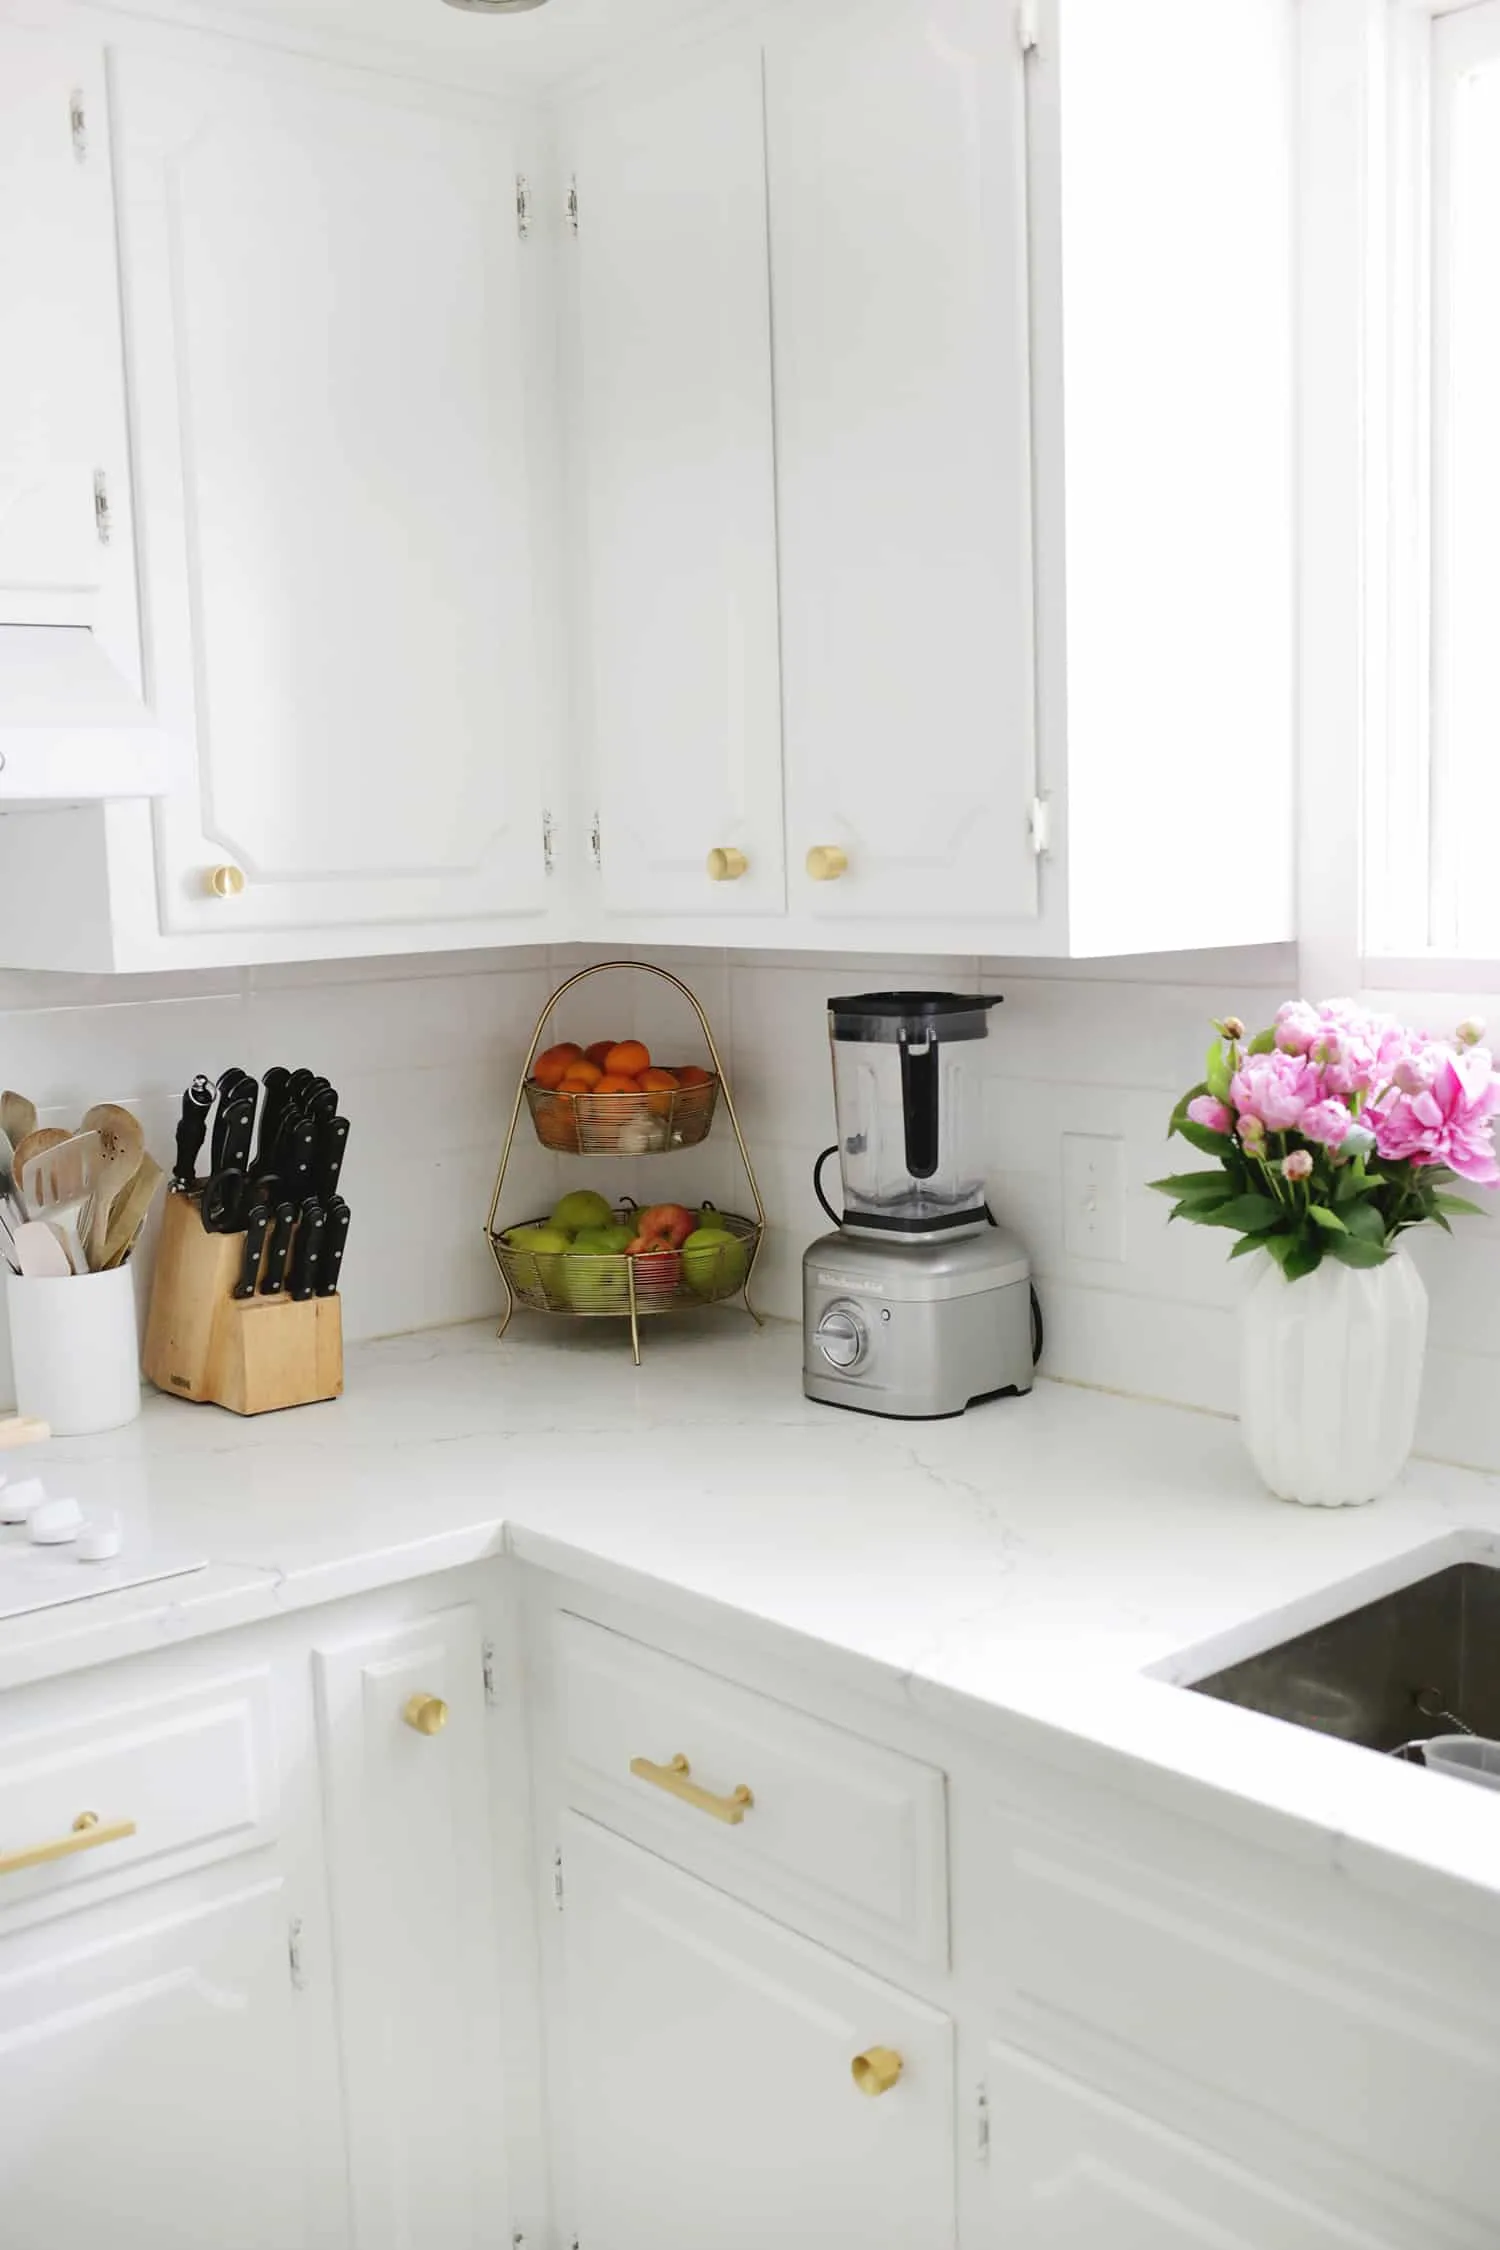
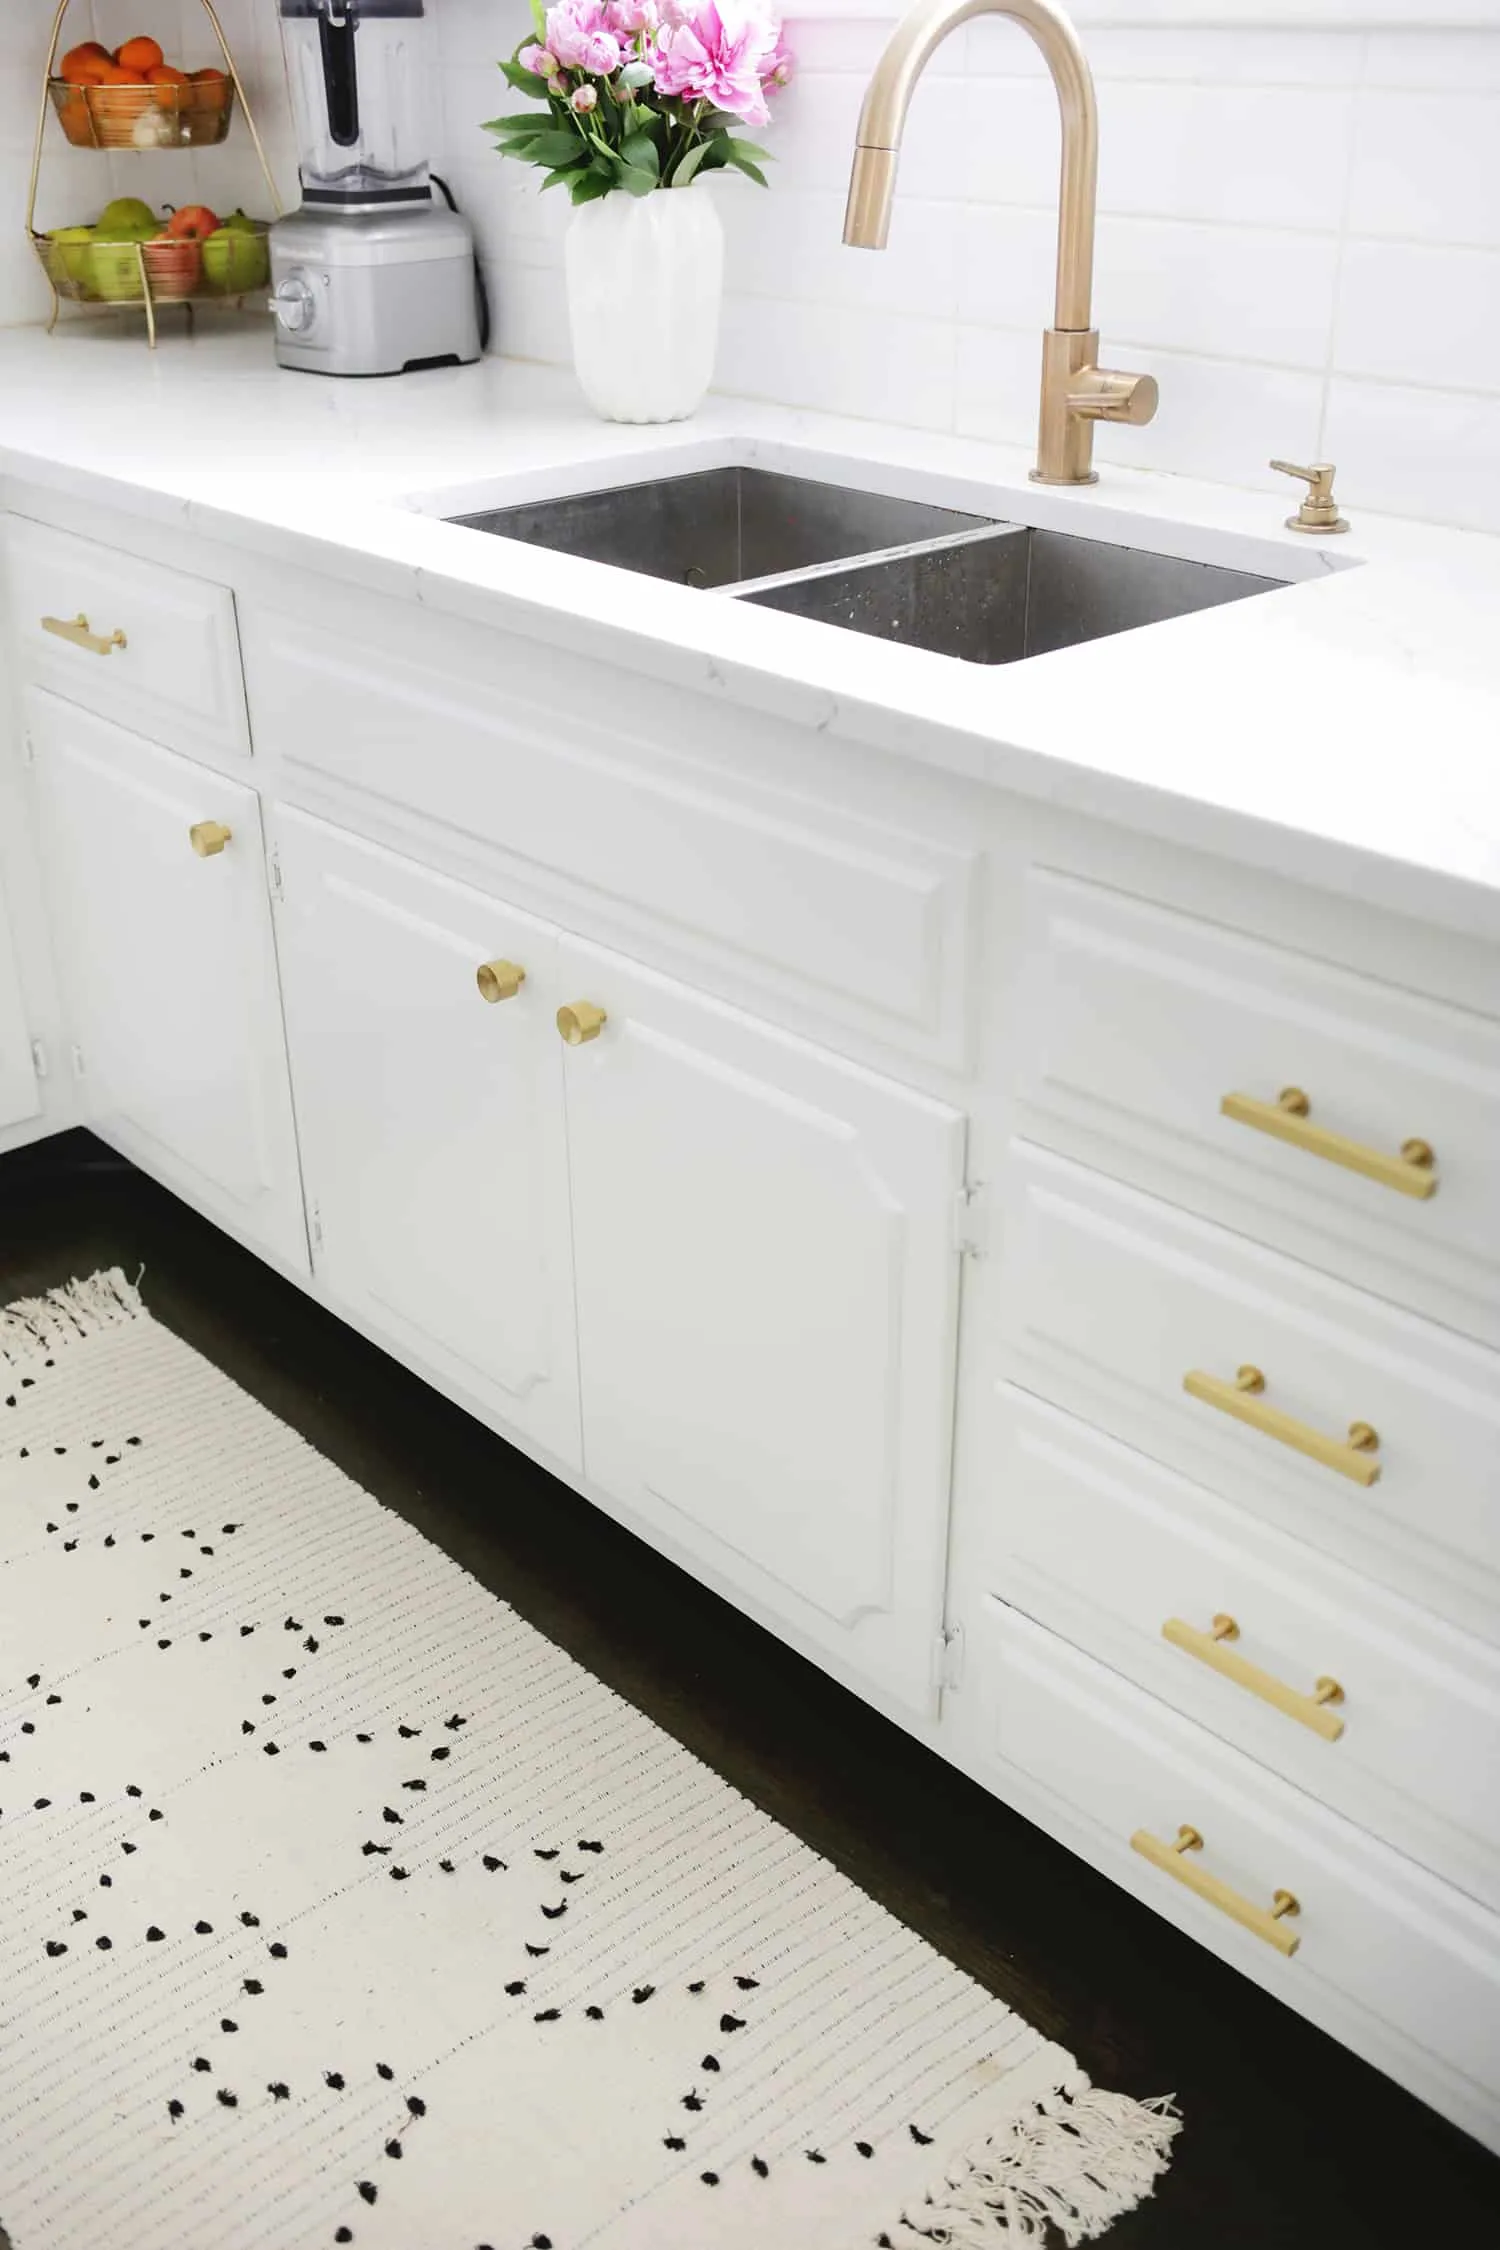
If your budget allows, this might also be a good time for a hardware upgrade. I’m a fan of Schoolhouse hardware for its durability and style.
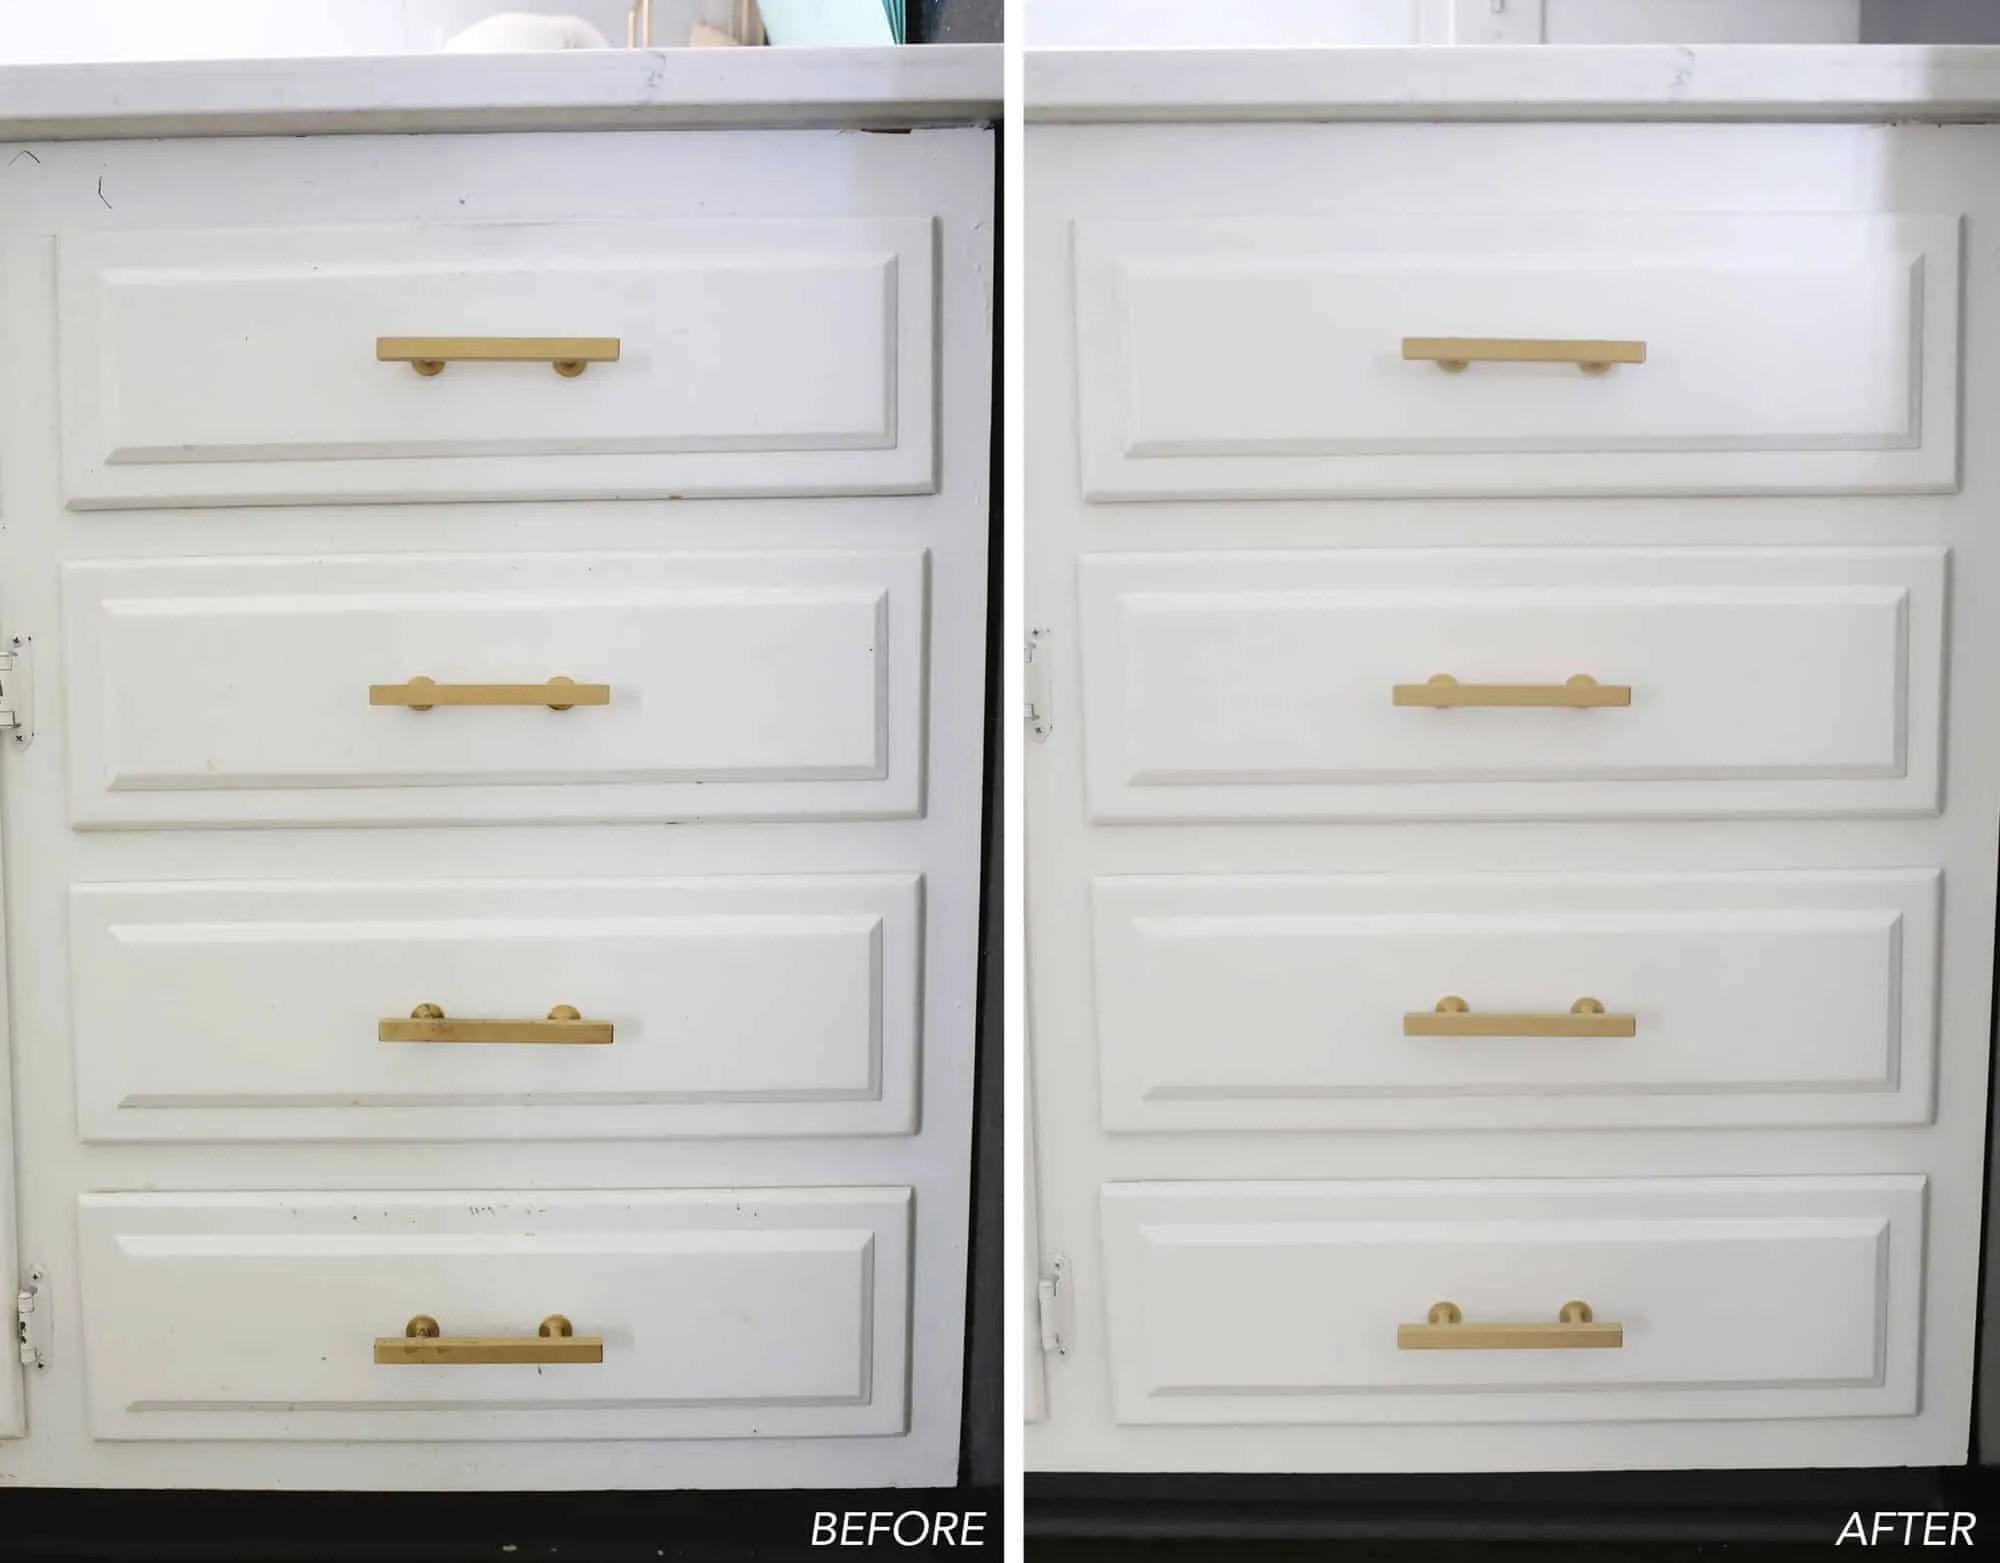
And look how much better it looks in just a few hours!
Hinges Need Love Too
If you’ve got the time, swapping out the old hinges can also make a big difference. It’s more time-consuming, especially if you have a lot of cabinets, but just tackle one or two doors a day to keep it manageable.
If you’re using new hinges with the same hole locations, it’s a pretty easy swap. But if the holes are different, you might have to fill, sand, and repaint, which is a bit more involved.
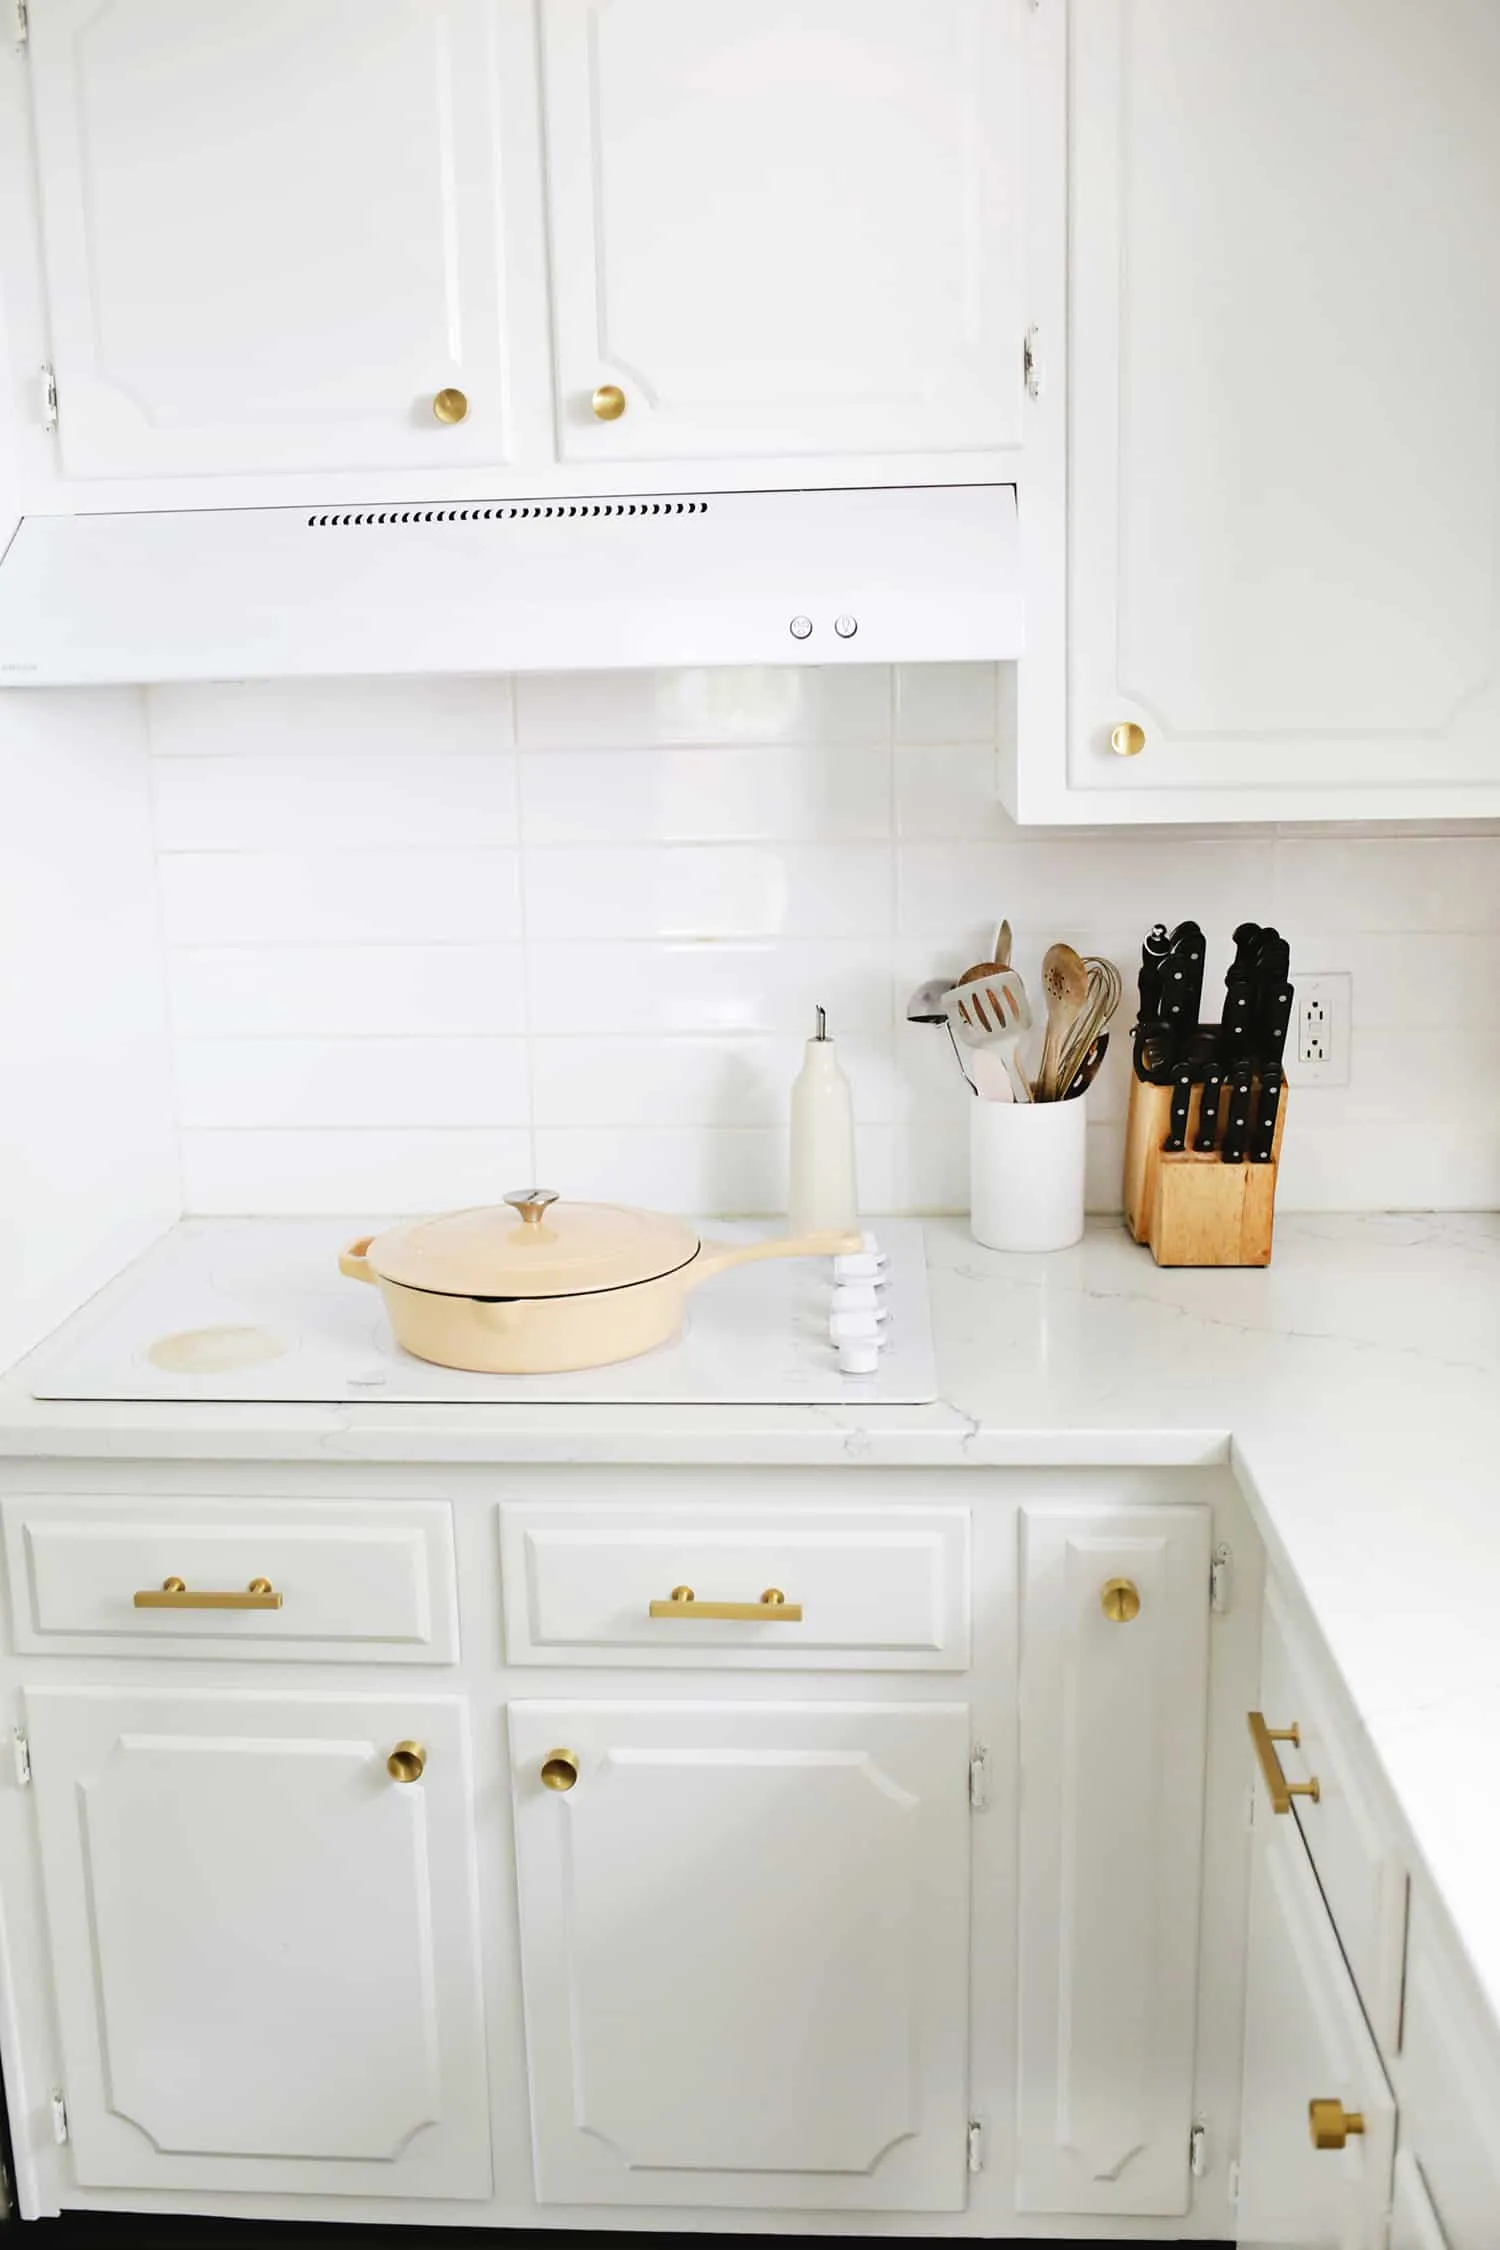
There you have it! It’s amazing how much newer the cabinets look after just one afternoon. Totally worth the effort! You can also add a cute pan on the counter or a new kitchen rug to complete the refresh.
I spend a lot of time in the kitchen, so making it look its best is totally worth it. I’ve also organized my fridge and closet in an afternoon, so take some time and really get your place together! Hope this helps brighten up your kitchen too!